
本节我们开始初探在visionOS中添加动画效果,我们的入口文件和ContentView和Day 6中并没有什么区别,所以重点来看ViewModel和ImmersiveView。
首先是ViewModel.swift文件:
import SwiftUI
import RealityKitclass ViewModel: ObservableObject {private var contentEntity = Entity()func setupContentEntity() -> Entity {return contentEntity}func getTargetEntity(name: String) -> Entity? {return contentEntity.children.first { $0.name == name }}func addCube(name: String, position: SIMD3<Float>, color: UIColor) -> ModelEntity {let entity = ModelEntity(mesh: .generateBox(size: 0.5, cornerRadius: 0),materials: [SimpleMaterial(color: color, isMetallic: false)],collisionShape: .generateBox(size: SIMD3<Float>(repeating: 0.5)),mass: 0.0)entity.name = nameentity.position = positionentity.components.set(InputTargetComponent(allowedInputTypes: .indirect))entity.components.set(CollisionComponent(shapes: [ShapeResource.generateBox(size: SIMD3<Float>(repeating: 0.5))], isStatic: true))entity.components.set(HoverEffectComponent())contentEntity.addChild(entity)return entity}func playAnimation(entity: Entity) {let goUp = FromToByAnimation<Transform>(name: "goUp",from: .init(scale: .init(repeating: 1), translation: entity.position),to: .init(scale: .init(repeating: 1), translation: entity.position + .init(x:0 ,y: 0.4, z: 0)),duration: 0.2,timing: .easeOut,bindTarget: .transform)let pause = FromToByAnimation<Transform>(name: "pause",from: .init(scale: .init(repeating: 1), translation: entity.position + .init(x:0 ,y: 0.4, z: 0)),to: .init(scale: .init(repeating: 1), translation: entity.position + .init(x:0 ,y: 0.4, z: 0)),duration: 0.1,bindTarget: .transform)let goDown = FromToByAnimation<Transform>(name: "goDown",from: .init(scale: .init(repeating: 1), translation: entity.position + .init(x:0 ,y: 0.4, z: 0)),to: .init(scale: .init(repeating: 1), translation: entity.position),duration: 0.2,timing: .easeOut,bindTarget: .transform)let goUpAnimation = try! AnimationResource.generate(with: goUp)let pauseAnimation = try! AnimationResource.generate(with: pause)let goDownAnimation = try! AnimationResource.generate(with: goDown)let animation = try! AnimationResource.sequence(with: [goUpAnimation, pauseAnimation, goDownAnimation])entity.playAnimation(animation, transitionDuration: 0.5)}
}通过前面的学习我们已经知道setupContentEntity用于初始化实体对象,getTargetEntity用于根据模型的名称查找到指定模型。addCube(name: String, position: SIMD3<Float>, color: UIColor)中包含三个参数,name用于指定所创建盒子的名称,position用于指定盒子所处的位置,同样是按人所处位置为参照坐标,color用于指定盒体的颜色。
接下来就是本节的一个重要的知识点了,playAnimation用于创建动画效果,传入的参数entity就是要实现动画效果的模型。
结构体FromToByAnimation可用于实现实体对象和场景的动画,方式为逐渐修改参数值。from值表示动画属性的起始值,to表示动画结束时的属性值,也可以通过by值让框架来计算动画结束时的值。duration顾名思义是指动画的时长,timing参数通过AnimationTimingFunction结构体中的定时函数进行指定,包含的值有:
- default:生成默认过渡曲线的定时函数,不指定时此即为默认值。
- linear:生成线性过渡效果的定时函数。
- easeIn:生成淡入效果的定时函数。
- easeOut:生成淡出效果的定时函数。
- easeInOut:生成淡入淡出效果的定时函数。
bindTarget参数指定为tranform时表示动画作用于对象本身。
我们定义了三个动画函数,分别为goUp、pause和goDown,实现在纵坐标上完成上下移动0.4个单位的动画效果。接下来通过这三个动画定义来生成动画资源并指定动画的顺序,最后对实体对象调用playAnimation来播放动画,这里的transitionDuration参数与三个动画函数中用时的总和相同。
接下来是我们的ImmersiveView:
import SwiftUI
import RealityKitstruct ImmersiveView: View {@State var model = ViewModel()@State var cube1 = ModelEntity()@State var cube2 = ModelEntity()var body: some View {RealityView { content, attachments incontent.add(model.setupContentEntity())cube1 = model.addCube(name: "Cube1", position: SIMD3<Float>(x: 1, y: 1, z: -2), color: .red)cube2 = model.addCube(name: "Cube2", position: SIMD3<Float>(x: -1, y: 1, z: -2), color: .blue)if let attachment = attachments.entity(for: "cube1_label") {attachment.position = [0, -0.35, 0]cube1.addChild(attachment)}if let attachment = attachments.entity(for: "cube2_label") {attachment.position = [0, -0.35, 0]cube2.addChild(attachment)}} attachments: {Attachment(id: "cube1_label") {Text("Cube1").font(.system(size: 48))}Attachment(id: "cube2_label") {Text("Cube2").font(.system(size: 48))}}.gesture(SpatialTapGesture().targetedToEntity(cube1).onEnded { value inprint(value)model.playAnimation(entity: cube1)}).gesture(SpatialTapGesture().targetedToEntity(cube2).onEnded { value inprint(value)model.playAnimation(entity: cube2)})}
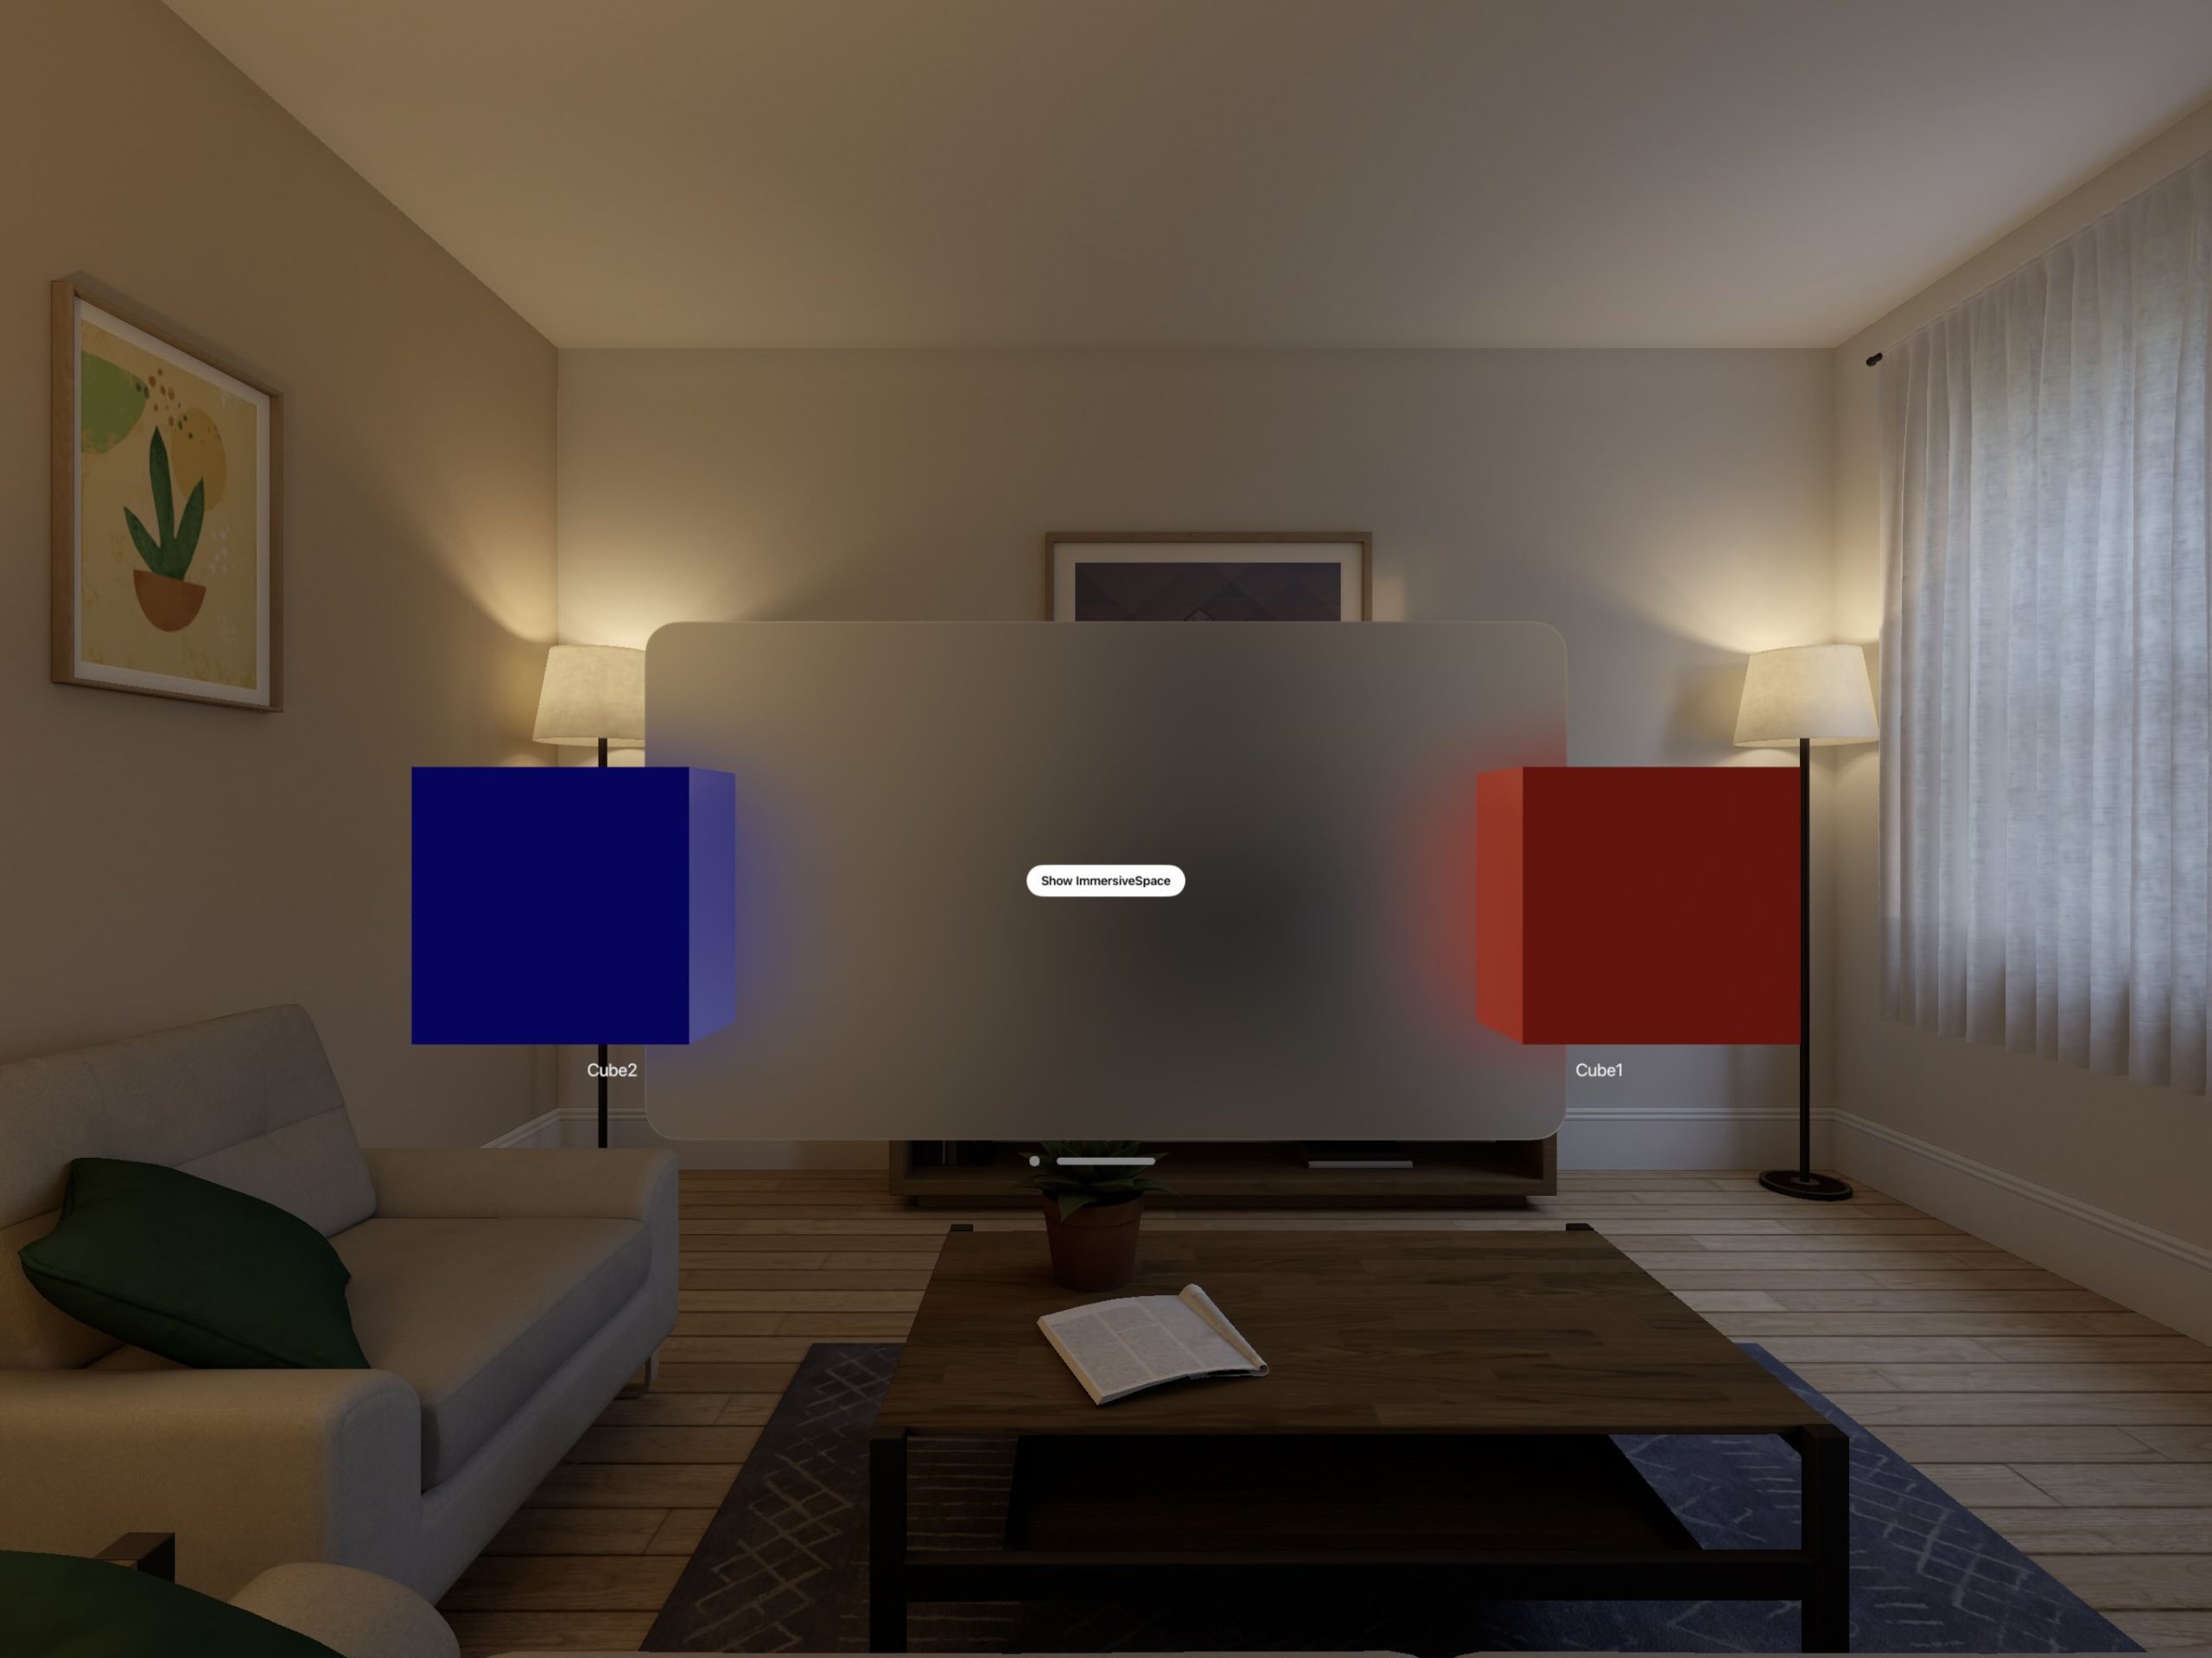
}cube1为红色,位于我们的右侧,cube2为蓝色,位于我们的左侧,为方便标识,我们通过RealityView的AttachmentContentBuilder(即attachments参数)来创建附属视图,但附属视图并不会自动添加到RealityView的对象上。我们需要显式地进行指定,这里attachments.entity中的for与Attachment的id相对应,我们只添加了两个文本视图,并通过position指定了相对于父对象的位置。
接着通过SpatialTapGesture指定在点击相应盒子时执行前面所定义的playAnimation。
运行应用,点击Show ImmersiveSpace会显示两个盒子,盒子下方分别显示一个附属视图,点击盒体会执行上下移动的动画。
示例代码:GitHub仓库
其它相关内容请见虚拟现实(VR)/增强现实(AR)&visionOS开发学习笔记


![[C++]内存管理:串顺序存储的内存回收](http://pic.xiahunao.cn/yaotu/[C++]内存管理:串顺序存储的内存回收)

:ArkUI 首页仪表盘搭建)