使用opencv把视频转换为灰色并且逐帧率转换为图片

功能介绍
使用opencv库把视频转换为灰色,并且逐帧率保存为图片到本地
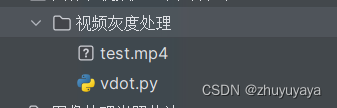
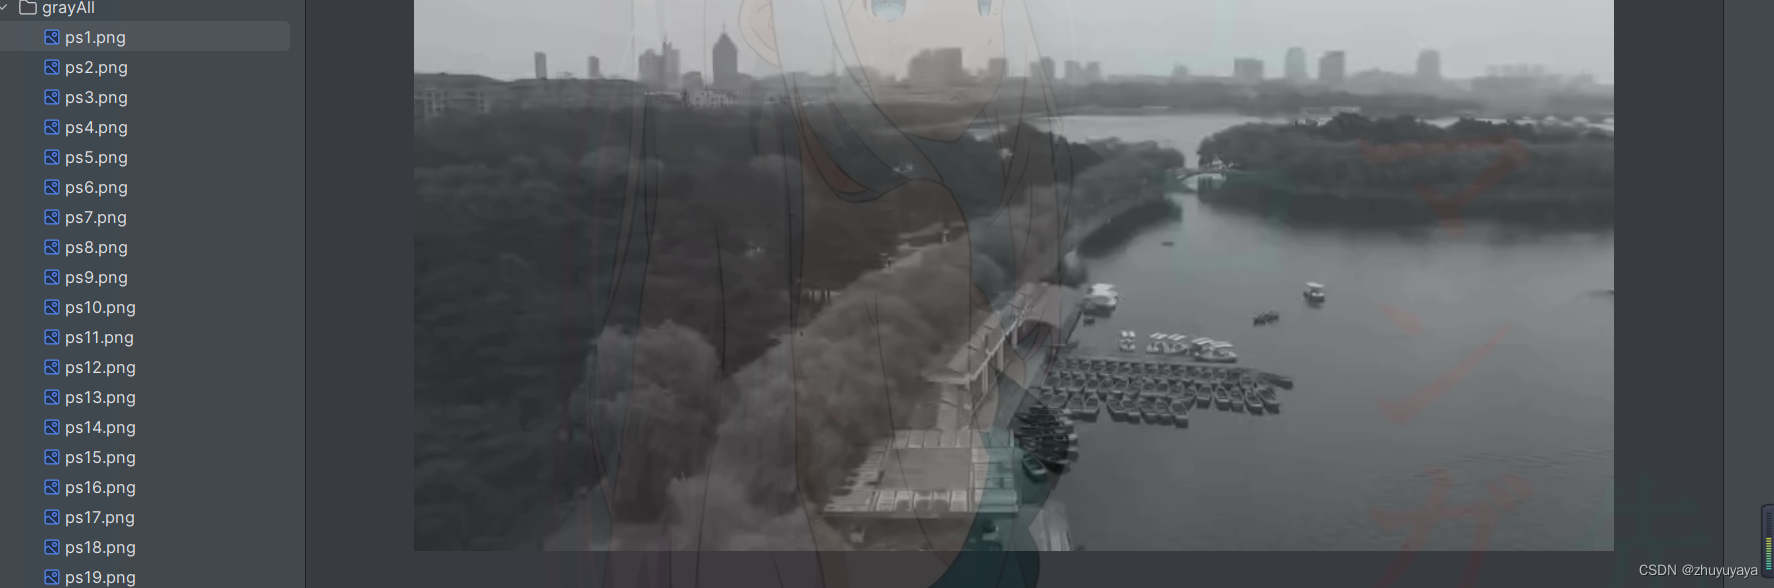
启动结果


整体代码
import cv2
import osvc = cv2.VideoCapture('test.mp4')if vc.isOpened():open, frame = vc.read()
else:open = Falseos.makedirs("grayAll", exist_ok=True)
i = 0
while open:ret, frame = vc.read()if frame is None:breakif ret == True:i += 1gray = cv2.cvtColor(frame, cv2.COLOR_BGR2GRAY)cv2.imwrite("grayAll/ps" + str(i) + ".png",gray)# 释放硬件资源
vc.release()
cv2.destroyAllWindows()
代码解释
这是一个控制文件的库十分的好用
import osos.makedirs("grayAll", exist_ok=True)exist_ok=True 如果有这个文件夹则不创建,没有才创建"grayAll"要创建的文件夹名字
vc = cv2.VideoCapture('test.mp4')读入视频文件
if vc.isOpened():open, frame = vc.read()
else:open = False
vc.read()会返回两个值 1.是否能打开此文件=open 2.此视频该帧率的图片=frame
# 文件名字序号定义
i = 0
while open:ret, frame = vc.read()if frame is None:breakif ret == True:i += 1# 取出图片,并且转换为灰度图片gray = cv2.cvtColor(frame, cv2.COLOR_BGR2GRAY)# 保存图片cv2.imwrite("grayAll/ps" + str(i) + ".png",gray)
# 释放硬件资源
vc.release()
# 关闭所有窗口
cv2.destroyAllWindows()