三种定时器的实现方式

一、@Scheduled
@Schedule是Spring框架提供的一种简单的定时任务调度方法,通过注解的方式即可实现定时任务的调度。它适用于简单的定时任务需求,例如每隔一段时间执行一次任务或者在特定时间执行任务。@Scheduled可以轻松地集成到Spring应用中,但在处理复杂地调度需求时可能显得不够灵活。
使用实例
-
在定时任务上添加注解
@Service public class TimerServiceImpl implements ITimerService {@Override@Scheduled(cron = "0/5 * * * * ?")public void testScheduled() {//每5秒执行一次System.out.println("我执行了一次testScheduled()");} } -
在启动类上通过
@EnableScheduling注解开启spring的任务调度功能。@SpringBootApplication @EnableScheduling public class JobApp {public static void main(String[] args) {SpringApplication.run(JobApp.class);} }
二、Quartz
Quartz是一个功能强大的、开源的定时任务调度框架,提供了丰富的功能和灵活的调度管理。它支持复杂的调度需求,作业持久化、集群部署等功能。Quartz可以与Spring等框架无缝集成,被广泛应用于企业级应用中,使用与单体服务,不适合分布式。
接下来简单介绍一下如何使用
2.1 引入依赖
<dependency><groupId>org.springframework.boot</groupId><artifactId>spring-boot-starter-quartz</artifactId>
</dependency>
2.2 创建一个定时器任务
实现 QuartzJobBean 的方法。
public class MyJob extends QuartzJobBean {@Overrideprotected void executeInternal(JobExecutionContext context) throws JobExecutionException {System.out.println("我是定时器quartz,准备运行...");}
}
2.3 构建定时器任务触发器
创建一个配置类
@Configuration
public class JobConfig {@Beanpublic JobDetail jobDetail(){return JobBuilder.newJob(MyJob.class).storeDurably(true).build();}@Beanpublic Trigger trigger(){ //用于创建一个和先前创建的定时器任务关联起来的触发器,设置触发器时间为每隔5秒return  TriggerBuilder.newTrigger().forJob(jobDetail()).withSchedule(CronScheduleBuilder.cronSchedule("0/5 * * * * ?")).build();}
}
三、xxl-job
XXL-Job是一个分布式任务调度平台,提供了可视化的任务管理界面、任务的动态添加、修改、删除等功能。它支持分布式部署,并提供了任务执行日志、任务运行状态等监控功能。XXL-Job是为了解决分布式系统中任务调度的问题而设计的,适合于大规模分布式系统中的定时任务调度。
官网:https://www.xuxueli.com/xxl-job/
接下来简单介绍一下如何使用
3.1 安装
-
为了方便,使用 docker-compose 安装
version: '2' #自定义的docker网络 networks:docker_net:external: true services:xxl-job-compose:#读取Dockerfile#build: # context: .# dockerfile: Dockerfile文件名#镜像名称image: xuxueli/xxl-job-admin:2.3.1#容器名称container_name: xxl-jobports:- "9898:8080"environment:PARAMS: '--spring.datasource.url=jdbc:mysql://192.168.201.81:3306/xxl_job?useUnicode=true&characterEncoding=UTF-8&autoReconnect=true&serverTimezone=Asia/Shanghai--spring.datasource.username=root--spring.datasource.password=123'volumes:- /usr/local/software/xxl-job/logs:/data/applogsnetworks:docker_net:ipv4_address: 172.18.12.100 -
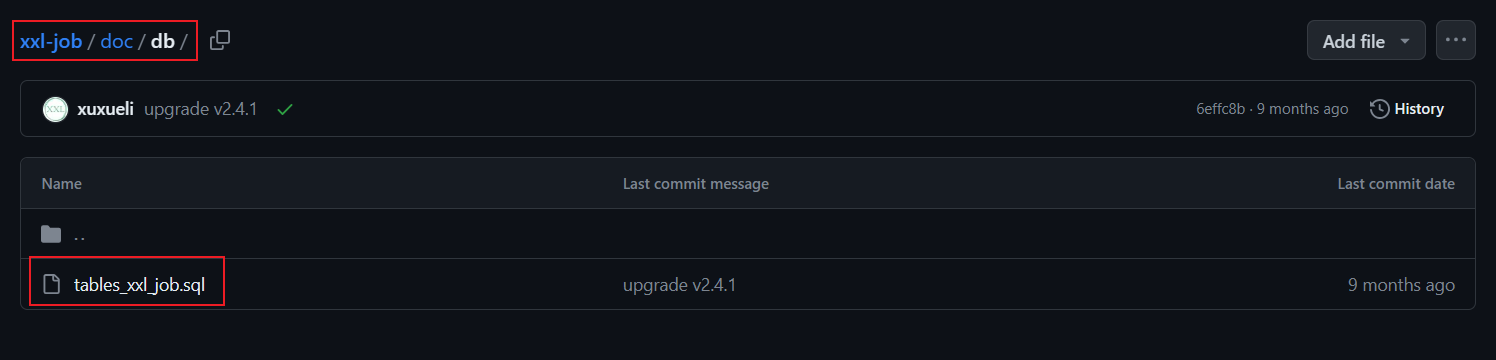
加载数据库信息
官方提供了数据库文件,我们只需要下载下来运行即可。
-
运行
使用docker-compose up -d执行 docker-compose.yml 文件。
启动成功后,浏览器输入http://虚拟机ip:9898/xxl-job-admin,出现下面的界面即表示运行成功。
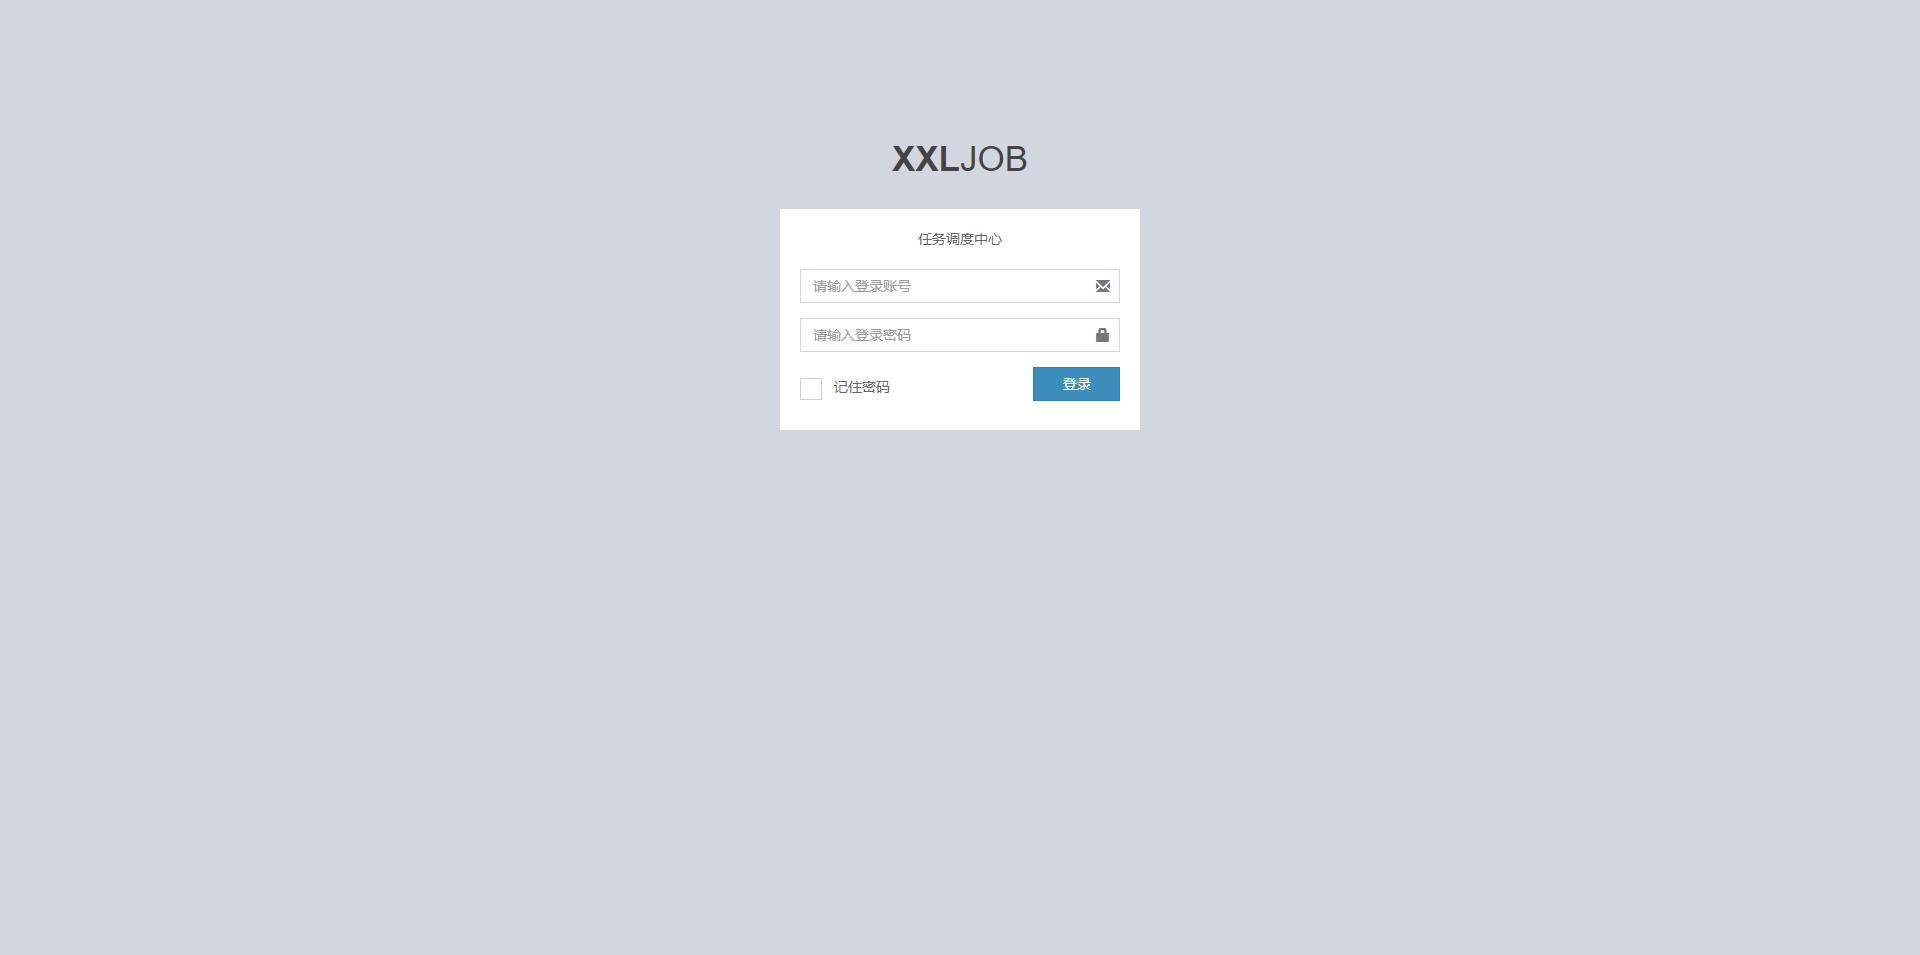
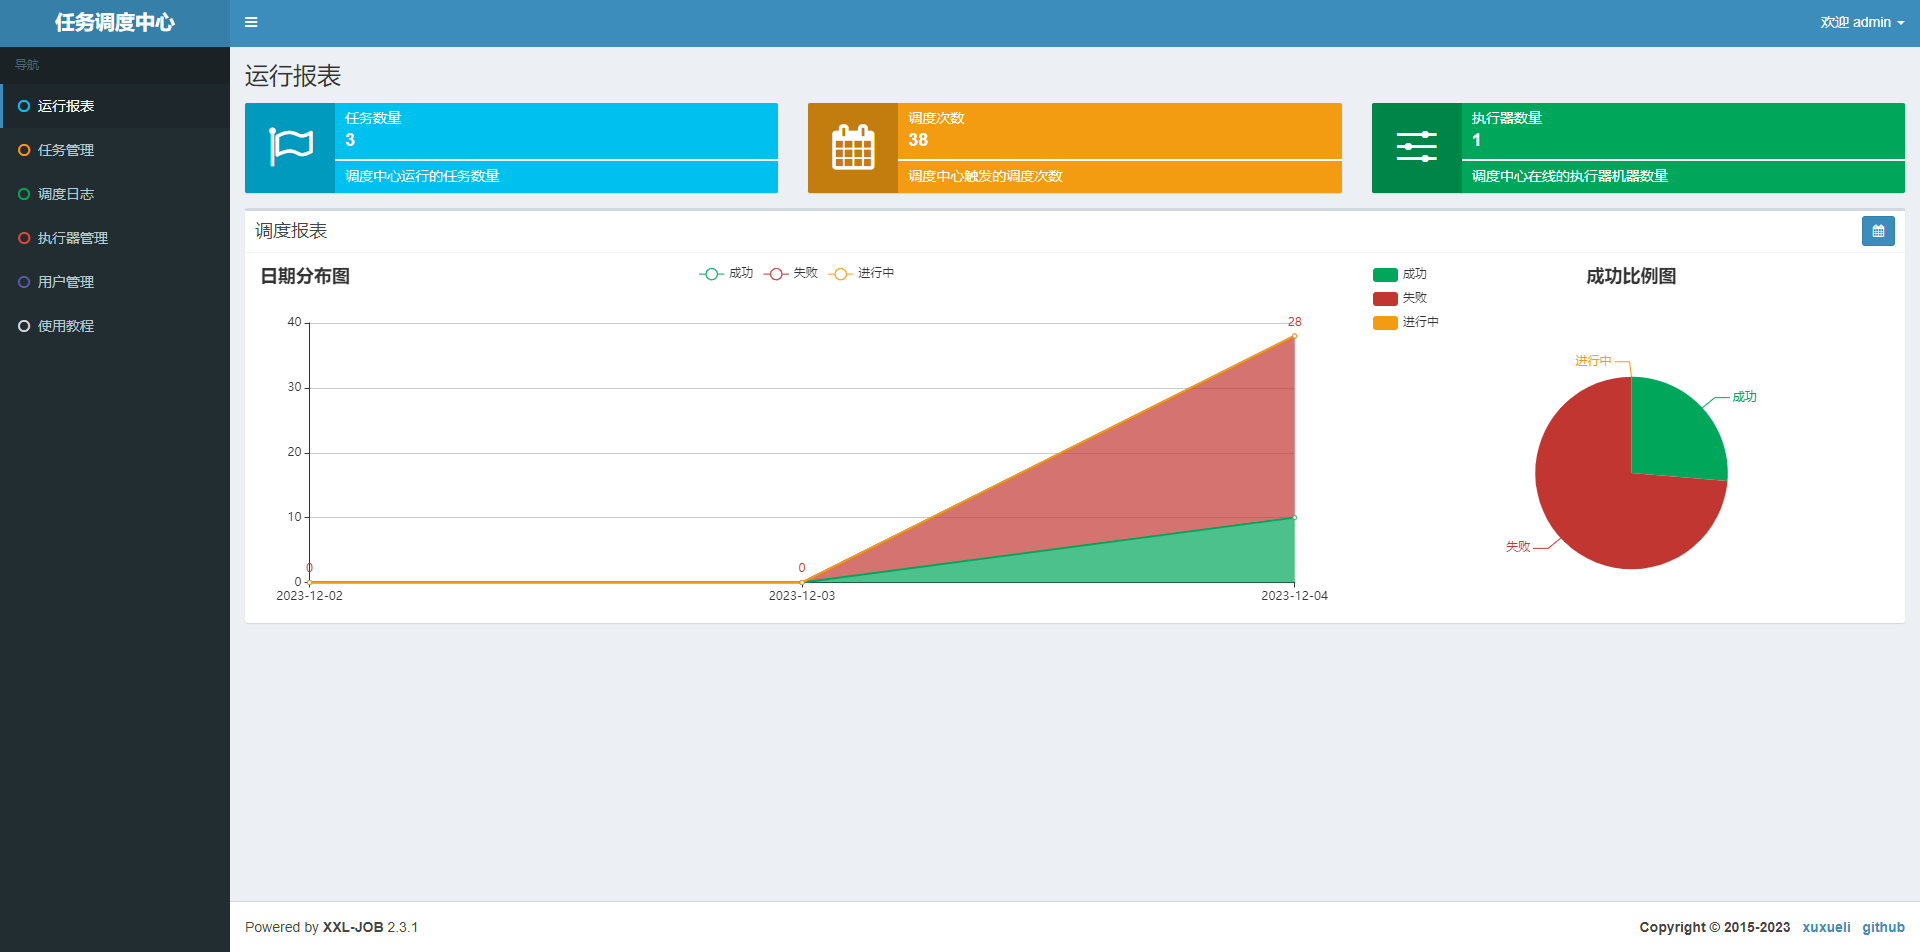
使用用户名admin,密码123456登录。
3.2 xxl-job编程
-
引入依赖
<dependency><groupId>com.xuxueli</groupId><artifactId>xxl-job-core</artifactId><version>2.3.1</version> </dependency> -
yml 文件中配置
#xxljob的配置
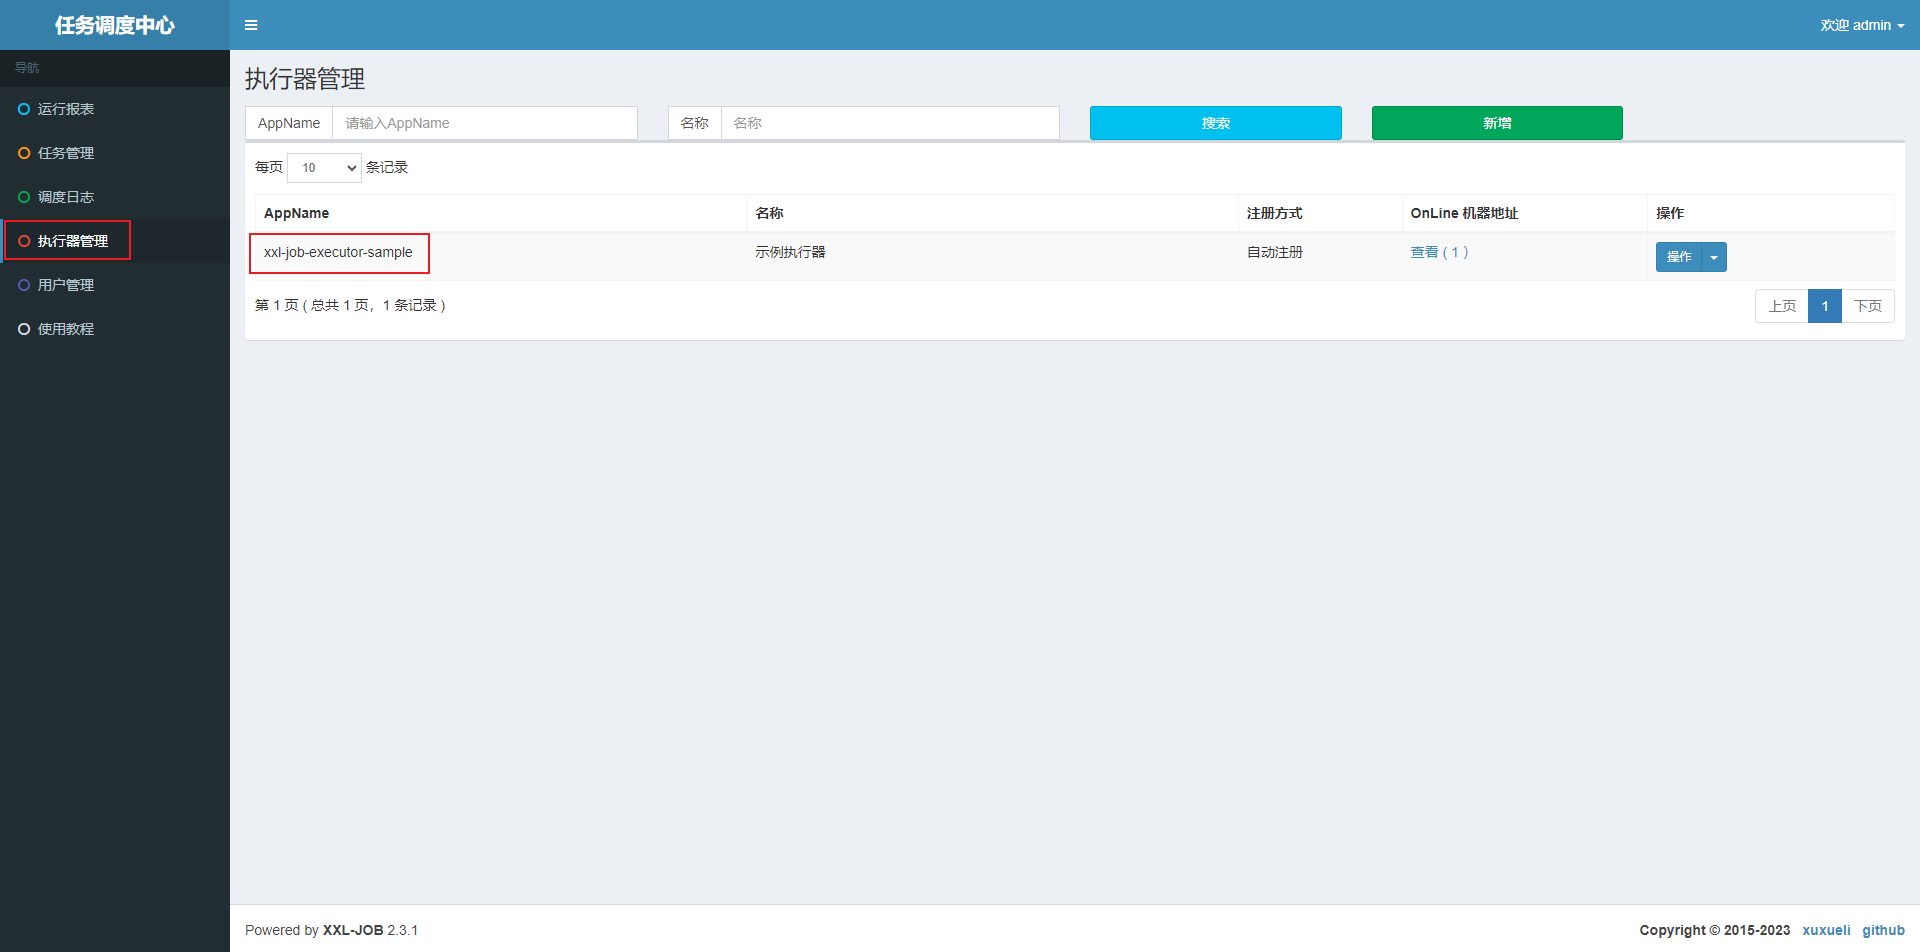
xxl:job:admin:addresses: http://192.168.200.135:9898/xxl-job-adminexecutor:appname: xxl-job-executor-sampleport: 9777accessToken: default_token
appname的名称从下面这里获取。
 3. java 配置类
import com.xxl.job.core.executor.impl.XxlJobSpringExecutor; import lombok.extern.slf4j.Slf4j; import org.springframework.beans.factory.annotation.Value; import org.springframework.context.annotation.Bean; import org.springframework.context.annotation.Configuration; @Slf4j @Configuration public class XxlJobConfig {@Value("${xxl.job.admin.addresses}")private String address;@Value("${xxl.job.executor.appname}")private String appName;@Value("${xxl.job.executor.port}")private int port;@Value("${xxl.job.accessToken}")private String accessToken;@Beanpublic XxlJobSpringExecutor xxlJobSpringExecutor(){XxlJobSpringExecutor xxlJobSpringExecutor = new XxlJobSpringExecutor();xxlJobSpringExecutor.setAccessToken(accessToken);xxlJobSpringExecutor.setAdminAddresses(address);xxlJobSpringExecutor.setAppname(appName);xxlJobSpringExecutor.setPort(port);log.debug("xxl-job初始化成功:{}",xxlJobSpringExecutor);return xxlJobSpringExecutor;} } -
创建调度任务
@Component @Slf4j public class MyJobs {@XxlJob("helloXxl")public void helloXxlJob(){log.debug("hello,xxljob");} } -
web 管理端配置
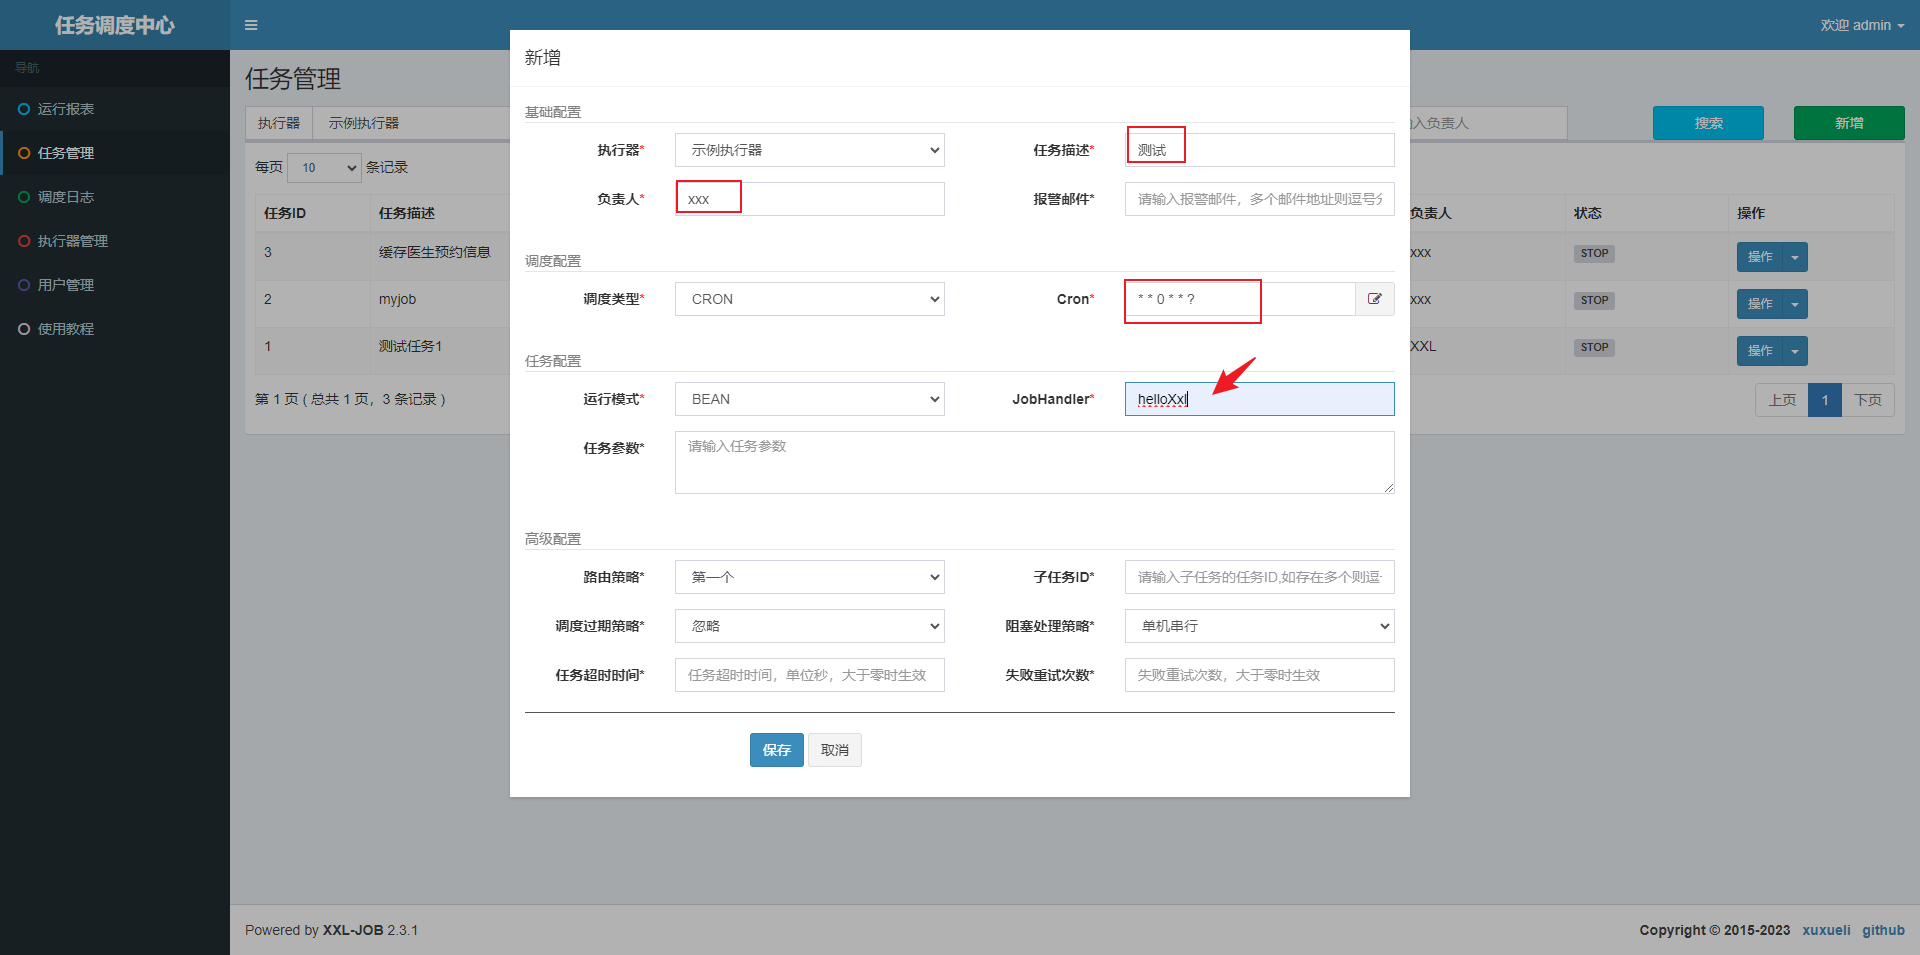
配置任务:任务管理 -> 新增,根据实际情况填写内容,注意 JobHandler内容需要与创建的调度任务注解名称保持一致。
-
测试
点击新建任务右侧的操作,来执行代码。
