Jenkins-Pipeline

Pipeline
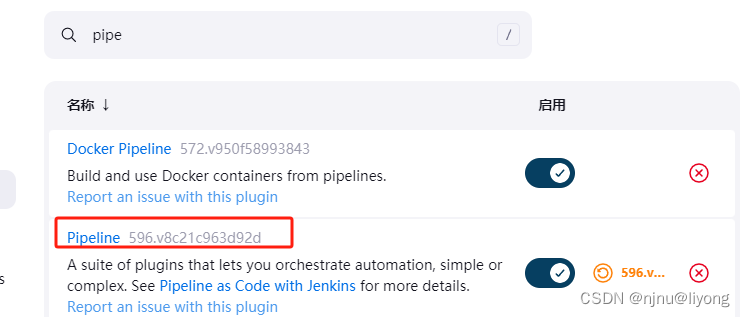
1 安装插件
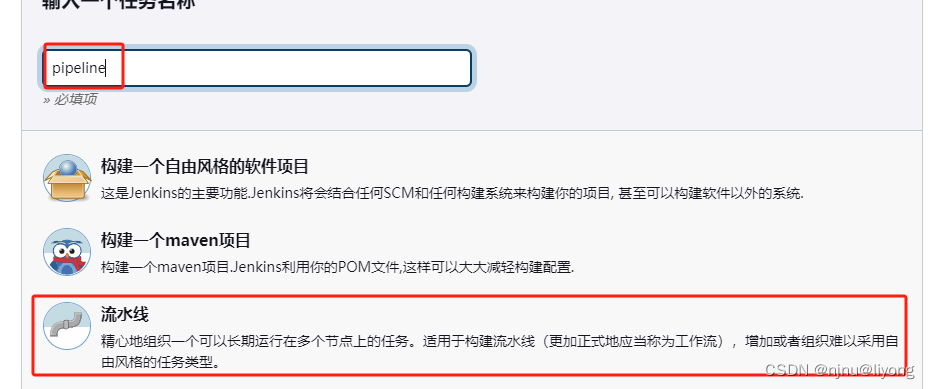
2 新建一个 Pipline 工程
3 配置Pipeline 脚本
agent的使用可以参考这个文档
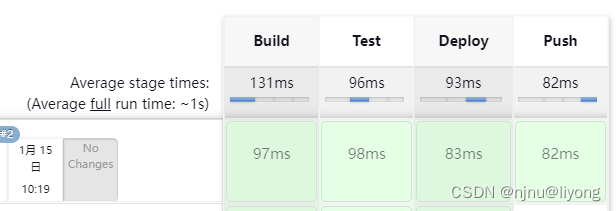
pipeline {agent anystages {stage('Build') { steps {echo 'Building project...'}}stage('Test') { steps {echo 'Testing project...'}}stage('Deploy') { steps {echo 'Deploying to server ...'}}stage('Push') { steps {echo 'Pusing to harbor ...'}}}
}
我们配置的每一个阶段都可以在这里展示:
4 如果我们需要在阶段内部执行多条指令
pipeline {agent anystages {stage('Build') { steps {sh 'echo "multi-steps pipeline"'sh '''echo "multi command"pwdls'''}}}
}
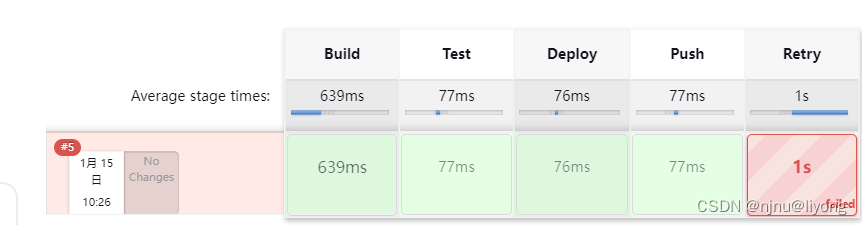
5 失败以后重重试
pipeline {agent anystages {stage('Build') { steps {sh 'echo "multi-steps pipeline"'sh '''echo "multi command"pwdls'''}}stage('Test') { steps {echo 'Testing project...'}}stage('Deploy') { steps {echo 'Deploying to server ...'}}stage('Push') { steps {echo 'Pusing to harbor ...'}}stage('Retry') { steps {retry(3) {sh 'Retry failure...'}}}}
}

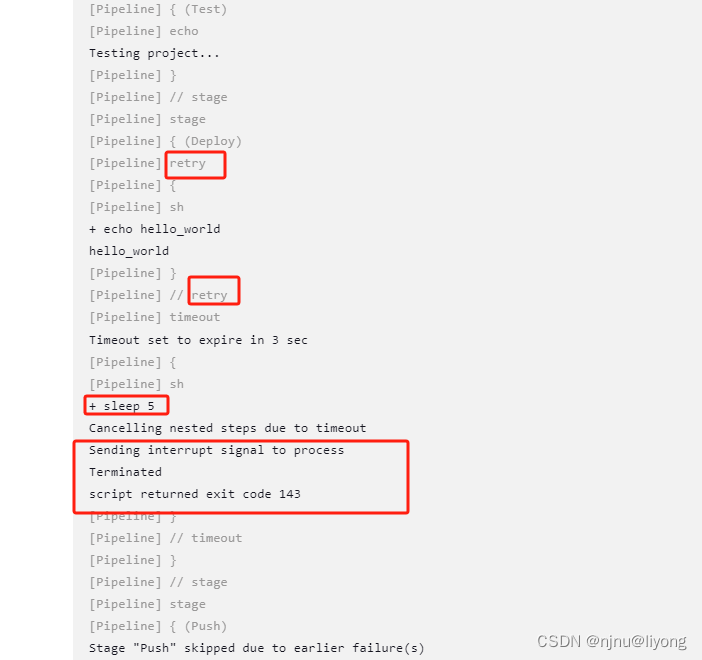
6 超时重试
pipeline {agent anystages {stage('Build') { steps {sh 'echo "multi-steps pipeline"'sh '''echo "multi command"pwdls'''}}stage('Test') { steps {echo 'Testing project...'}}stage('Deploy') { steps {retry(3) {sh 'echo hello_world'}timeout(time: 3, unit: 'SECONDS') {sh 'sleep 5'}}}stage('Push') { steps {echo 'Pusing to harbor ...'}}stage('Retry') { steps {retry(3) {sh 'Retry failure...'}}}}
}
7 使用环境变量
pipeline {agent any#在这里进行环境变量的定义environment {EV1 = 'e1'EV2 = 'e2'}stages {stage('Build') { steps {#在后面的i奥本中进行应用sh 'echo "Hello, $NAME1 and $NAME2"'}}}
}
上面的例子是为了方便演示,这里也提供一个生产环境中会使用的真正的pipeline,是一个脱敏后的demo, 然后我们还可加一些代码检查机制在构建步骤里面,关于代码检查:
pipeline {agent {node {label 'Slave1'}}environment {def artifactId = 'xxxx'def projectNameSpace='backend'def harborIp='ip:8888'}stages{stage('pull'){steps{git branch: 'master', credentialsId: 'jenkins-gitlab', url: 'http:xxxx.git'}}stage('compiler'){steps{ sh '''mvn clean package -DskipTests -Pmaster'''}}stage('build'){environment {def version = sh script: 'mvn org.apache.maven.plugins:maven-help-plugin:3.1.0:evaluate -Dexpression=project.version -q -DforceStdout', returnStdout: true} steps{sh '''cp -r ./gis-config    startup/demo-project/target/mv ./startup/demo-project/Dockerfile startup/demo-project/target/Dockerfiledocker build -t ${harborIp}/${projectNameSpace}/b_${artifactId}:${version} startup/demo-project/targetdocker build -t ${harborIp}/${projectNameSpace}/b_${artifactId}:1.1.8 startup/demo-project/target'''}}stage('push'){environment {def version = sh script: 'mvn org.apache.maven.plugins:maven-help-plugin:3.1.0:evaluate -Dexpression=project.version -q -DforceStdout', returnStdout: true} steps{sh '''docker push ${harborIp}/${projectNameSpace}/b_${artifactId}:${version}docker push ${harborIp}/${projectNameSpace}/b_${artifactId}:1.1.8'''}}}
}
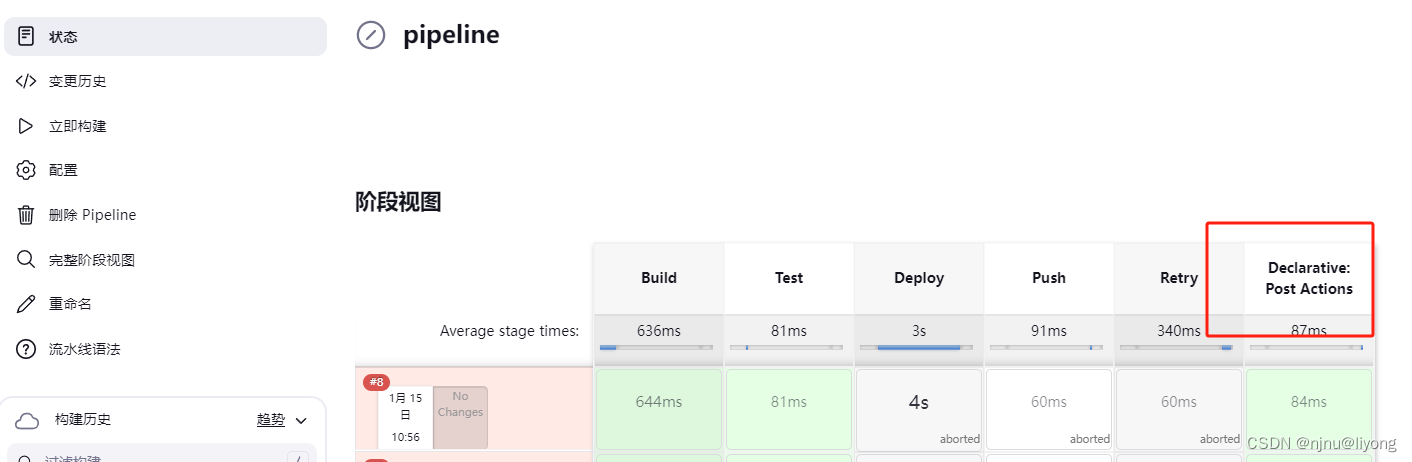
8 使用post action
pipeline {agent anystages {stage('Build') { steps {sh 'echo "multi-steps pipeline"'sh '''echo "multi command"pwdls'''}}stage('Test') { steps {echo 'Testing project...'}}stage('Deploy') { steps {retry(3) {sh 'echo hello_world'}timeout(time: 3, unit: 'SECONDS') {sh 'sleep 5'}}}stage('Push') { steps {echo 'Pusing to harbor ...'}}stage('Retry') { steps {retry(3) {sh 'Retry failure...'}}}}post {always {echo 'always executed'}success {echo 'executed if this test success'}failure {echo 'executed if this test fails'}}
}
Blue Ocean
除了在Jenkins项目配置中写入Pipeline DSL, 还可以通过BlueOcean UI设置流水线项目。
Blue Ocean 重新思考Jenkins的用户体验,重新设计Jenkins Pipeline, 但与原有的Jenkins作业兼容,增加了新的特性:
- Pipeline可视化
- 异常处理可视化
- Pipeline 编辑器
- Git集成协作
但是BlueOcean暂时还不成熟,原有的Jenkins classic UI依然保留。需要以插件的形式安装BlueOcean
BlueOcean Plugin
默认情况下不安装 BlueOcean Plugin,手动安装流程如下
- Manage Jenkins > Manage Plugins > Available Tab
- 在filter框内输入
blue ocean,点击安装 - Blue Ocean 会自动安装有依赖关系的插件
- 重启
Dashboard左侧出现Open Blue Ocean
这个其实就是,将Pipe的脚本采用UI的界面来配置,这里演示了,感兴趣的可以去试试,我还是喜欢直接写脚本。