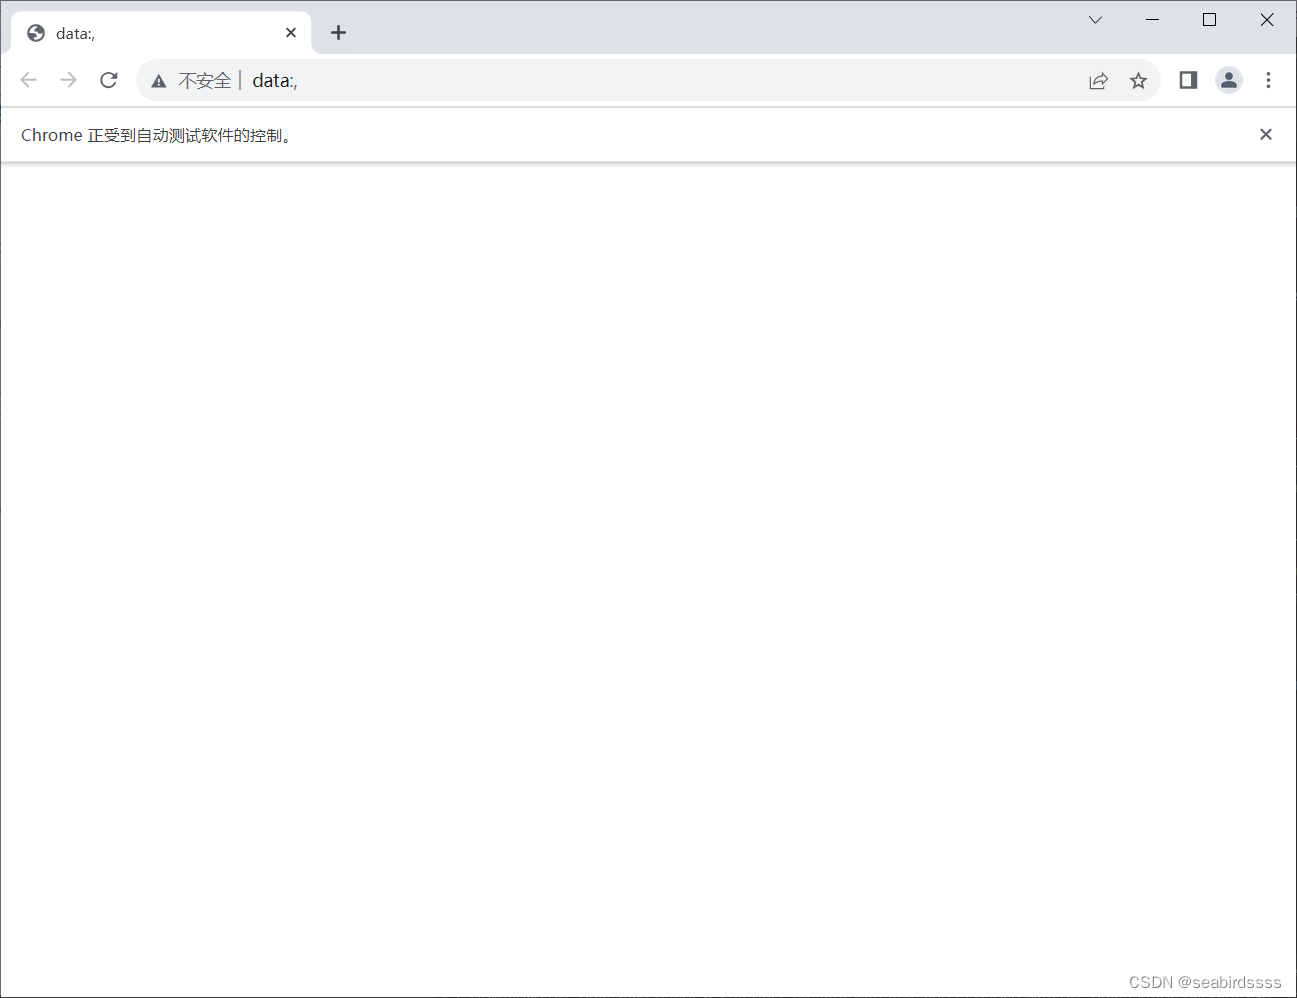
学习使用 XPath 表达式来实现找到目标元素时智能封装等待 执行测试代码启动Chrome浏览器后,地址栏只显示data; import unittest
from selenium import webdriver
from selenium. common. exceptions import NoSuchElementException
from selenium. webdriver. support. wait import WebDriverWait
from HTMLTestRunner_cn import HTMLTestRunnerclass MyTest ( unittest. TestCase) : def setUp ( self) - > None : chrome_option = webdriver. ChromeOptions( ) chrome_option. add_argument( '--disable-gpu' ) self. driver = webdriver. Chrome( options= chrome_option) self. imgs = [ ] self. url = 'http://localhost:8080' def tearDown ( self) - > None : try : self. driver. quit( ) except NoSuchElementException as e: print ( 'tearDown Error details: {}' . format ( e. args[ 0 ] ) ) def find_element ( self, locator) : try : element = WebDriverWait( self. driver, 30 ) . until( lambda x: x. find_element( * locator) ) return elementexcept NoSuchElementException as e: print ( 'Error details: {}' . format ( e. args[ 0 ] ) ) raise def test1 ( self) : self. find_element( ( 'id' , 'username' ) ) . send_keys( 'admin' ) self. find_element( ( 'id' , 'password' ) ) . send_keys( 'admin' ) self. find_element( ( 'xpath' , '//input[@value="Login"]' ) ) . click( ) self. imgs. append( self. driver. get_screenshot_as_base64( ) ) self. find_element( ( 'xpath' , '//div[@id="accordion"]//div[contains(@class, "panel-title") and text()="信息查询"]' ) ) . click( ) self. imgs. append( self. driver. get_screenshot_as_base64( ) ) self. find_element( ( 'partial link text' , '查询顾客信息' ) ) . click( ) self. imgs. append( self. driver. get_screenshot_as_base64( ) ) if __name__ == '__main__' : test1 = unittest. defaultTestLoader. loadTestsFromTestCase( MyTest) suite = unittest. TestSuite( test1) runner = HTMLTestRunner( title= '带截图的测试报告' , description= 'xxx软件测试报告v0.1' , stream= open ( 'reports/sample_test_report.html' , 'wb' ) , verbosity= 2 ) runner. run( suite) 看了好久找到了替代启动浏览器的方法:换成self.driver.get('http://localhost:8080')就好了 然后开始琢磨两者的区别: 使用 self.driver.get('http://localhost:8080') 时,driver 是一个 WebDriver 对象,通过调用 get() 方法并传入网址参数来打开浏览器,并加载对应的网页。 而当使用 self.url = 'http://localhost:8080' 时,你只是将网址赋值给了 self.url 这个实例变量,但并没有使用它来打开浏览器。所以在后续的代码中,浏览器仍然会使用默认的网址或者之前通过 driver.get() 方法设置的网址。 如果希望使用 self.url 来打开浏览器,可以在测试方法 test1() 中,通过 self.driver.get(self.url) 来打开指定的网页。 def test1 ( self) : self. driver. get( self. url) self. find_element( ( 'id' , 'username' ) ) . send_keys( 'admin' ) self. find_element( ( 'id' , 'password' ) ) . send_keys( 'admin' ) self. find_element( ( 'xpath' , '//input[@value="Login"]' ) ) . click( ) self. imgs. append( self. driver. get_screenshot_as_base64( ) ) self. find_element( ( 'xpath' , '//div[@id="accordion"]//div[contains(@class, "panel-title") and text()="信息查询"]' ) ) . click( ) self. imgs. append( self. driver. get_screenshot_as_base64( ) ) self. find_element( ( 'partial link text' , '查询顾客信息' ) ) . click( ) self. imgs. append( self. driver. get_screenshot_as_base64( ) )