基于 ESP32-C3 开启 Flash 加密和安全启动并进行 OTA 测试

软件:
- esp-idf v5.1.2
硬件:
- ESP32-C3 board
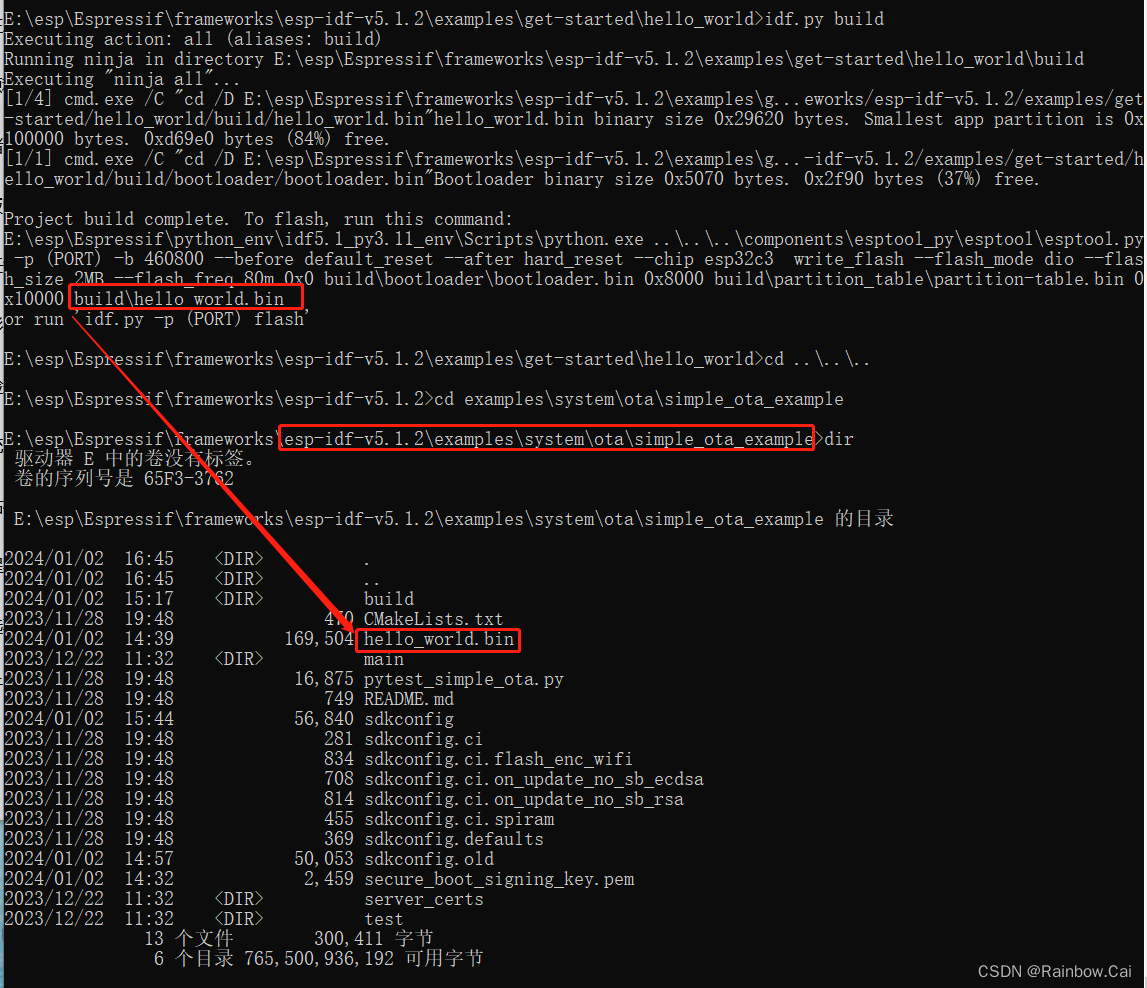
1. 首先,准备一个明文固件 hello-world.bin
- 基于 esp-idf-v5.1.2\examples\get-started\hello_world 例程,使用如下指令,直接编译,获取明文固件
hello-world.bin
idf.py set-target esp32c3idf.py build
2. 接下来,基于 esp-idf-v5.1.2\examples\system\ota\simple_ota_example 例程进行测试
- 将明文固件
hello-world.bin放到 esp-idf-v5.1.2\examples\system\ota\simple_ota_example 目录下
3. 使用如下指令获取 secure boot V2 key
espsecure.py generate_signing_key secure_boot_signing_key.pem --version 2
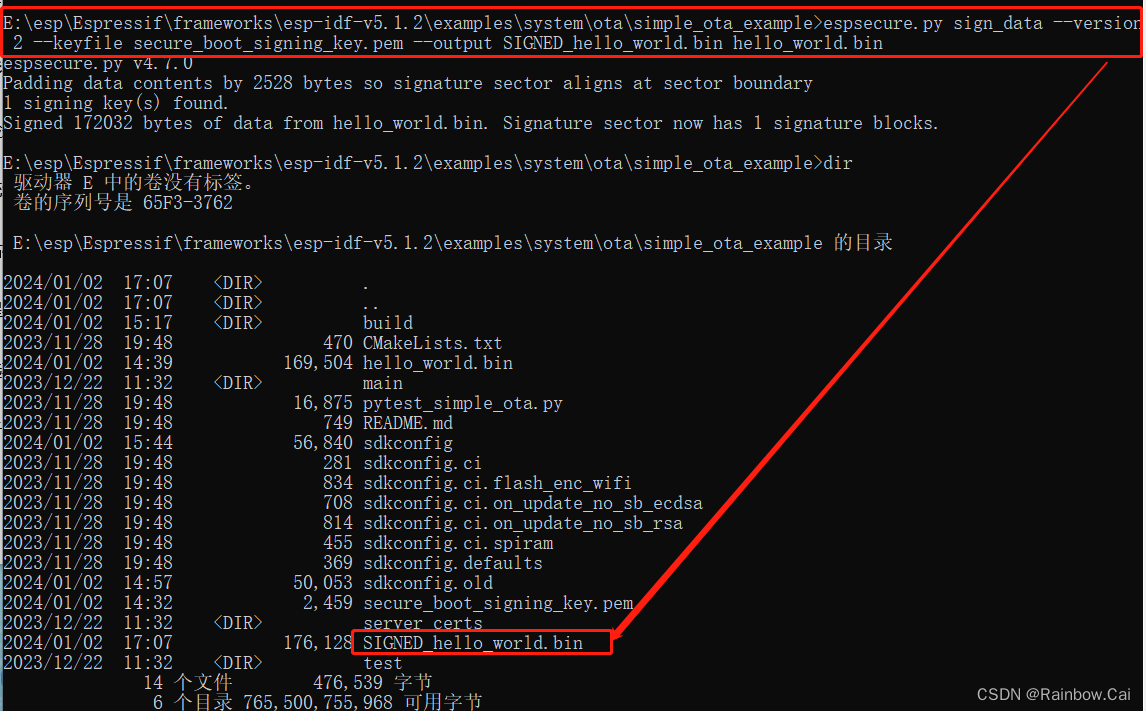
4. 使用如下指令,通过生成的 secure_boot_signing_key.pem 文件对 明文的 hello-world.bin 进行签名,生成被签名的 SIGNED_hello_world.bin
espsecure.py sign_data --version 2 --keyfile secure_boot_signing_key.pem --output SIGNED_hello_world.bin hello_world.bin
5. 为了方便 OTA 测试,我们在本地开启一个 HTTP Server 服务器,将签名的 SIGNED_hello_world.bin 上传到 HTTP Server 中

6. 基于 esp-idf-v5.1.2\examples\system\ota\simple_ota_example 例程,开启如下软件配置
-
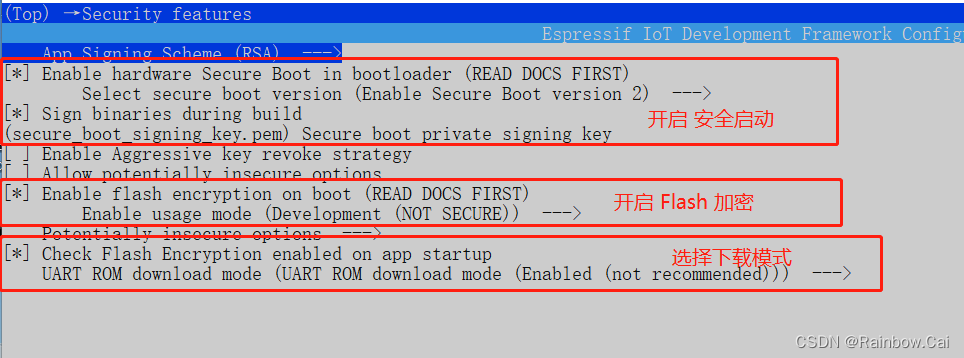
开启 Flash 加密 和 安全启动模式
→ Security features
-
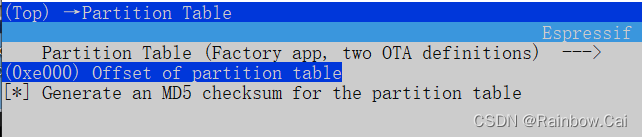
增大
partition-table偏移地址
→ Partition Table
-
设置待 OTA 的
SIGNED_hello_world.bin文件路径
→ Example Configuration

-
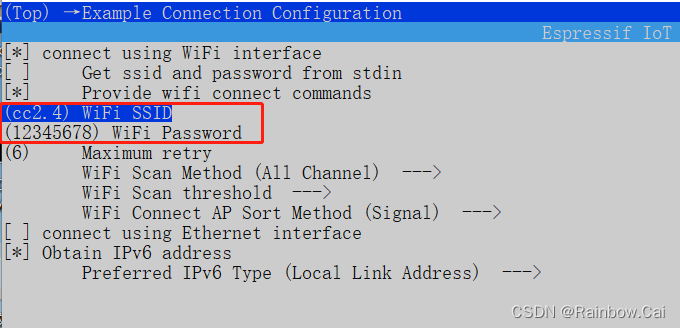
与 PC 连接相同的路由器
→ Example Connection Configuration
-
开启 HTTP Server OTA 的支持
→ Component config → ESP HTTPS OTA

-
关闭
NVS加密
由于开启 Flash 加密后,默认也会使能 NVS 加密,但我们这里没有进行 NVS 加密的相关设置,因此需要关闭 NVS 加密的配置
→ Component config → NVS

7. 使用如下指令编译 bootloader ,并下载被签名的 bootloader.bin
idf.py bootloaderidf.py -p COM* boorloader-flash
8. 使用如下指令,对工程进行编译,并下载编译后的固件
idf.py buildidf.py -p COM* flash monitor
9. 检查固件运行日志
注意:确保稳定的供电环境
-
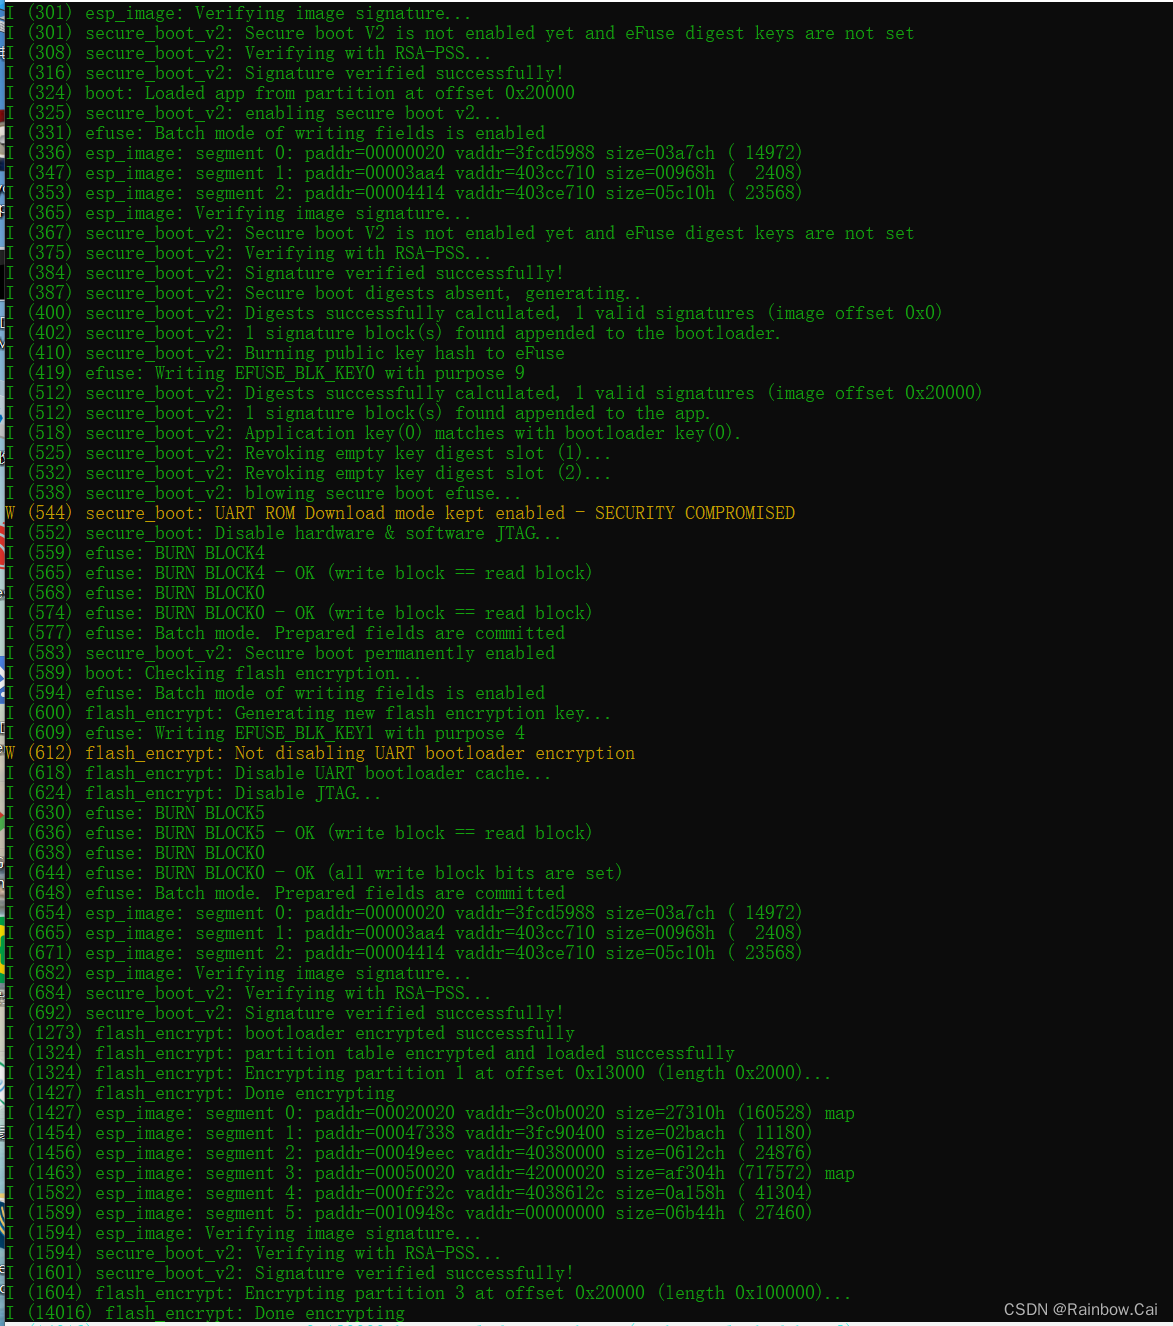
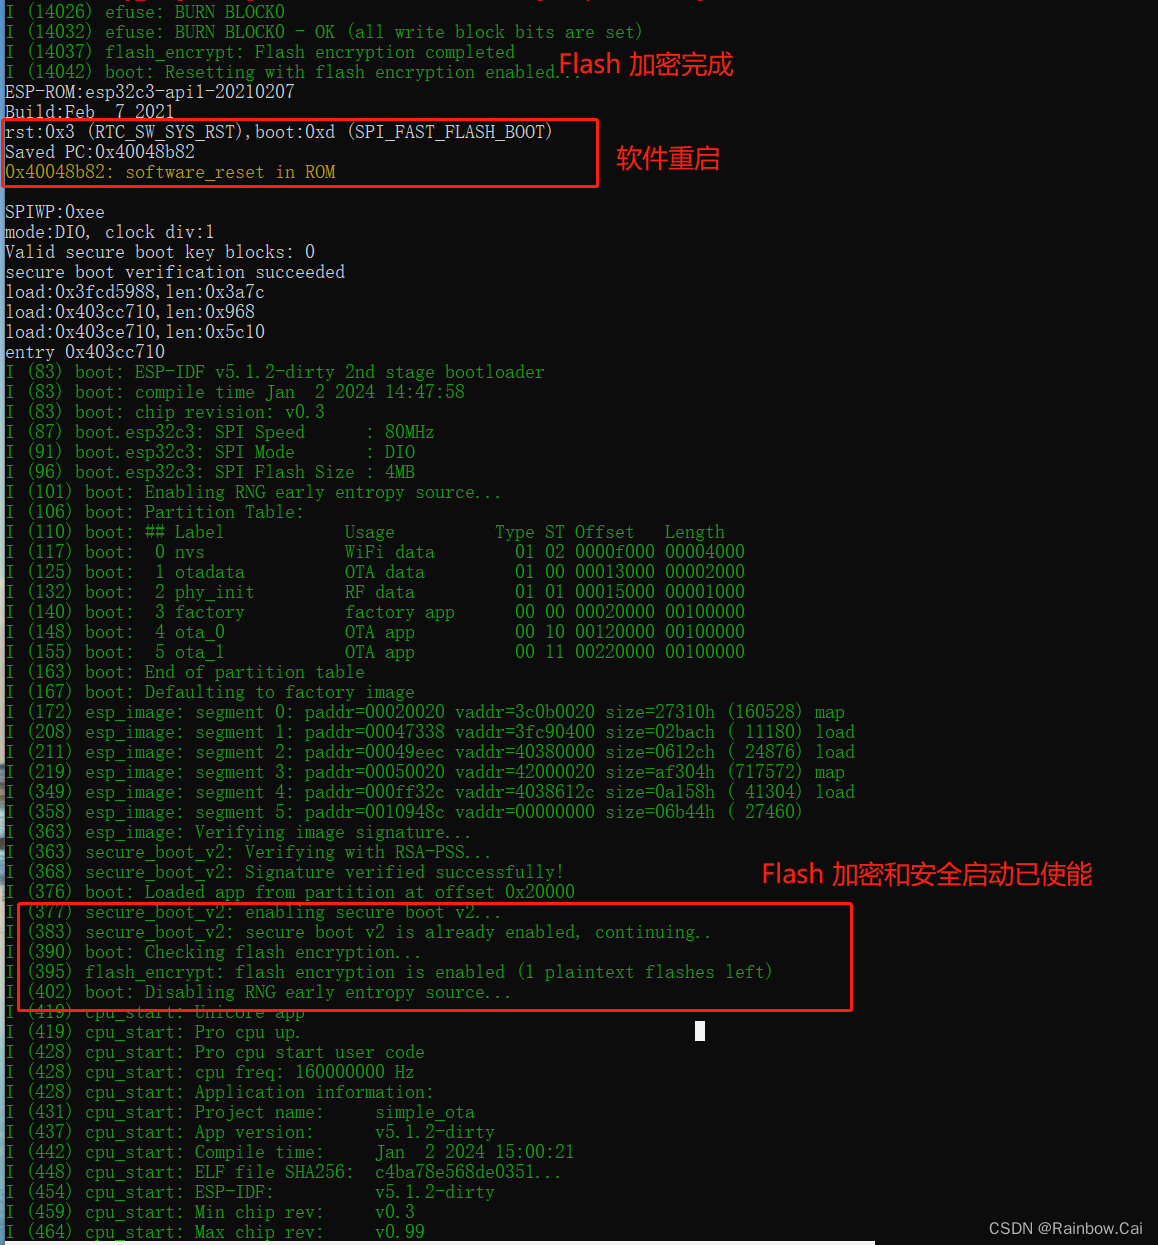
固件首次运行启动后,会先检查 secure boot 签名验证,然后执行 Flash 加密
-
Flash 加密完成后,会进行软件重启,然后开始运行用户固件
-
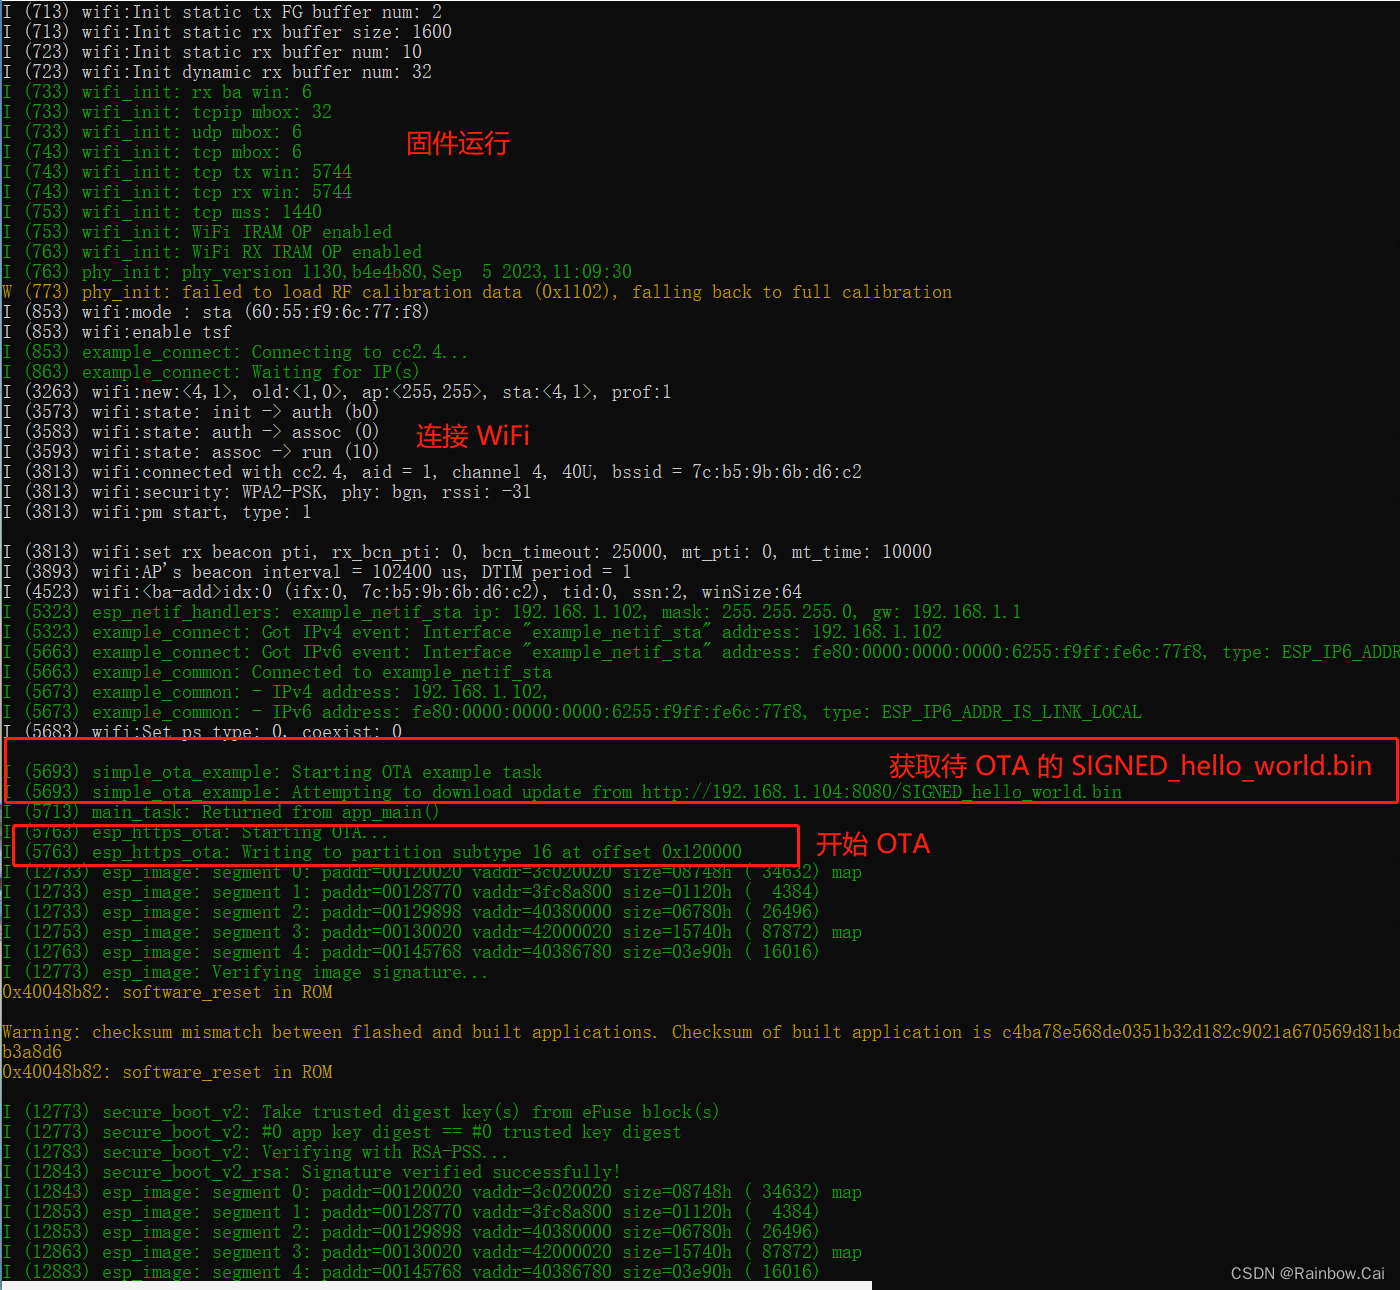
运行 factory 分区的固件,开启 OTA
-
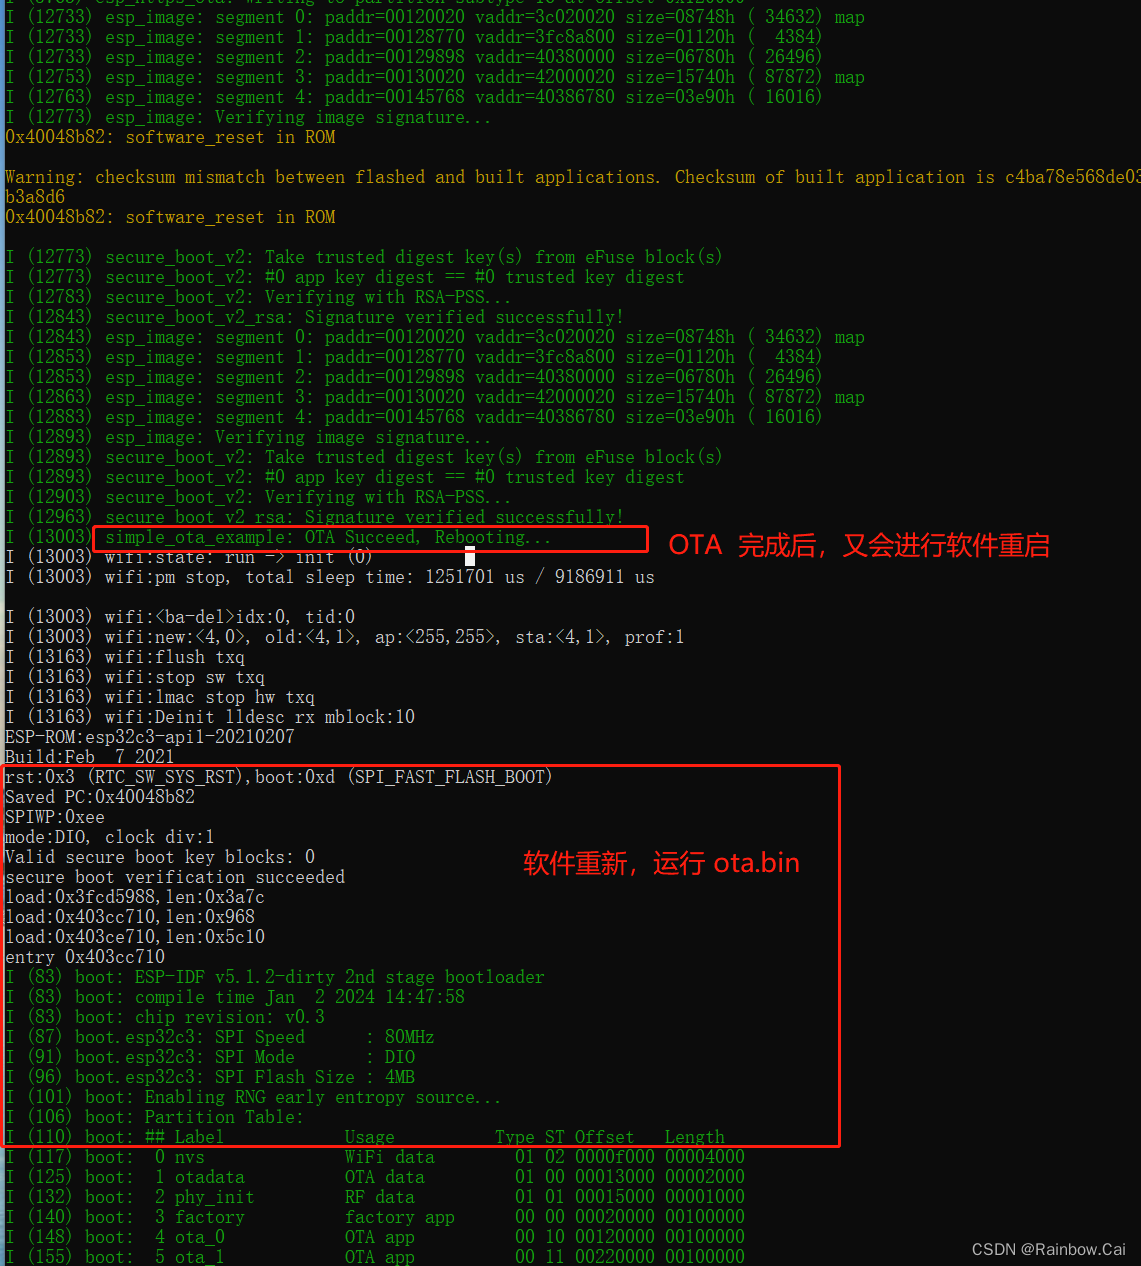
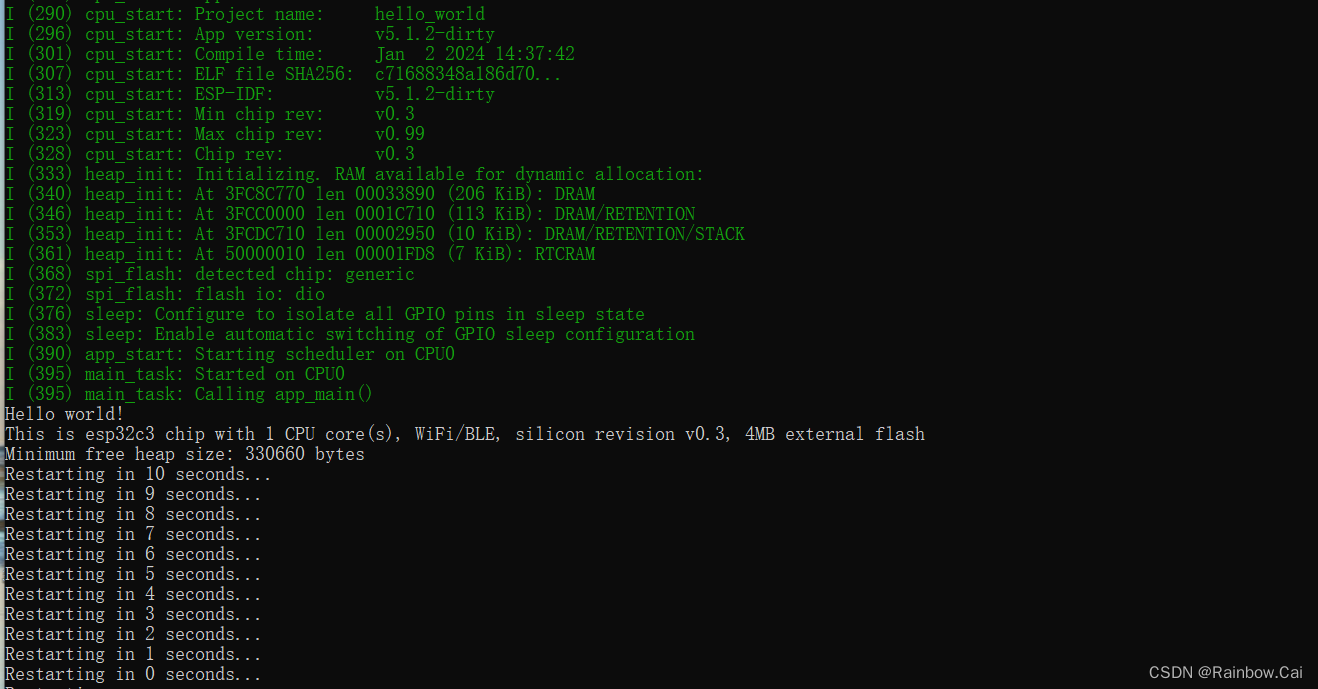
OTA 完成,会再次软件重启,运行 OTA 分区的固件