Docker:部署若依前后端分离版

Docker:部署若依前后端分离版
- 1. 停止天翼云上的原来跑的若依项目
- 2. 停止腾讯云上的若依项目
- 3. 使用Docker部署
- 3.1 天翼云数据库&Redis
- 3.1.1 部署数据库
- 3.1.2 部署Redis数据库
- 3.1.1 部署Nginx(这里被天翼云坑了换的腾讯云运行nginx)
- 3.2 腾讯云部署后端&前端&Nginx
- 3.2.1 部署前端
- 3.2.2 部署后端
- 注意
- 参考
1. 停止天翼云上的原来跑的若依项目
ps -ef|grep 'java'
可以看到ruoyi 的进程是4969

kill -9 4969停止服务
2. 停止腾讯云上的若依项目

3. 使用Docker部署
3.1 天翼云数据库&Redis
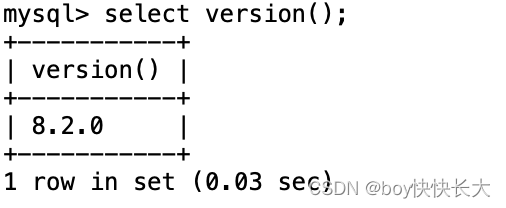
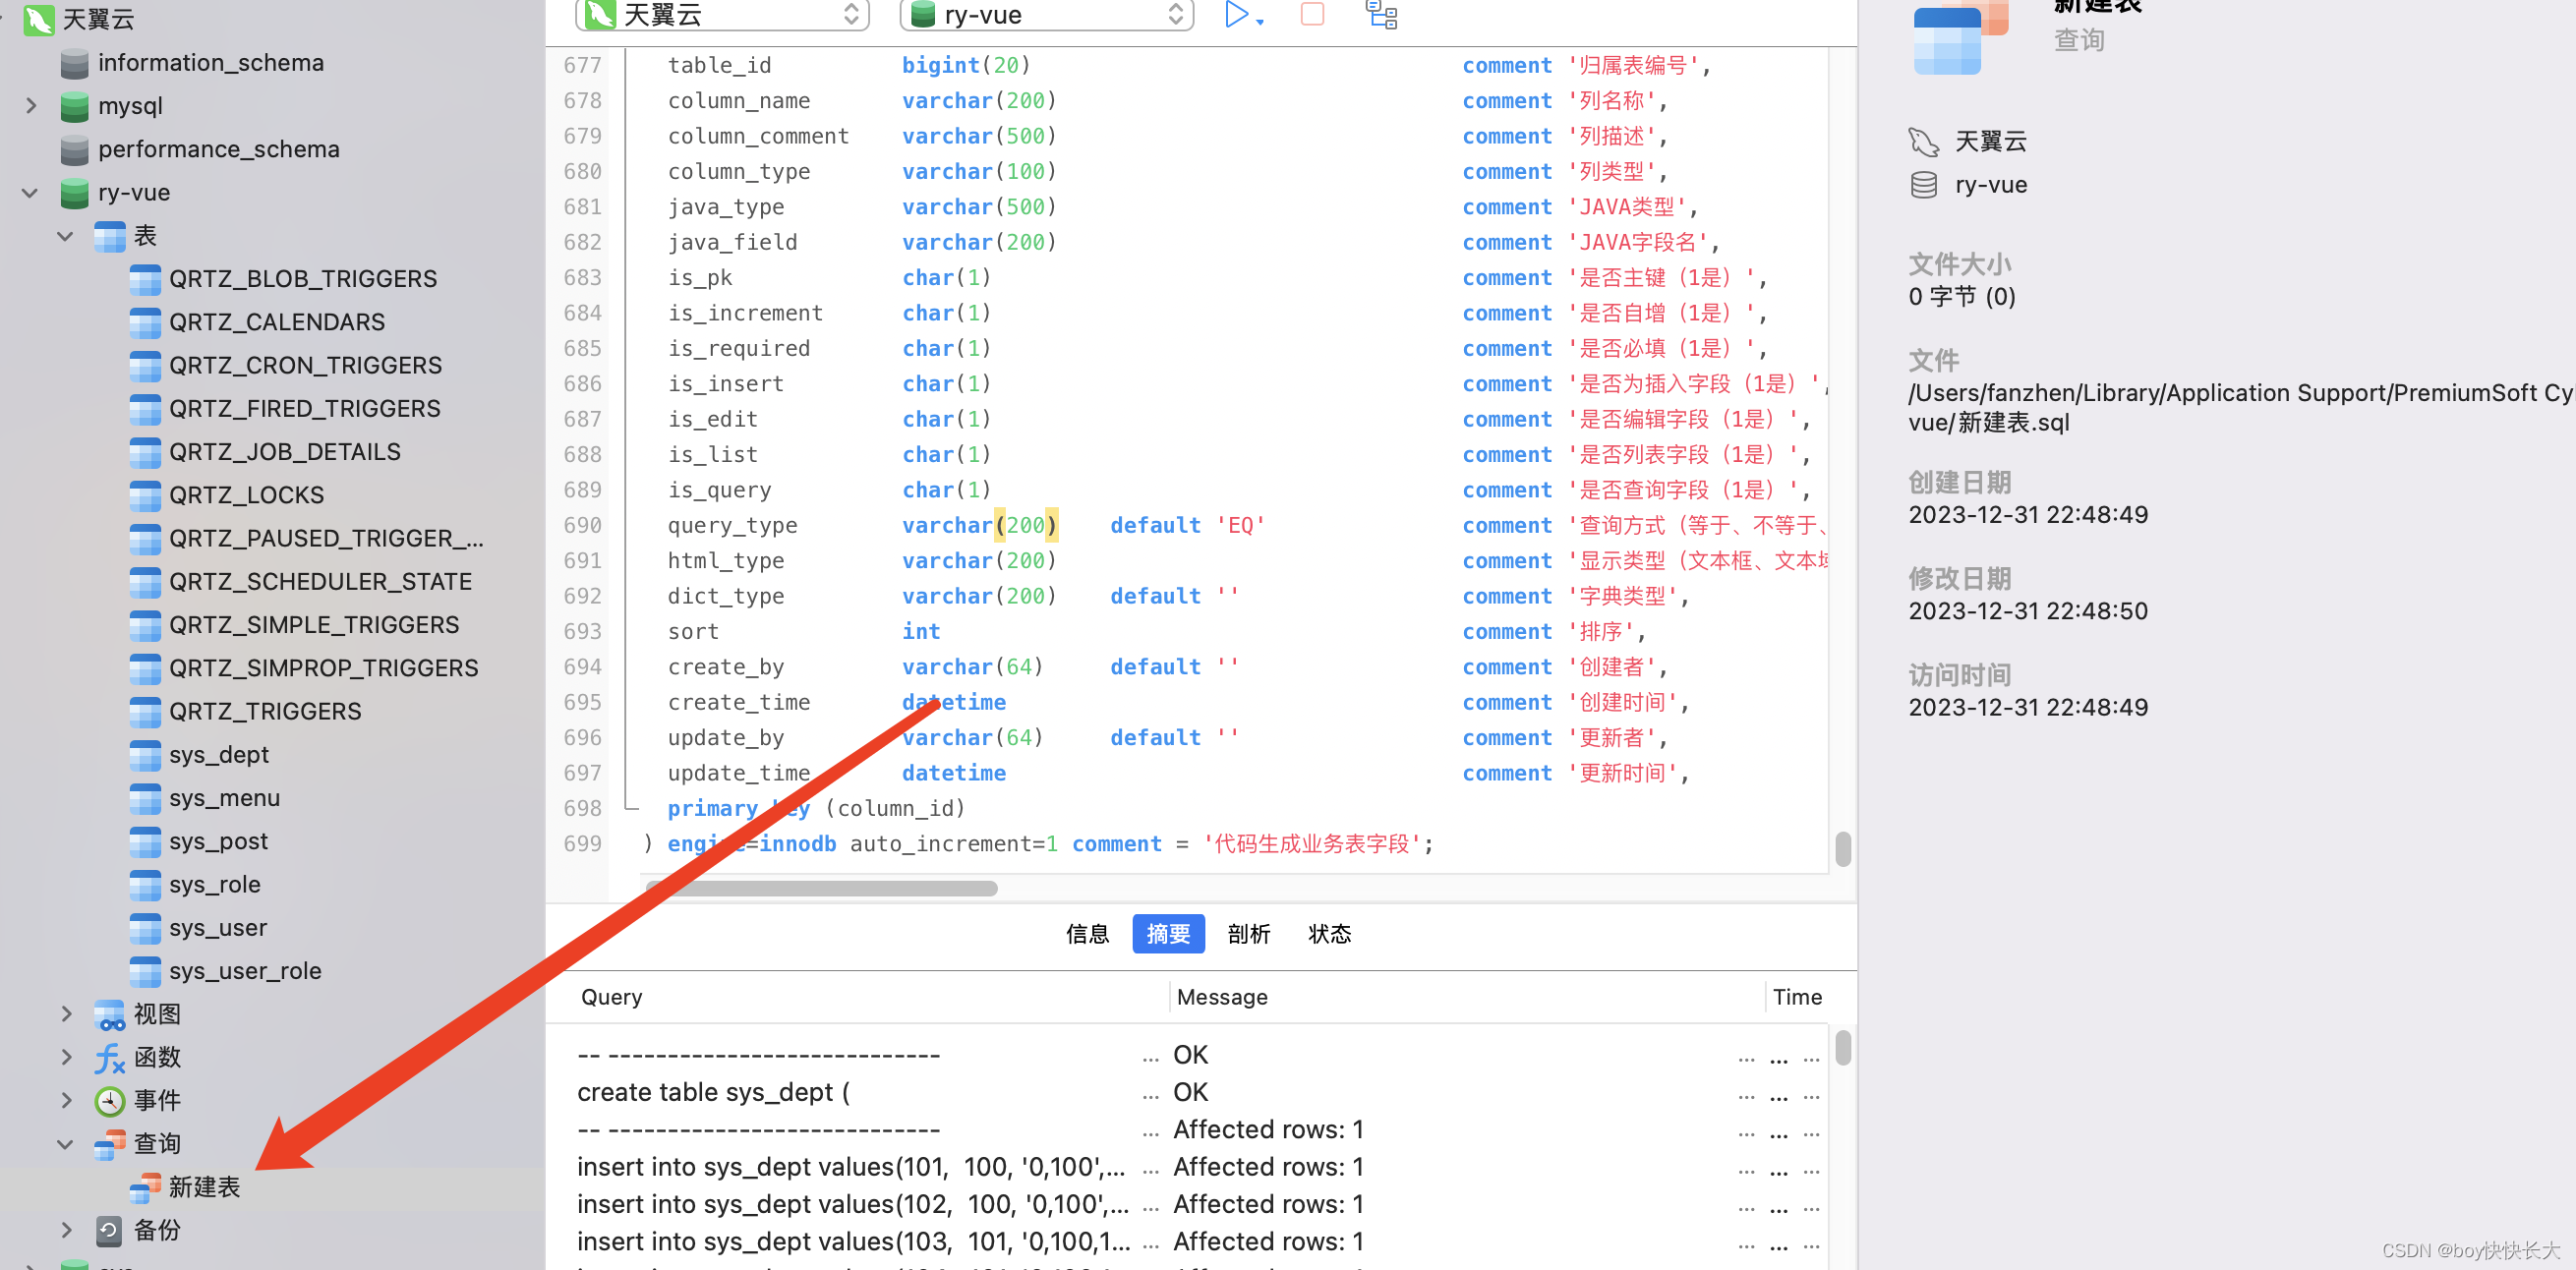
3.1.1 部署数据库
# 1.删除原来的MySQL容器
docker rm -f mysql# 2.进入root目录
cd ~# 3.创建并运行新mysql容器,挂载本地目录
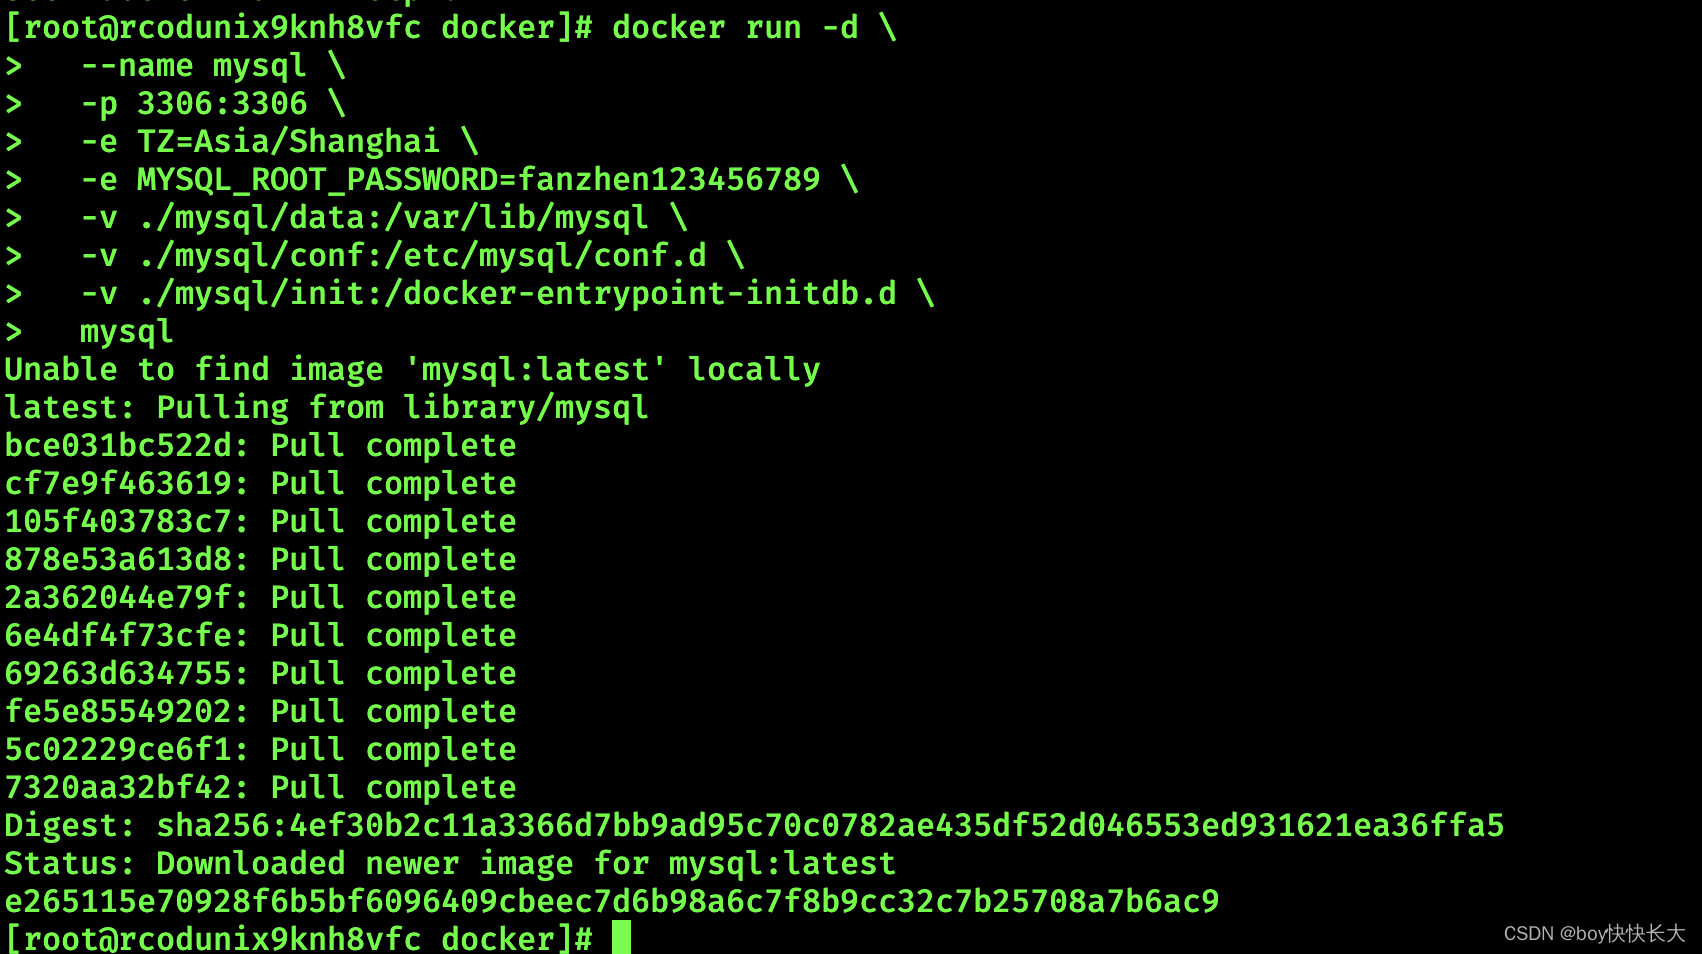
docker run -d \--name mysql \-p 3306:3306 \-e TZ=Asia/Shanghai \-e MYSQL_ROOT_PASSWORD=fanzhen123456789 \-v ./mysql/data:/var/lib/mysql \-v ./mysql/conf:/etc/mysql/conf.d \-v ./mysql/init:/docker-entrypoint-initdb.d \mysql
3.1.2 部署Redis数据库
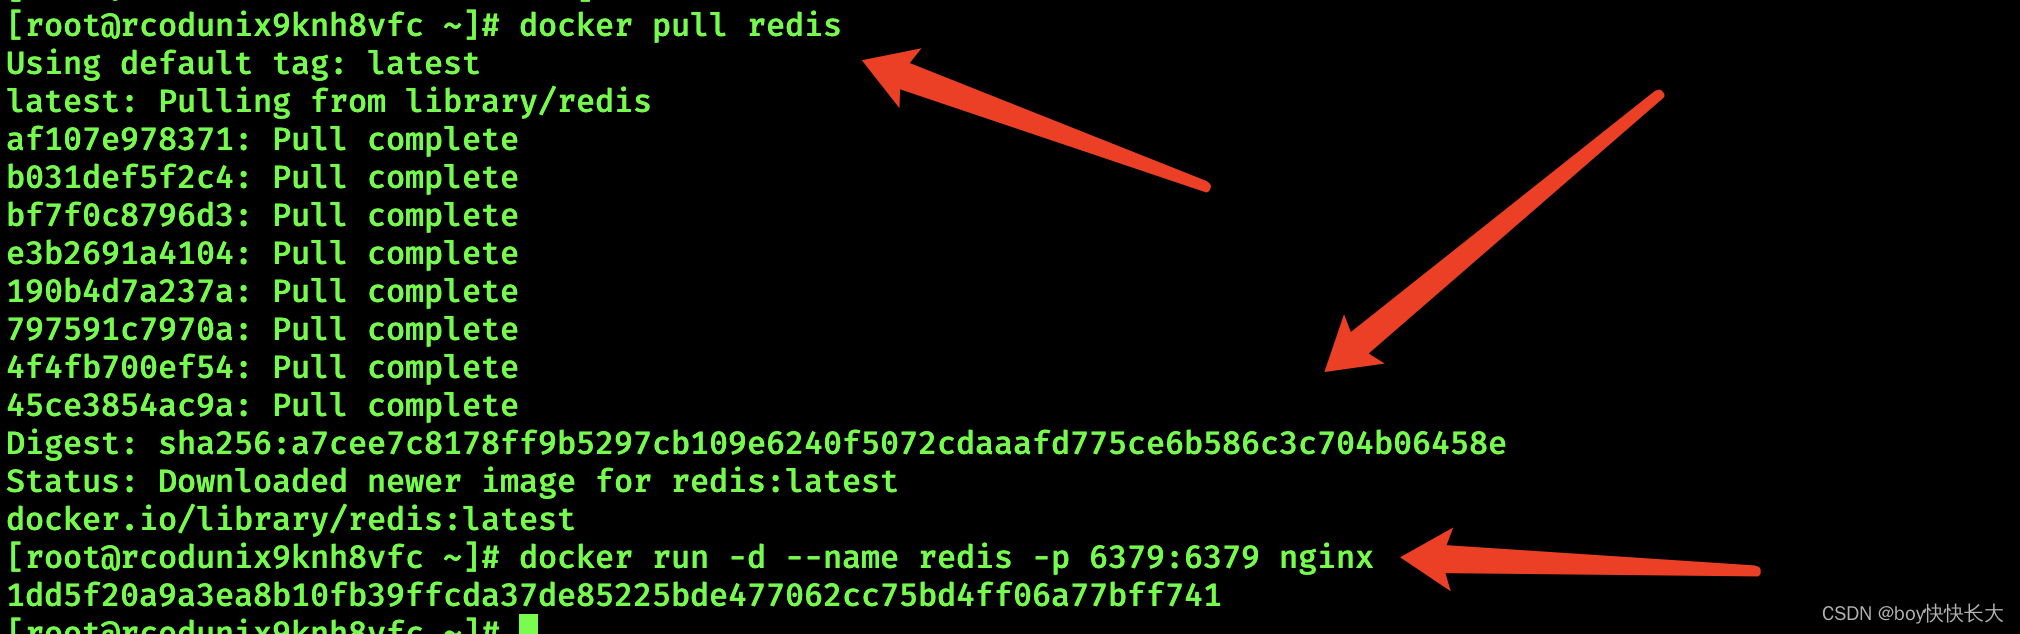
# 拉取redis镜像
docker pull redis# 启动容器的时候,并为其设置密码
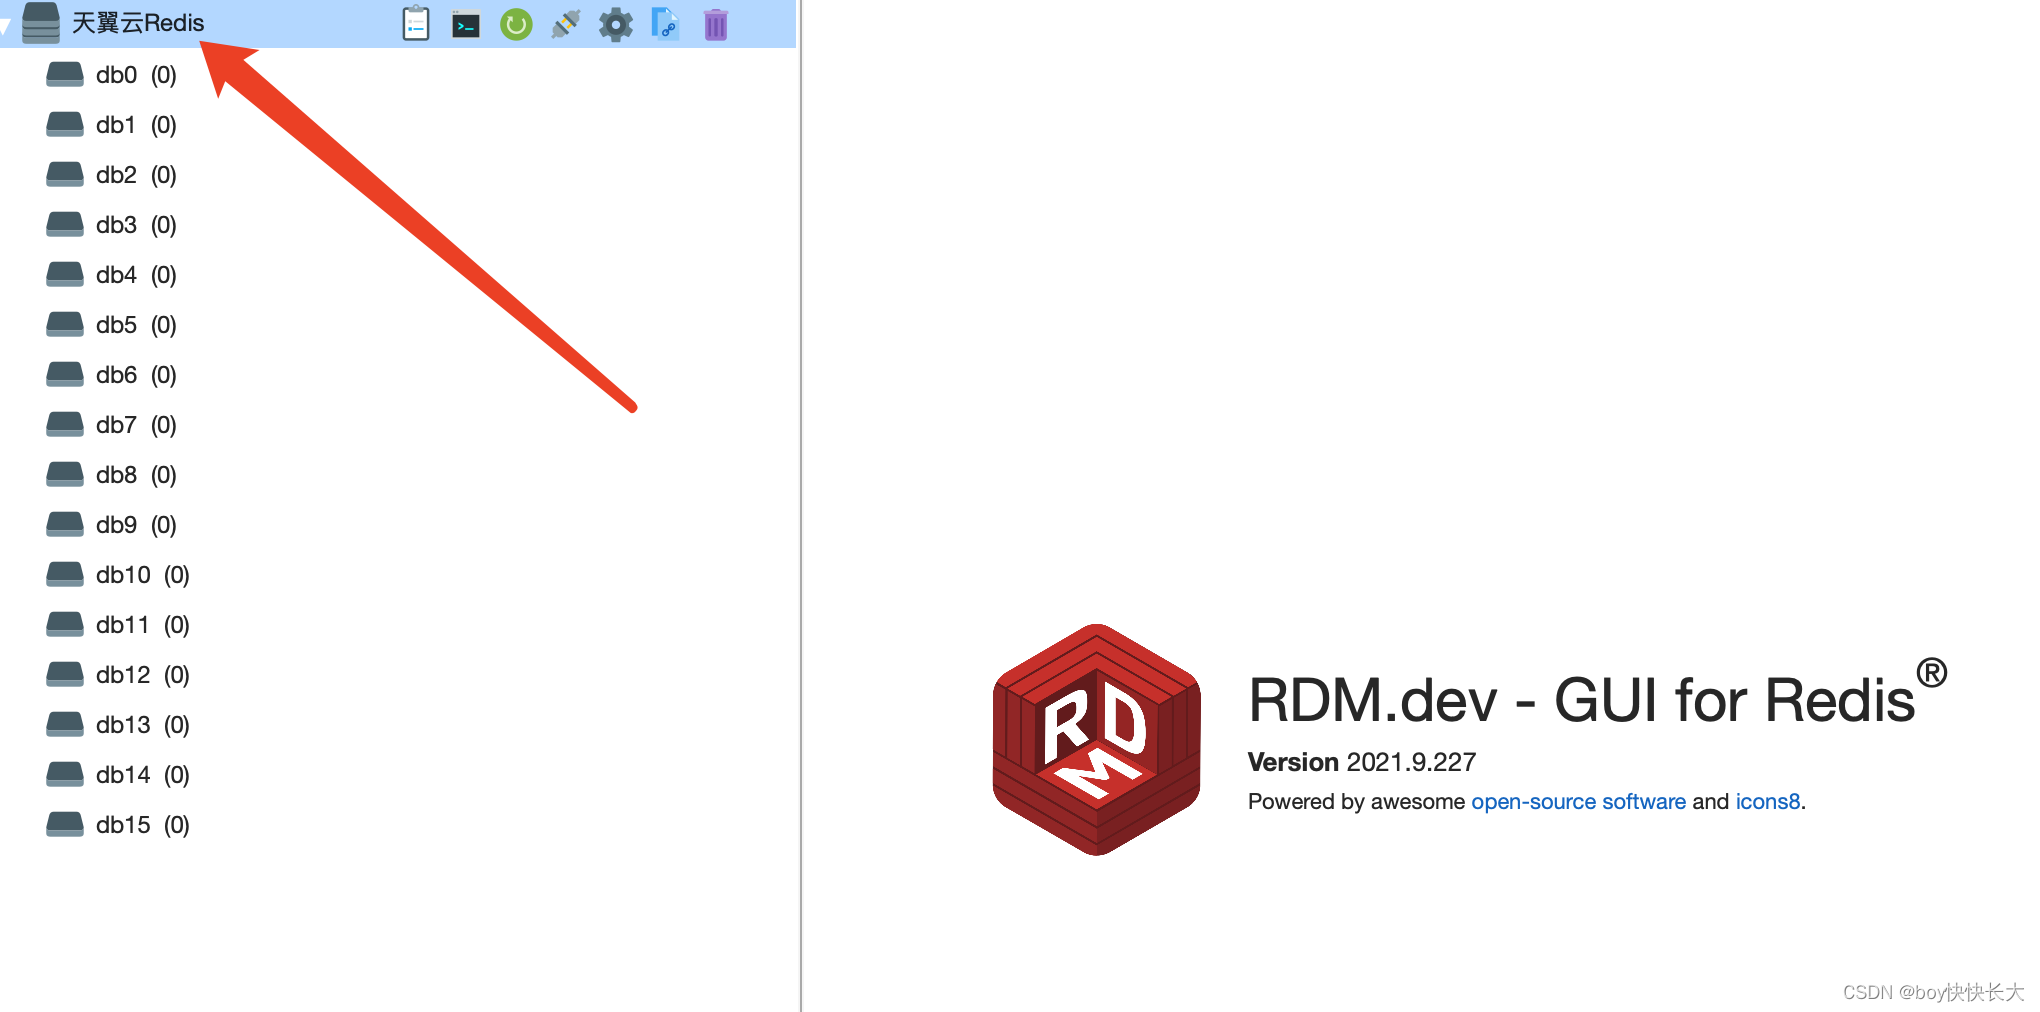
docker run -d --name myredis -p 6379:6379 redis --requirepass "123456"
3.1.1 部署Nginx(这里被天翼云坑了换的腾讯云运行nginx)
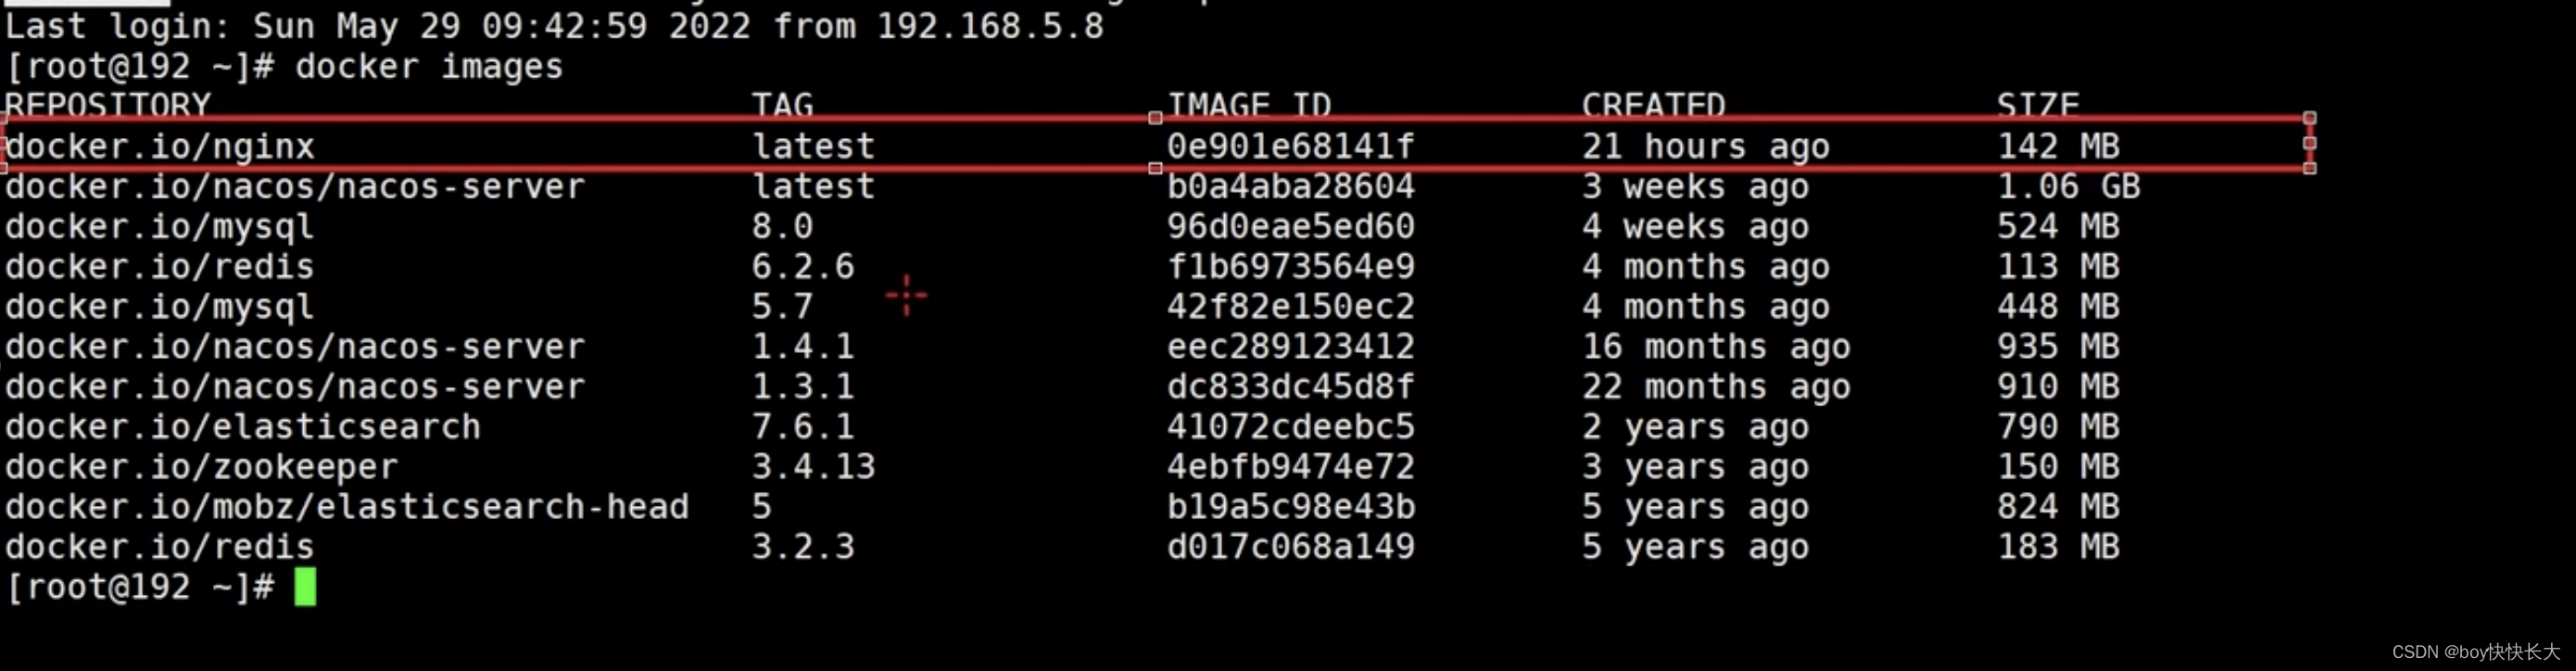
0. docker pull nginx:1.17.10
[root@rcodunix9knh8vfc ~]# docker pull nginx:1.17.101.创建nginx容器
[root@VM-8-7-centos nginx]# docker run -d --name nginx -p 8880:80 nginx:1.17.102.创建挂在目录
mkdir -p /data/nginx/{conf,log,html}3.把Nginx容器中的文件进行复制
nginx.conf复制到主机
docker cp nginx:/etc/nginx/nginx.conf /data/nginx/conf/nginx.conf4.将conf.d文件夹复制到主机
docker cp nginx:/etc/nginx/conf.d /data/nginx/conf/conf.d5.把html目录复制到主机
docker cp nginx:/usr/share/nginx/html /data/nginx/6.停止刚刚创建的nginx容器
docker stop nginx7.删除刚刚创建的容器
docker rm nginx8.重新创建容器
docker run -d --name nginx -p 8880:80 \
-v /data/nginx/conf/nginx.conf:/etc/nginx/nginx.conf \
-v /data/nginx/conf/conf.d:/etc/nginx/conf.d \
-v /data/nginx/log:/var/log/nginx \
-v /data/nginx/html:/usr/share/nginx/html \
--privileged=true nginx:1.17.10注意:
上面/data/nginx/html是服务器的地址
/usr/share/nginx/html是容器中的地址9. 进入nginx的docker容器中
[root@VM-8-7-centos html]# docker exec -it aed99f4c5a55  /bin/bash10.把容器中nginx配置生效
[root@VM-8-7-centos html]# docker exec -it  aed99f4c5a55  nginx -s reload

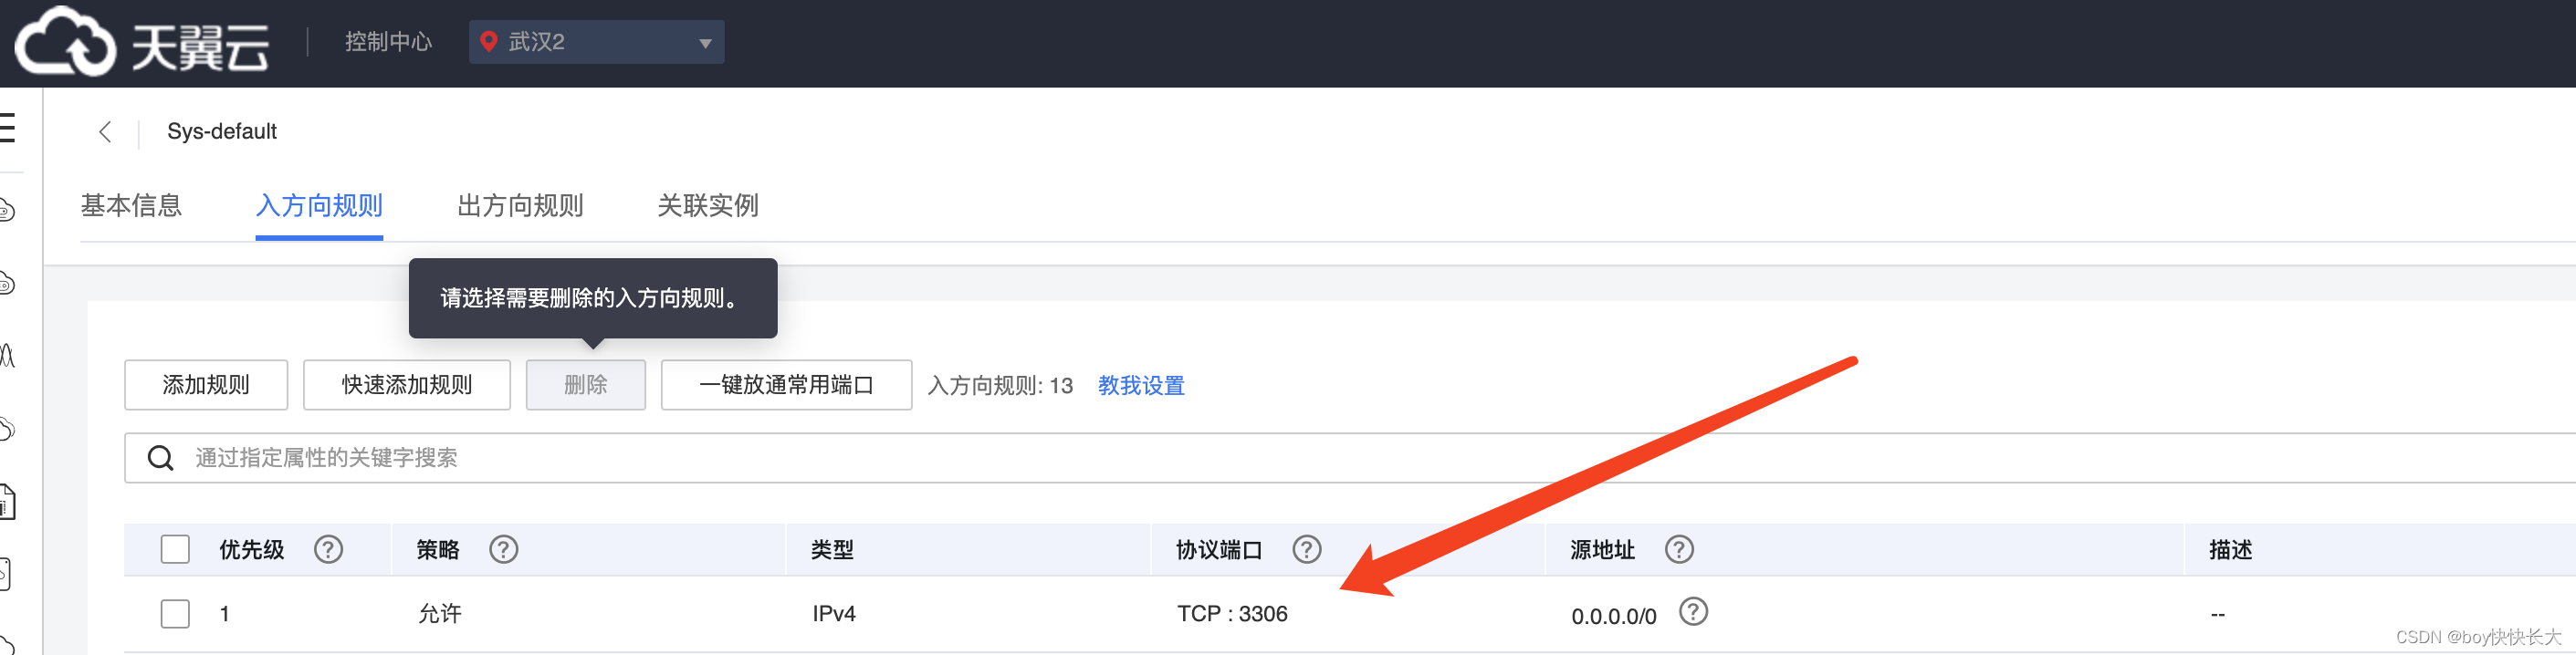
天翼云的坑

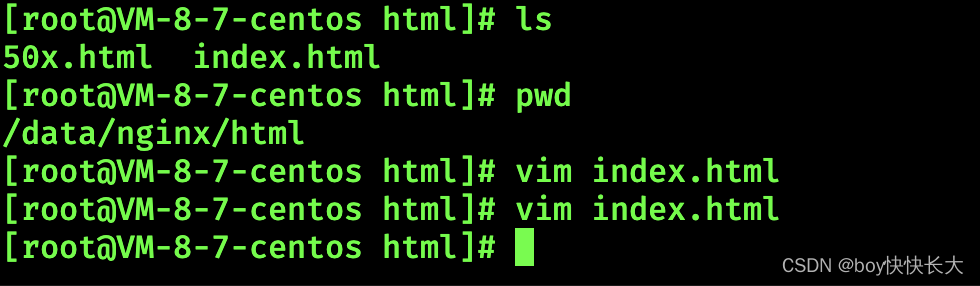
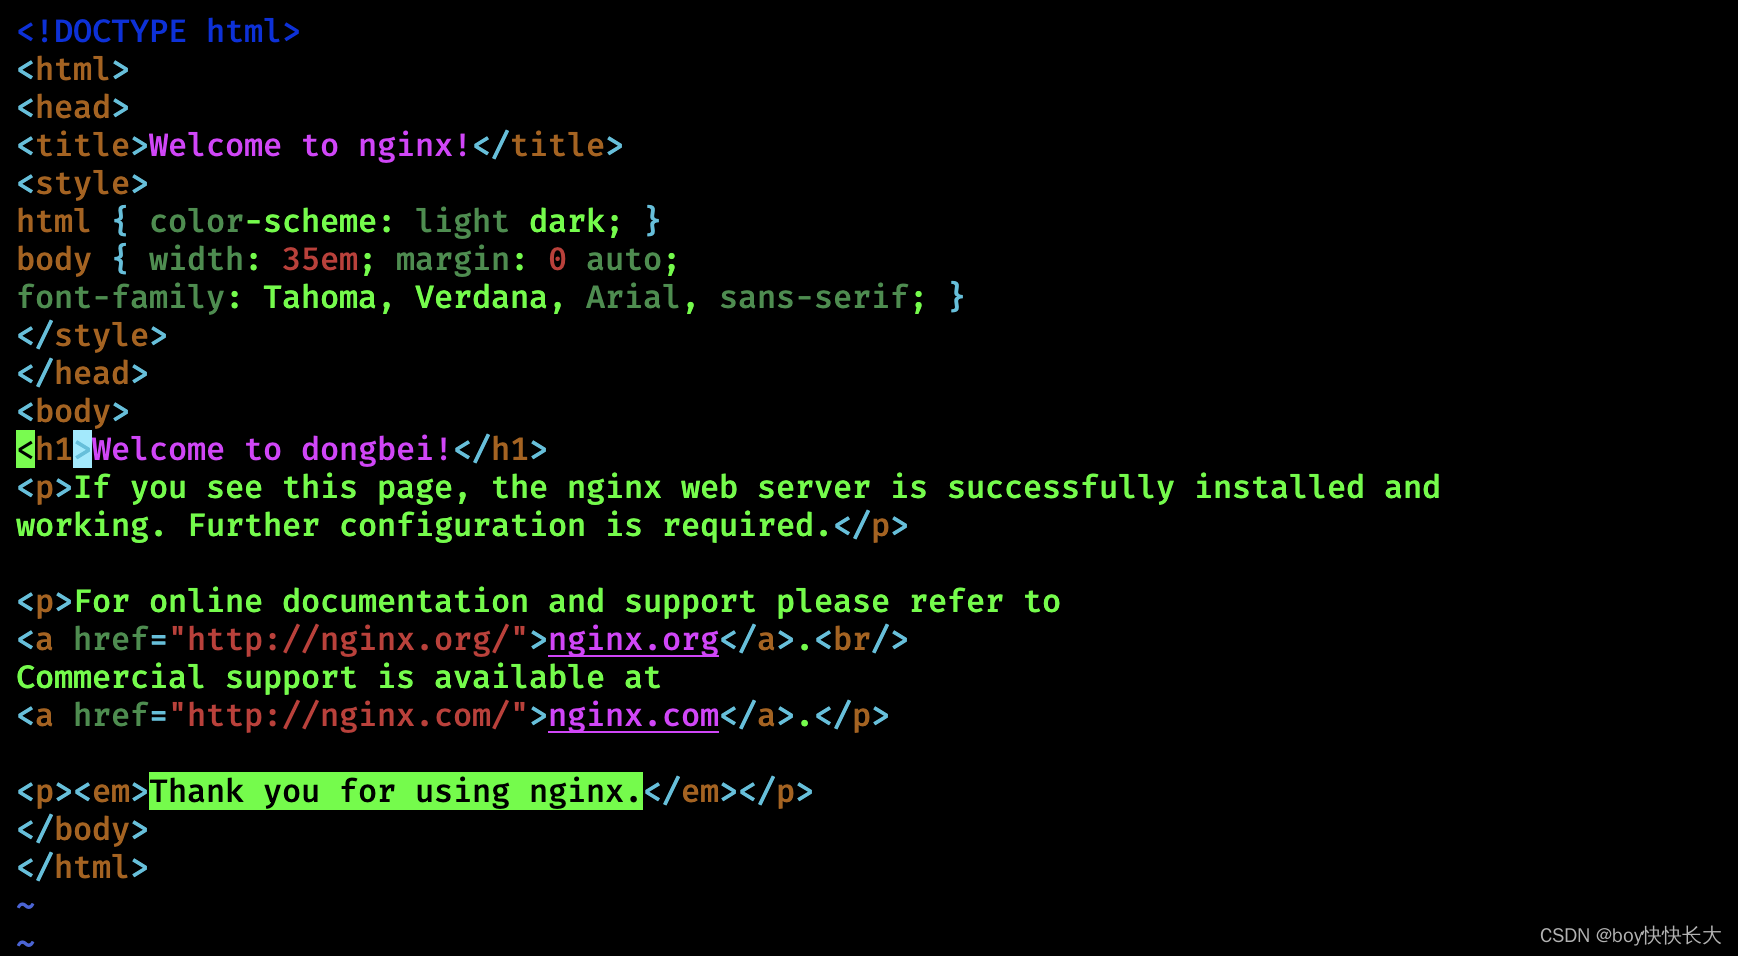
验证挂载

3.2 腾讯云部署后端&前端&Nginx
3.2.1 部署前端
前端项目需要 npm install => npm install --registry=https://registry.npm.taobao.org
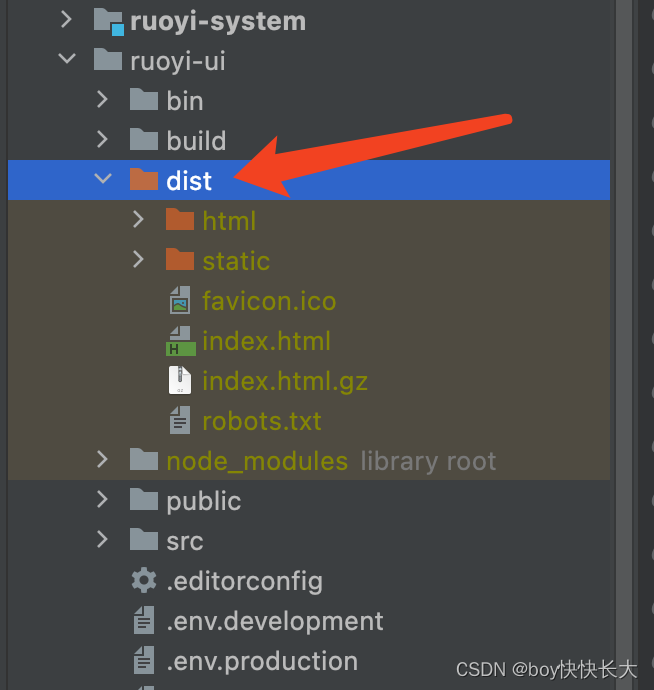
前段buildnpm run build:prod
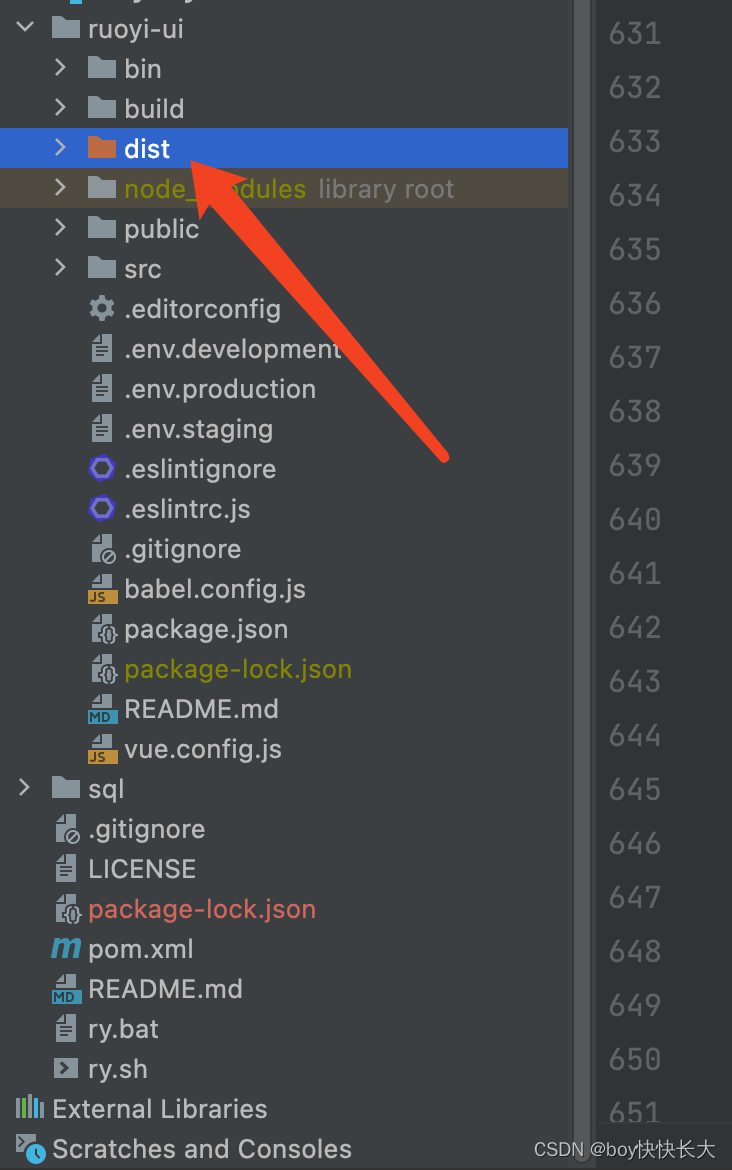
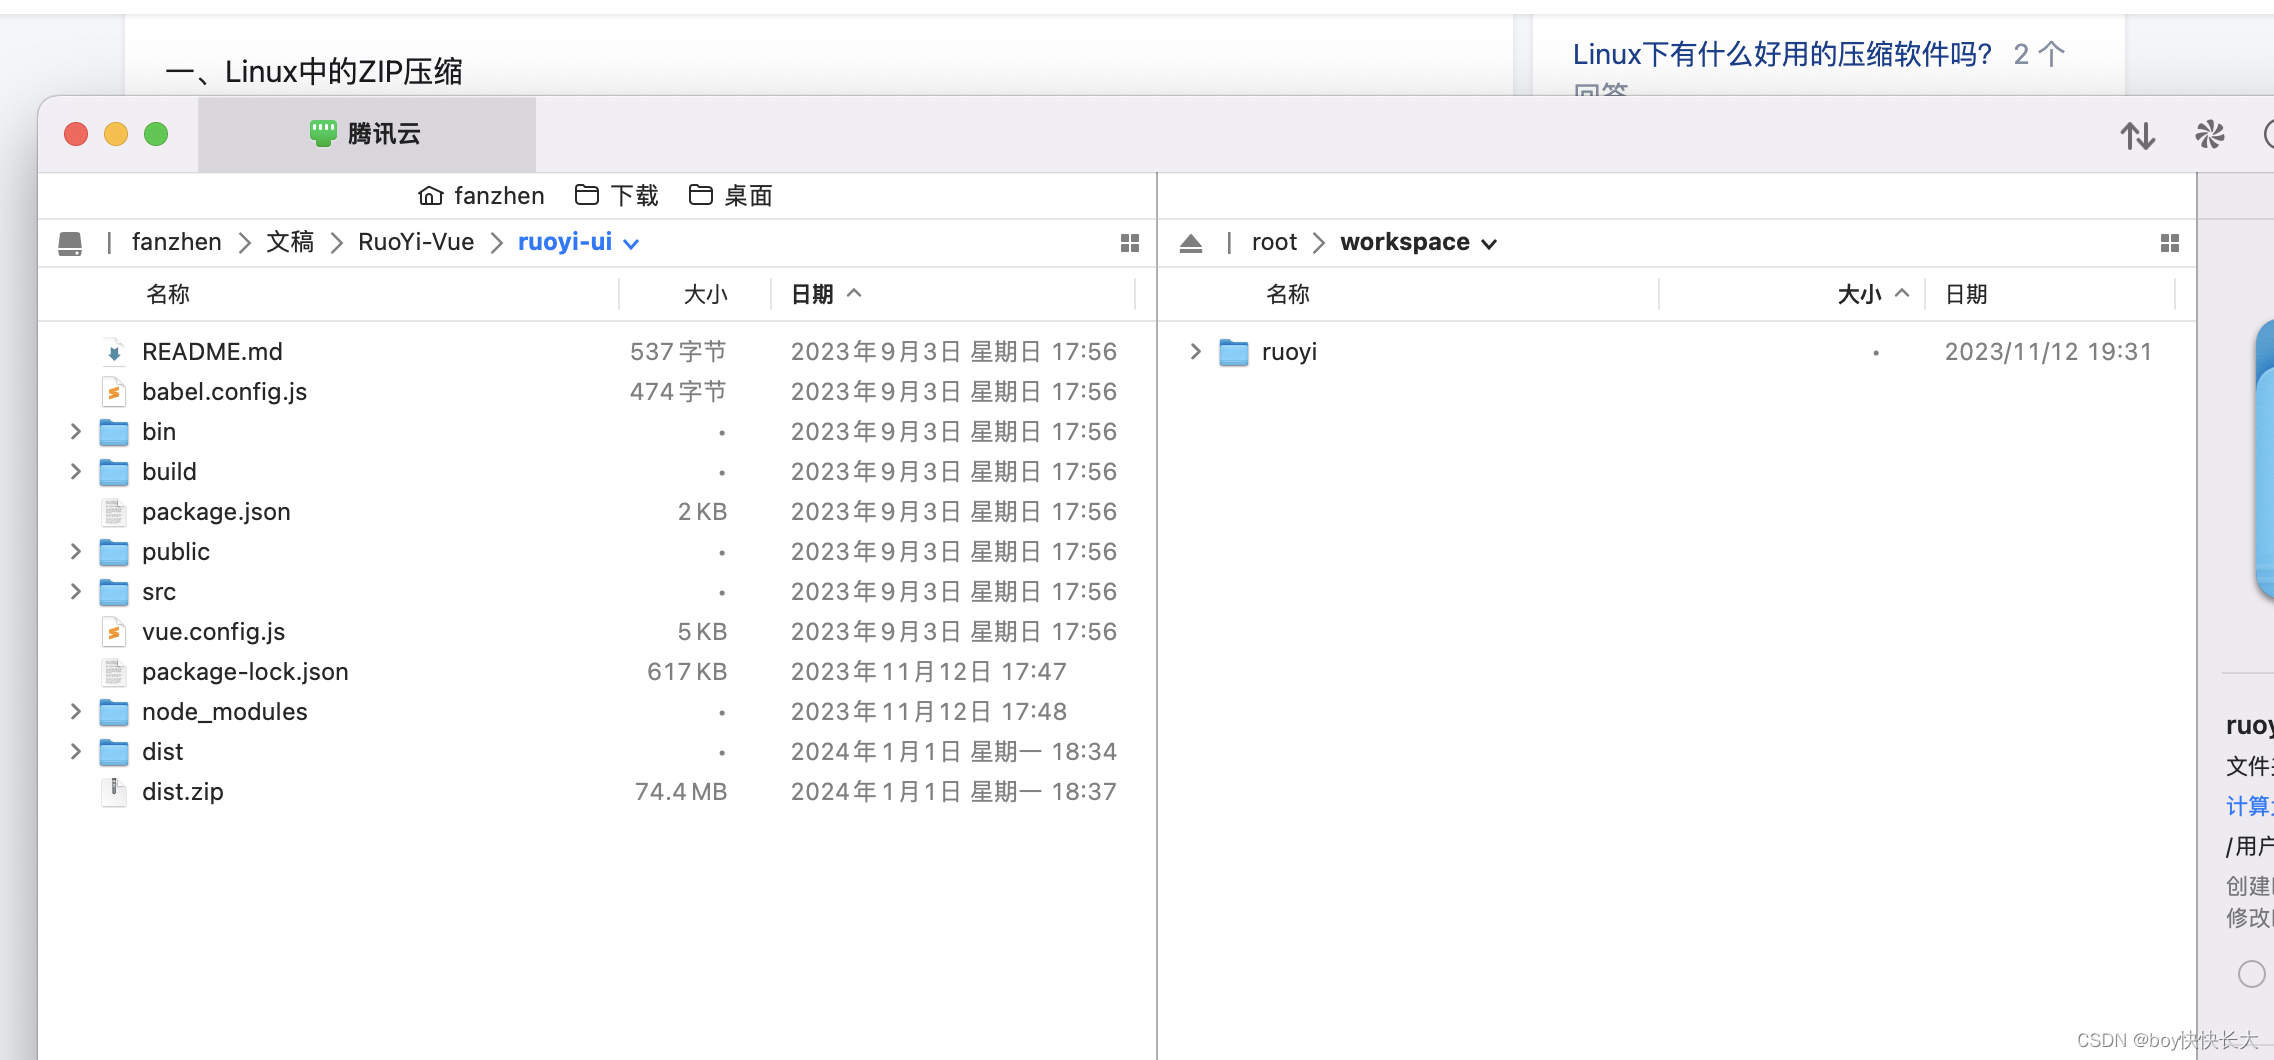
会得到dist,然后将其打包,上传服务器到 /workspace(自己新建的文件夹),然后再解压。
fanzhen@fanzhendembp-2 ruoyi-ui % unzip dist.zip -d ./dist
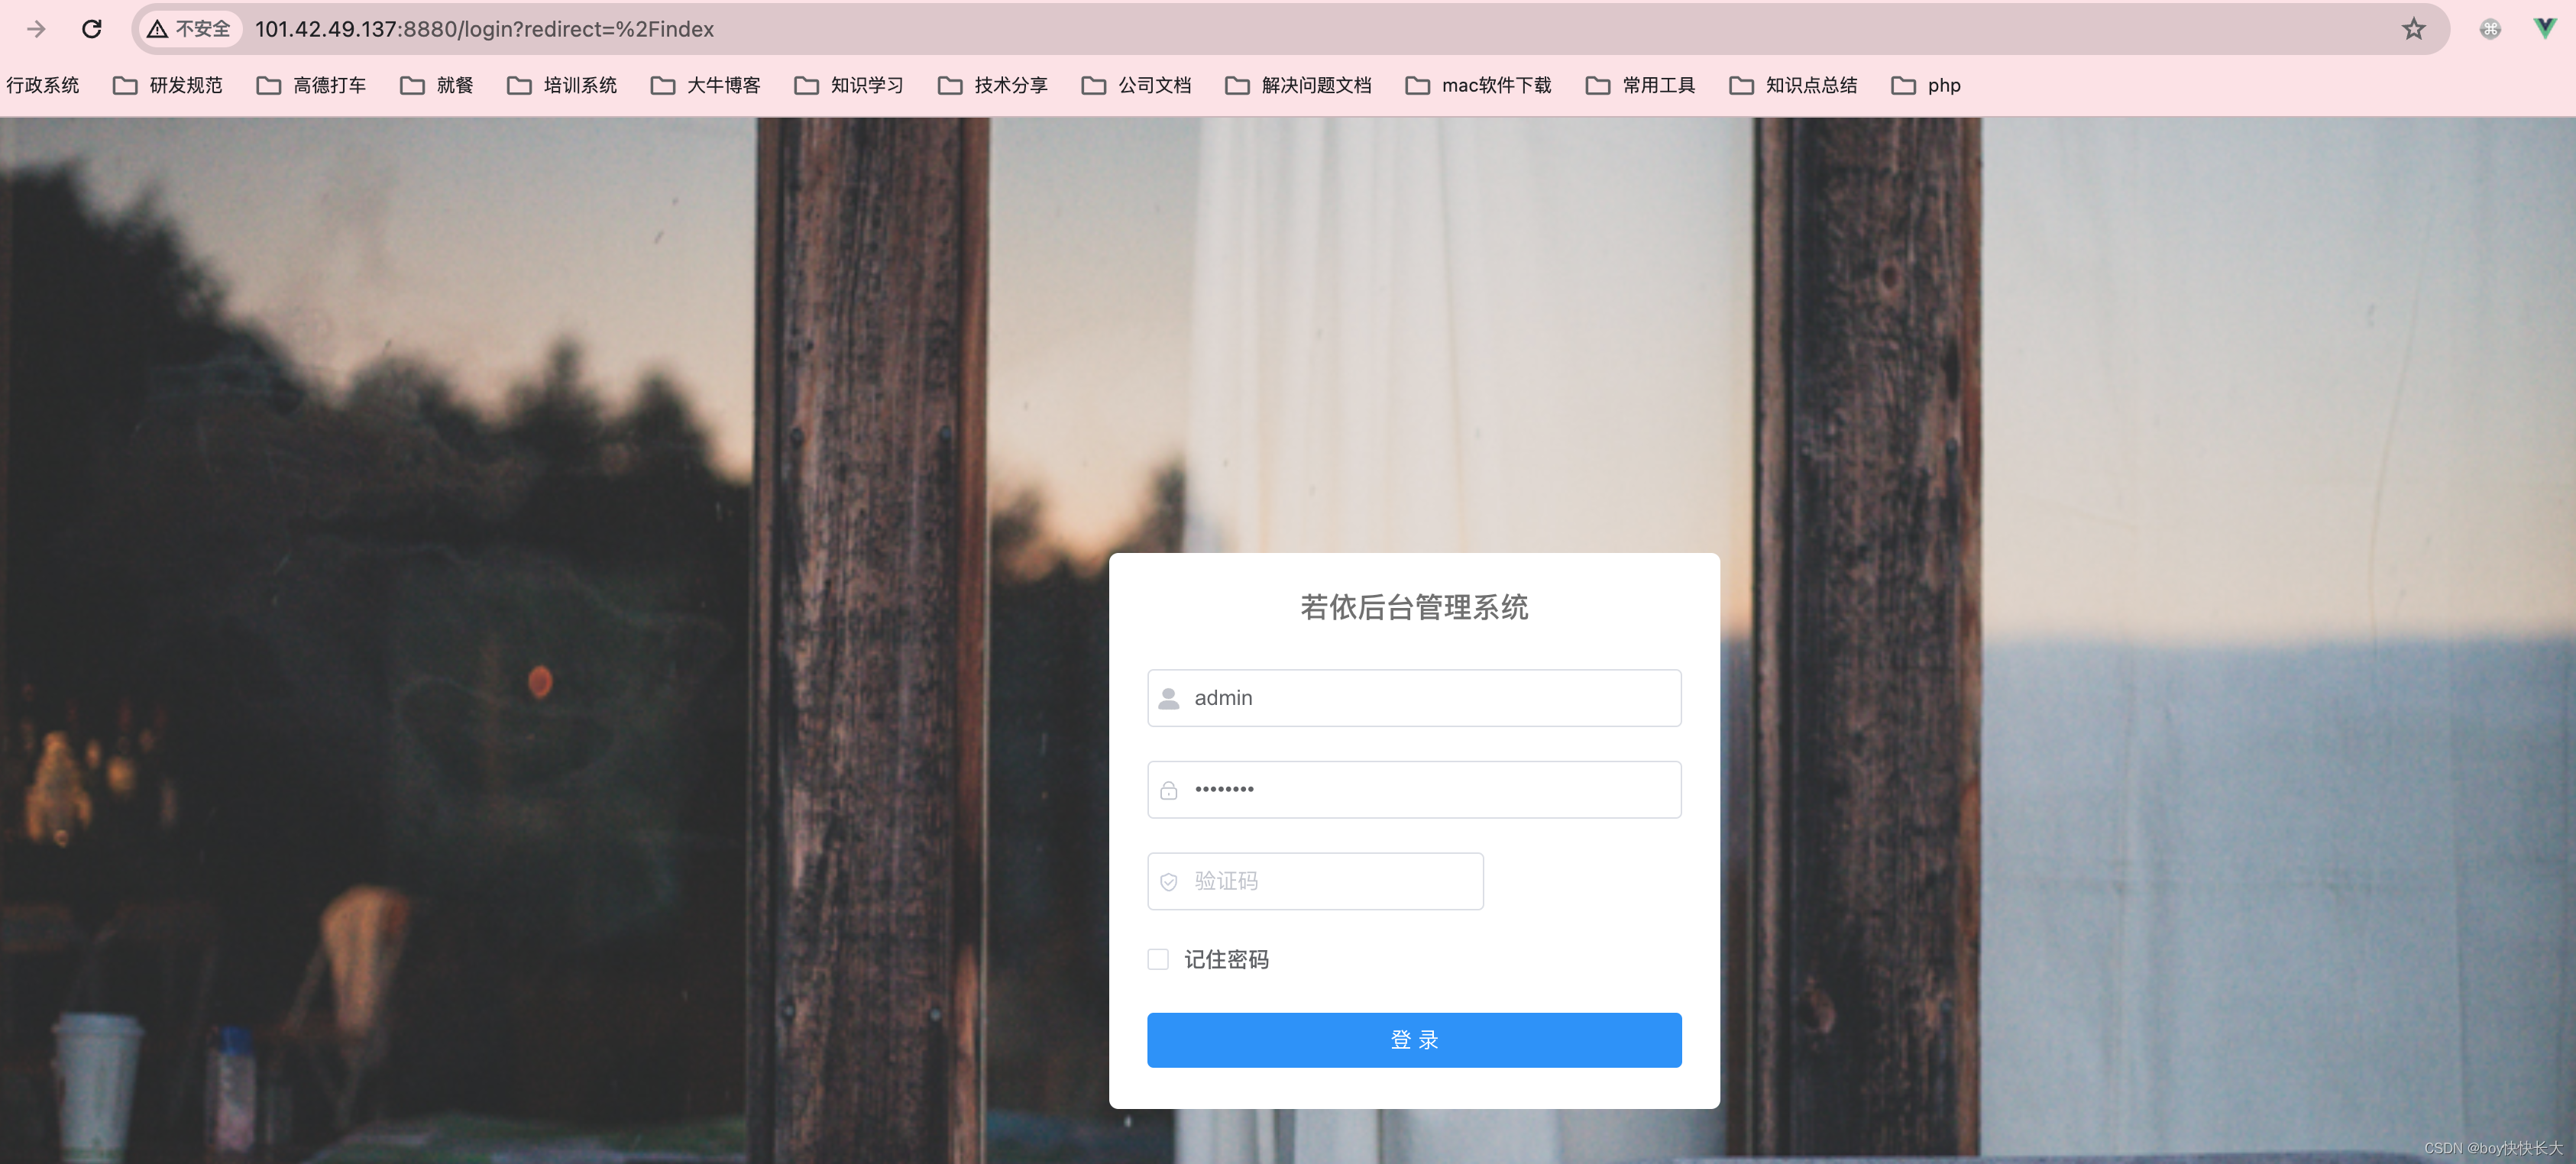
前期的conf文件
server {listen       80;server_name  localhost;#charset koi8-r;#access_log  /var/log/nginx/host.access.log  main;location / {root   /usr/share/nginx/html/dist/dist;index  index.html index.htm;}#error_page  404              /404.html;# redirect server error pages to the static page /50x.html#error_page   500 502 503 504  /50x.html;location = /50x.html {root   /usr/share/nginx/html;}# proxy the PHP scripts to Apache listening on 127.0.0.1:80##location ~ \.php$ {#    proxy_pass   http://127.0.0.1;#}# pass the PHP scripts to FastCGI server listening on 127.0.0.1:9000##location ~ \.php$ {#    root           html;#    fastcgi_pass   127.0.0.1:9000;#    fastcgi_index  index.php;#    fastcgi_param  SCRIPT_FILENAME  /scripts$fastcgi_script_name;#    include        fastcgi_params;#}# deny access to .htaccess files, if Apache's document root# concurs with nginx's one##location ~ /\.ht {#    deny  all;#}
}
使用此命令重新加载nginx文件
[root@VM-8-7-centos html]# docker exec -it  aed99f4c5a55  nginx -s reload

3.2.2 部署后端
需要改的地方
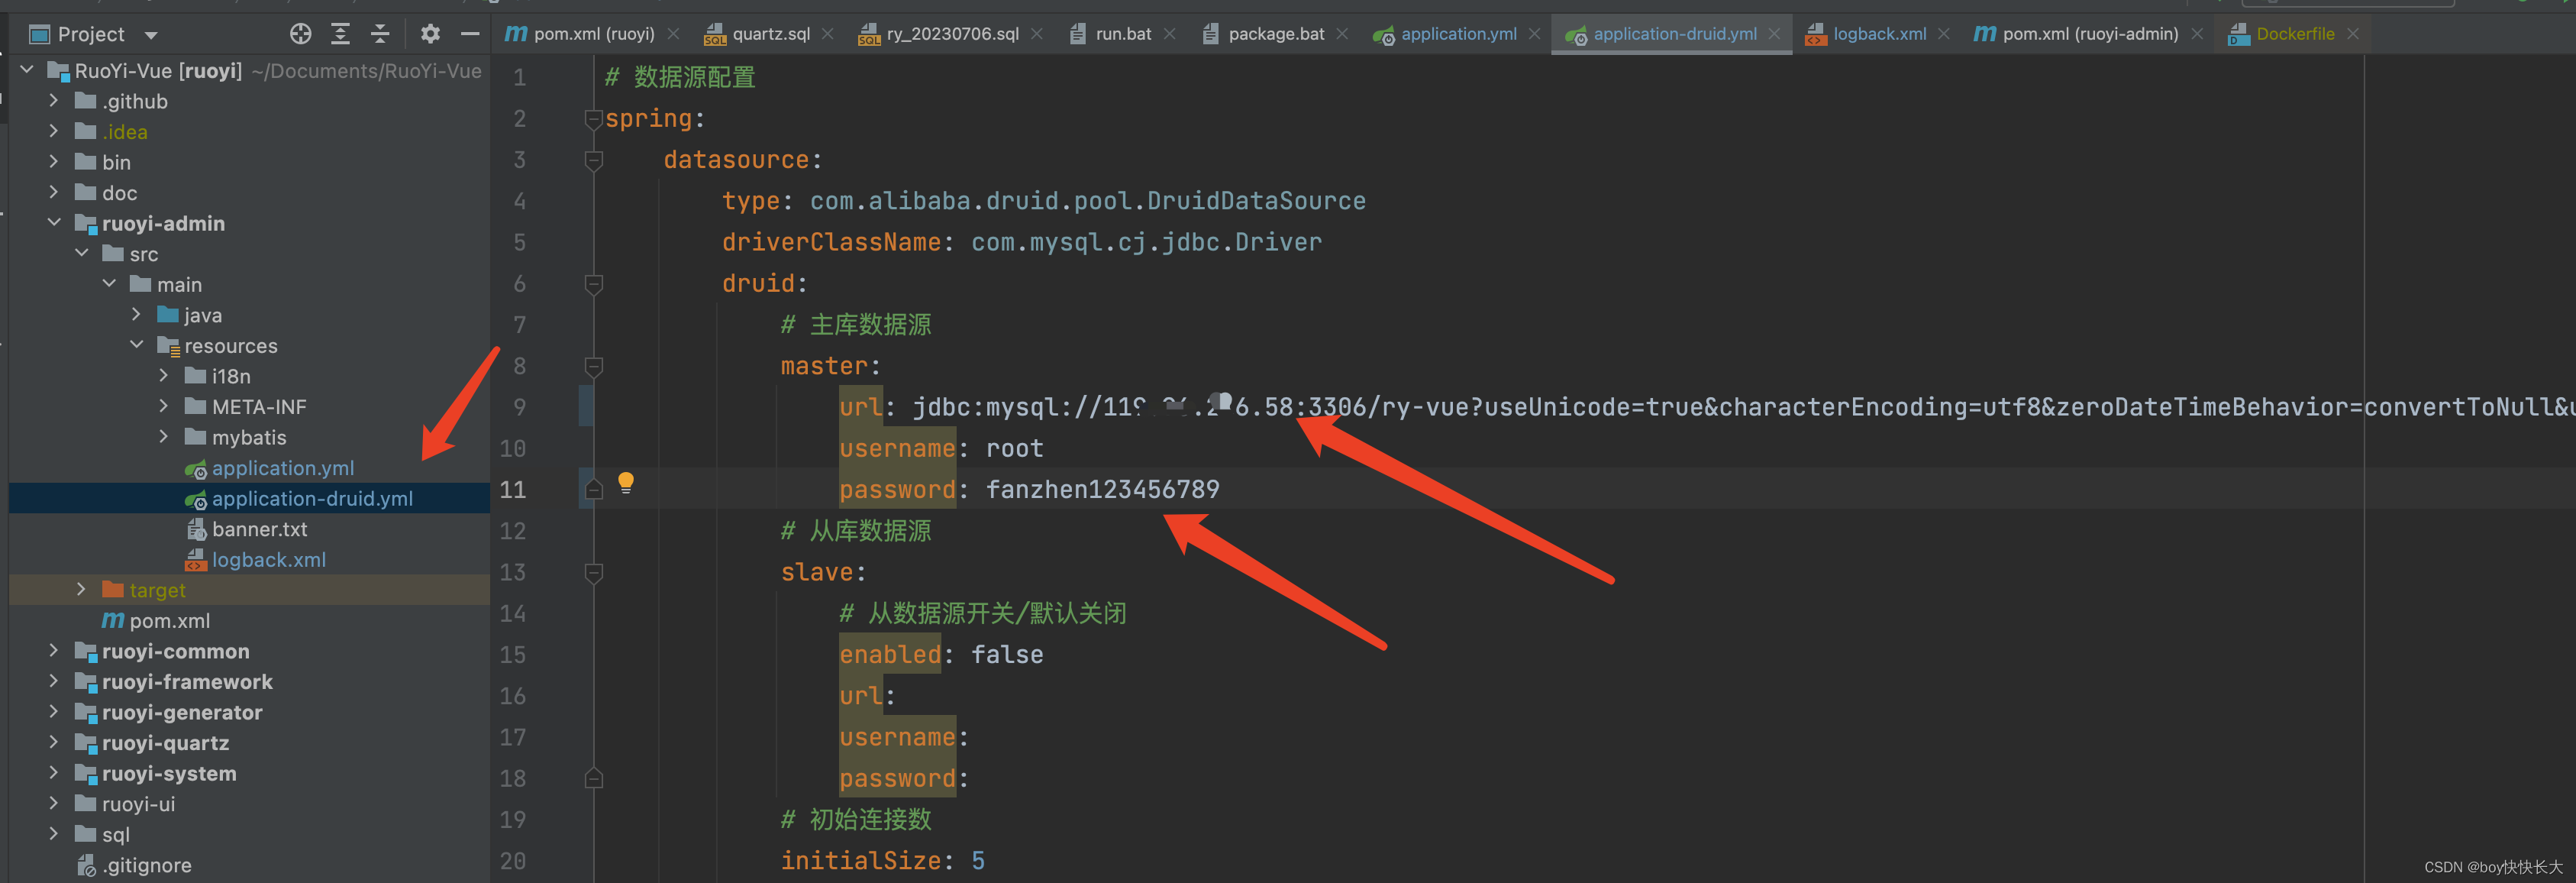
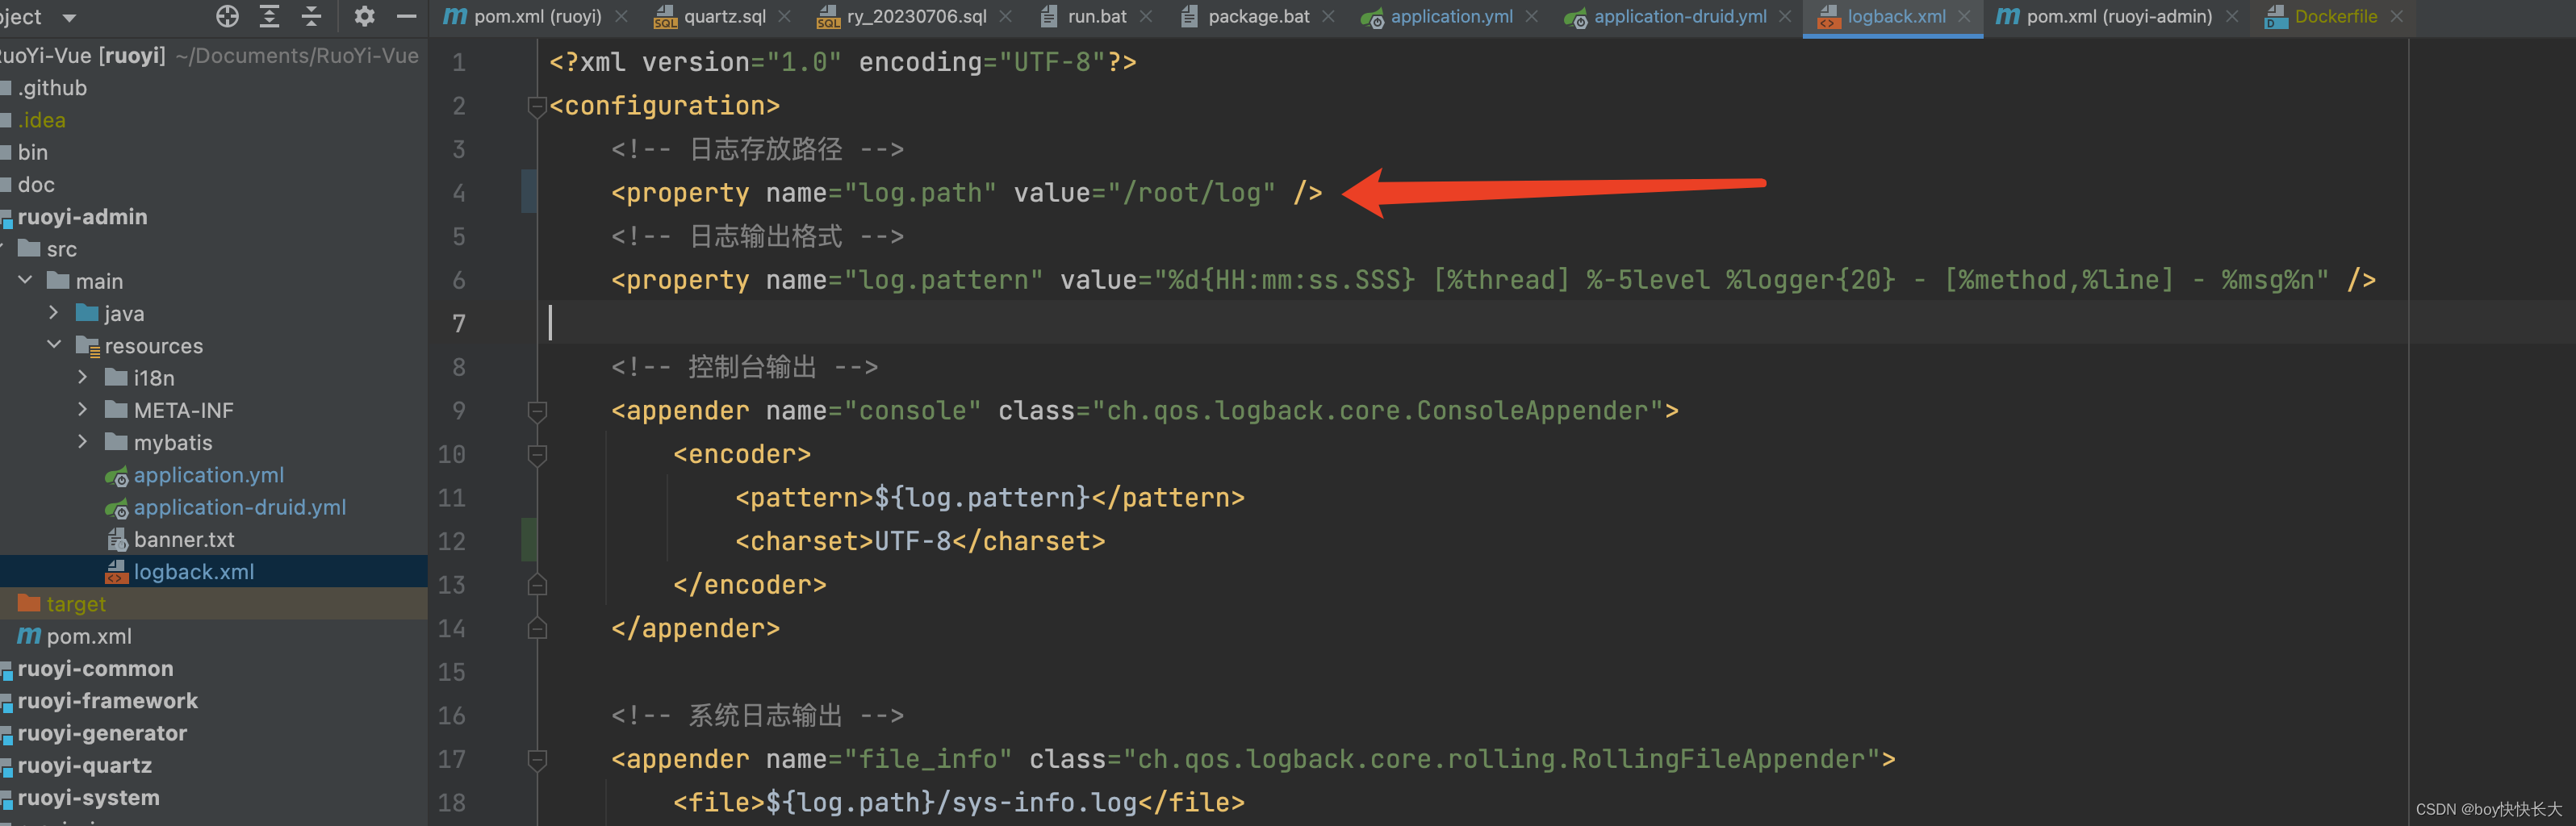
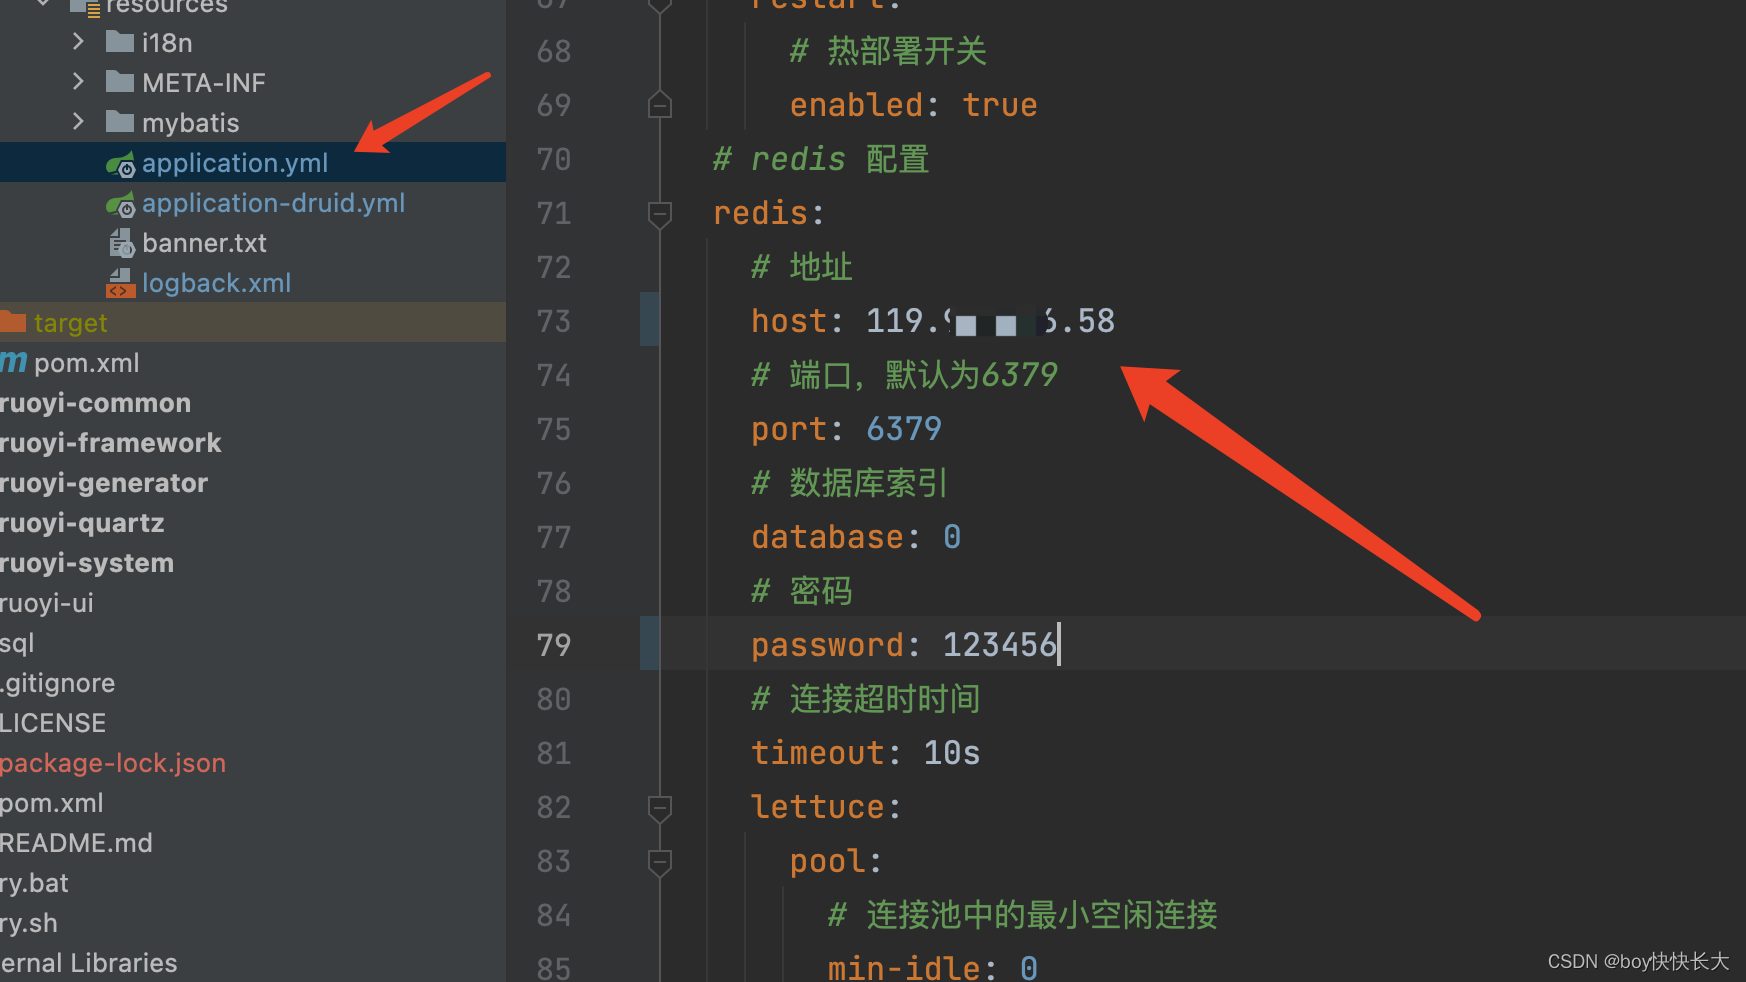
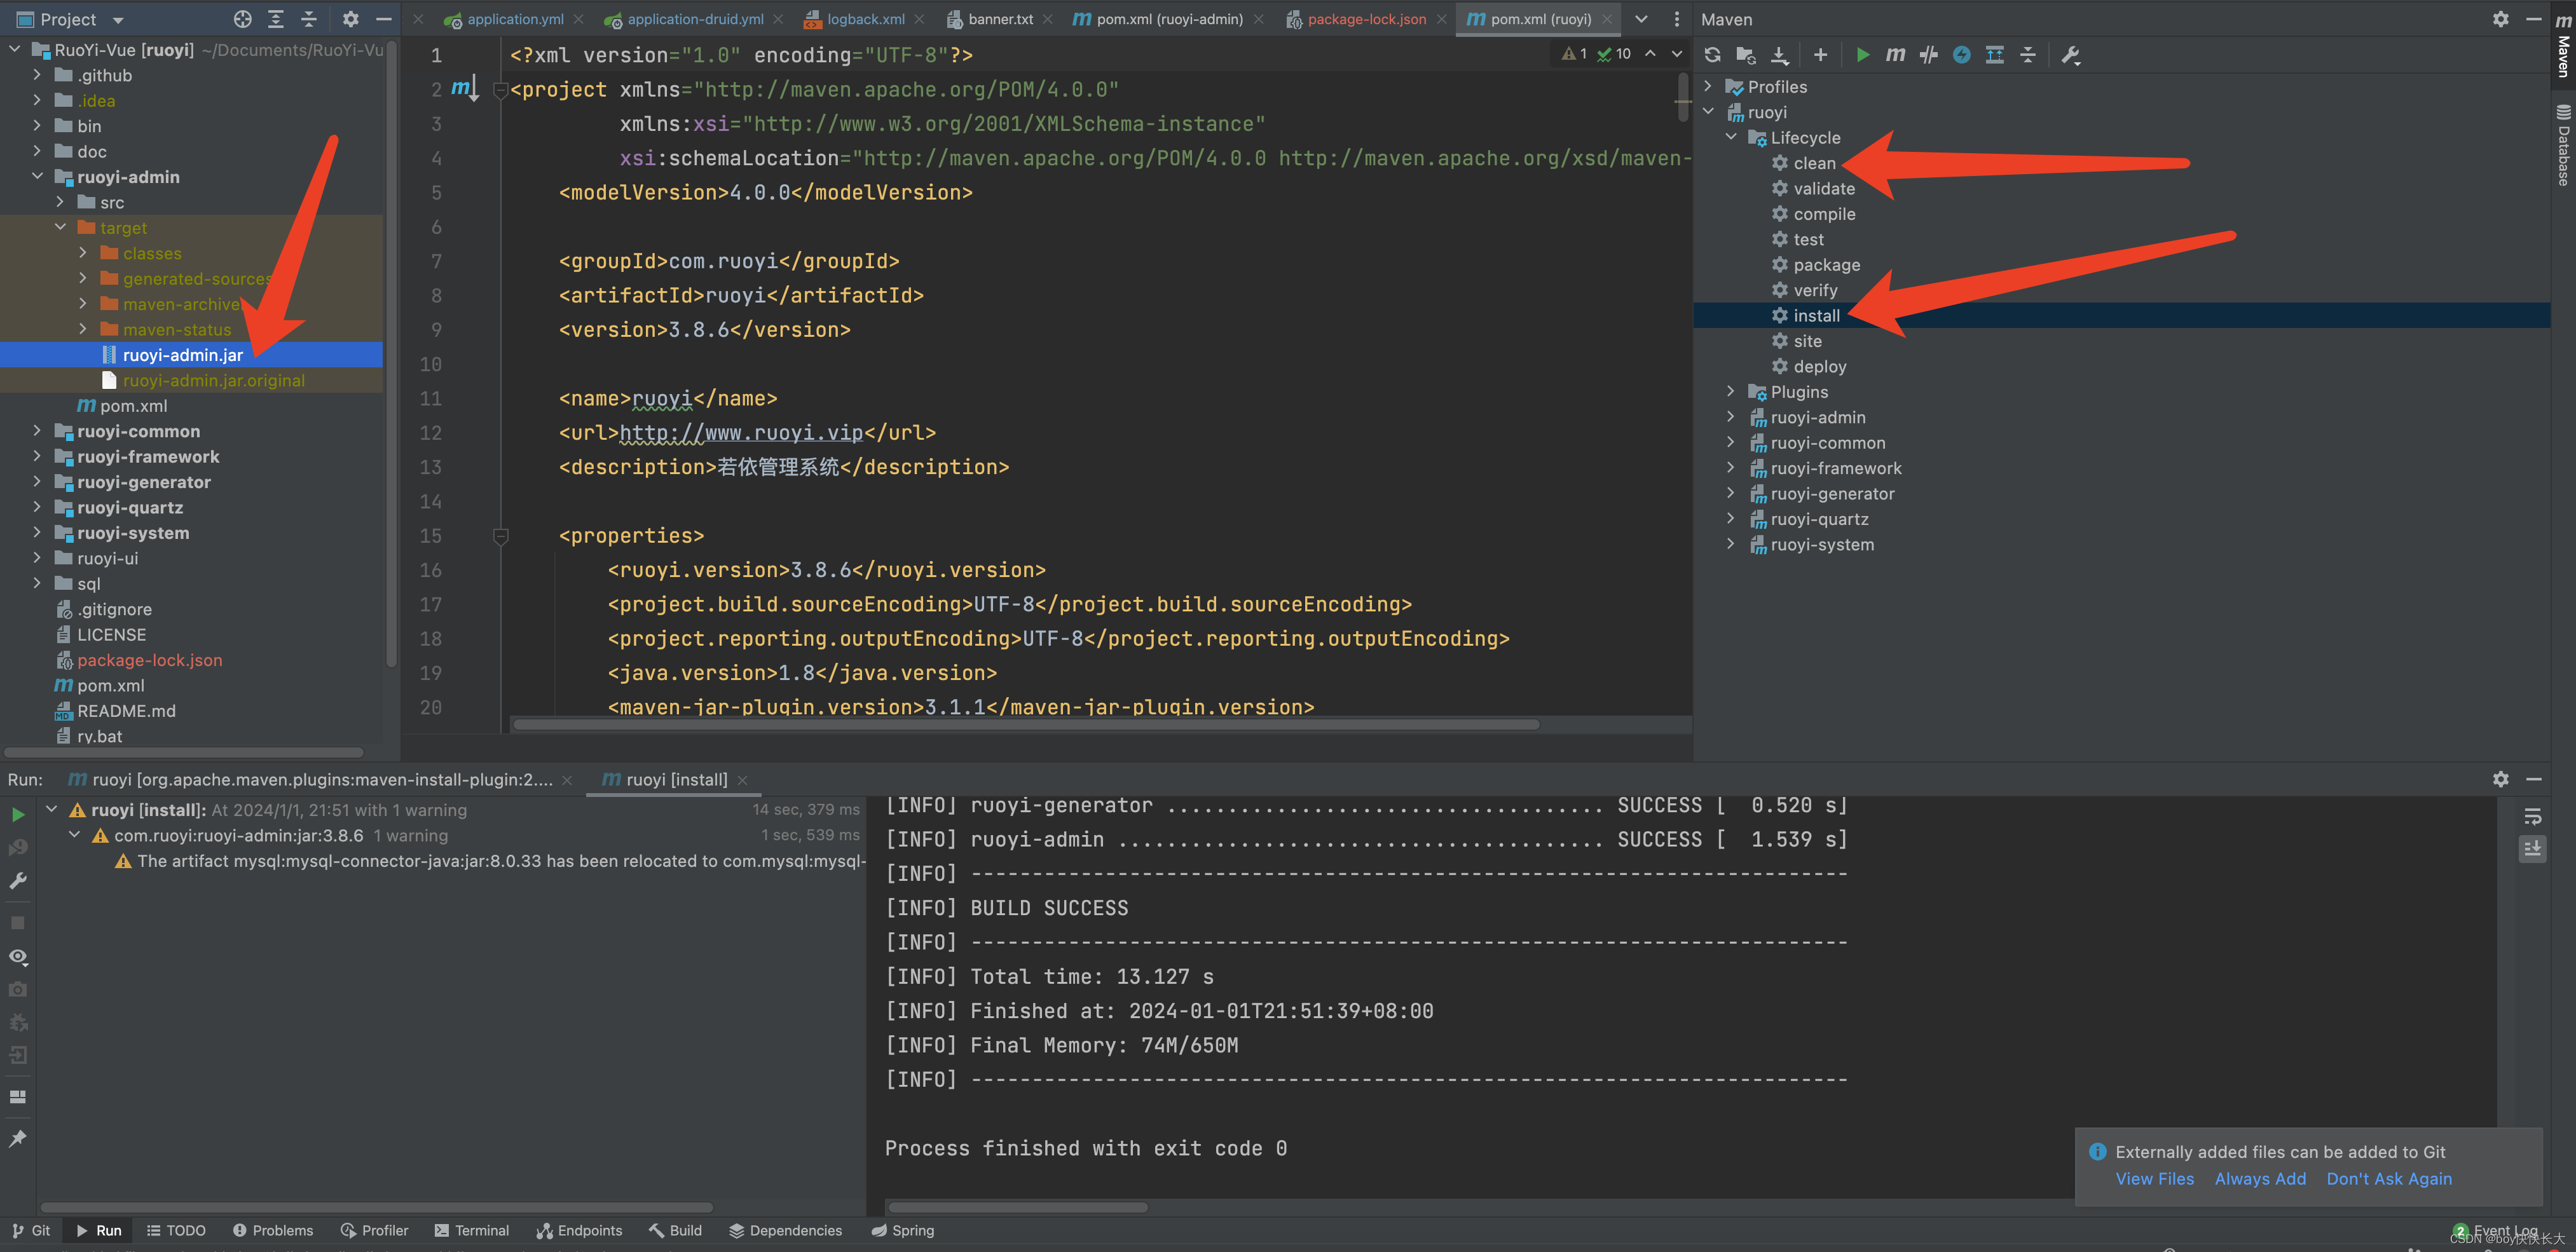
先clean后install
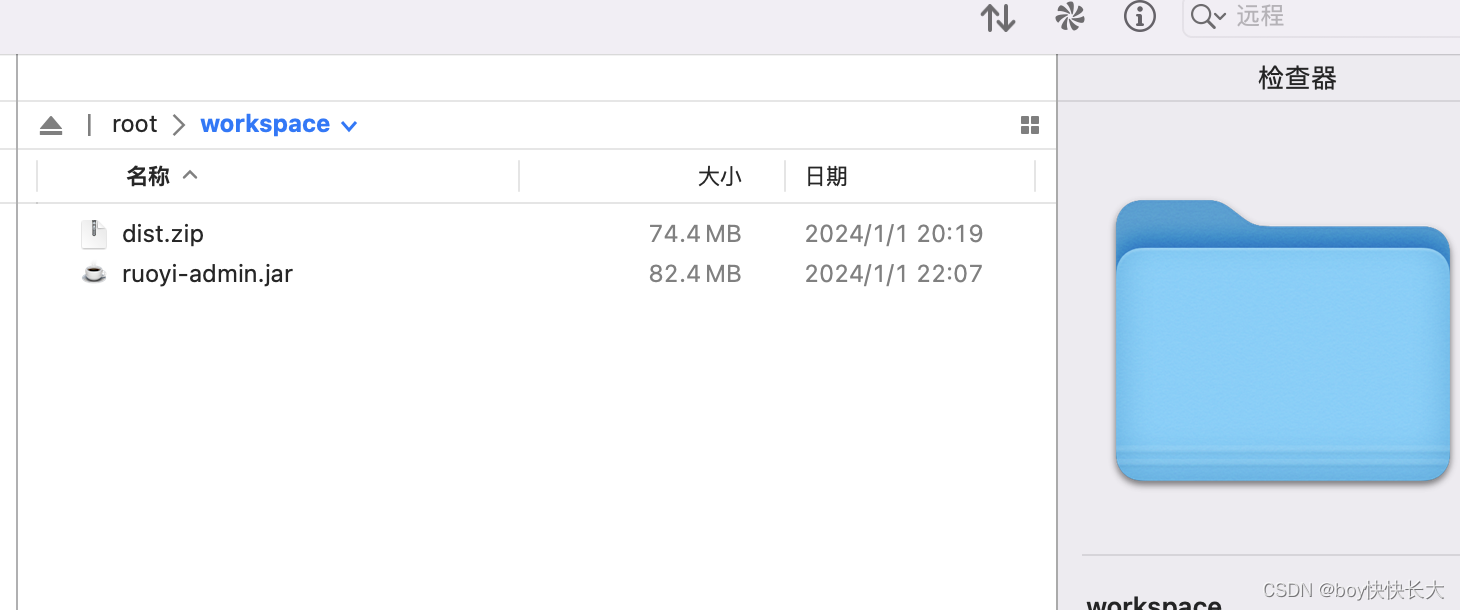
ruoyi-admin.jar移动到/root/workspace
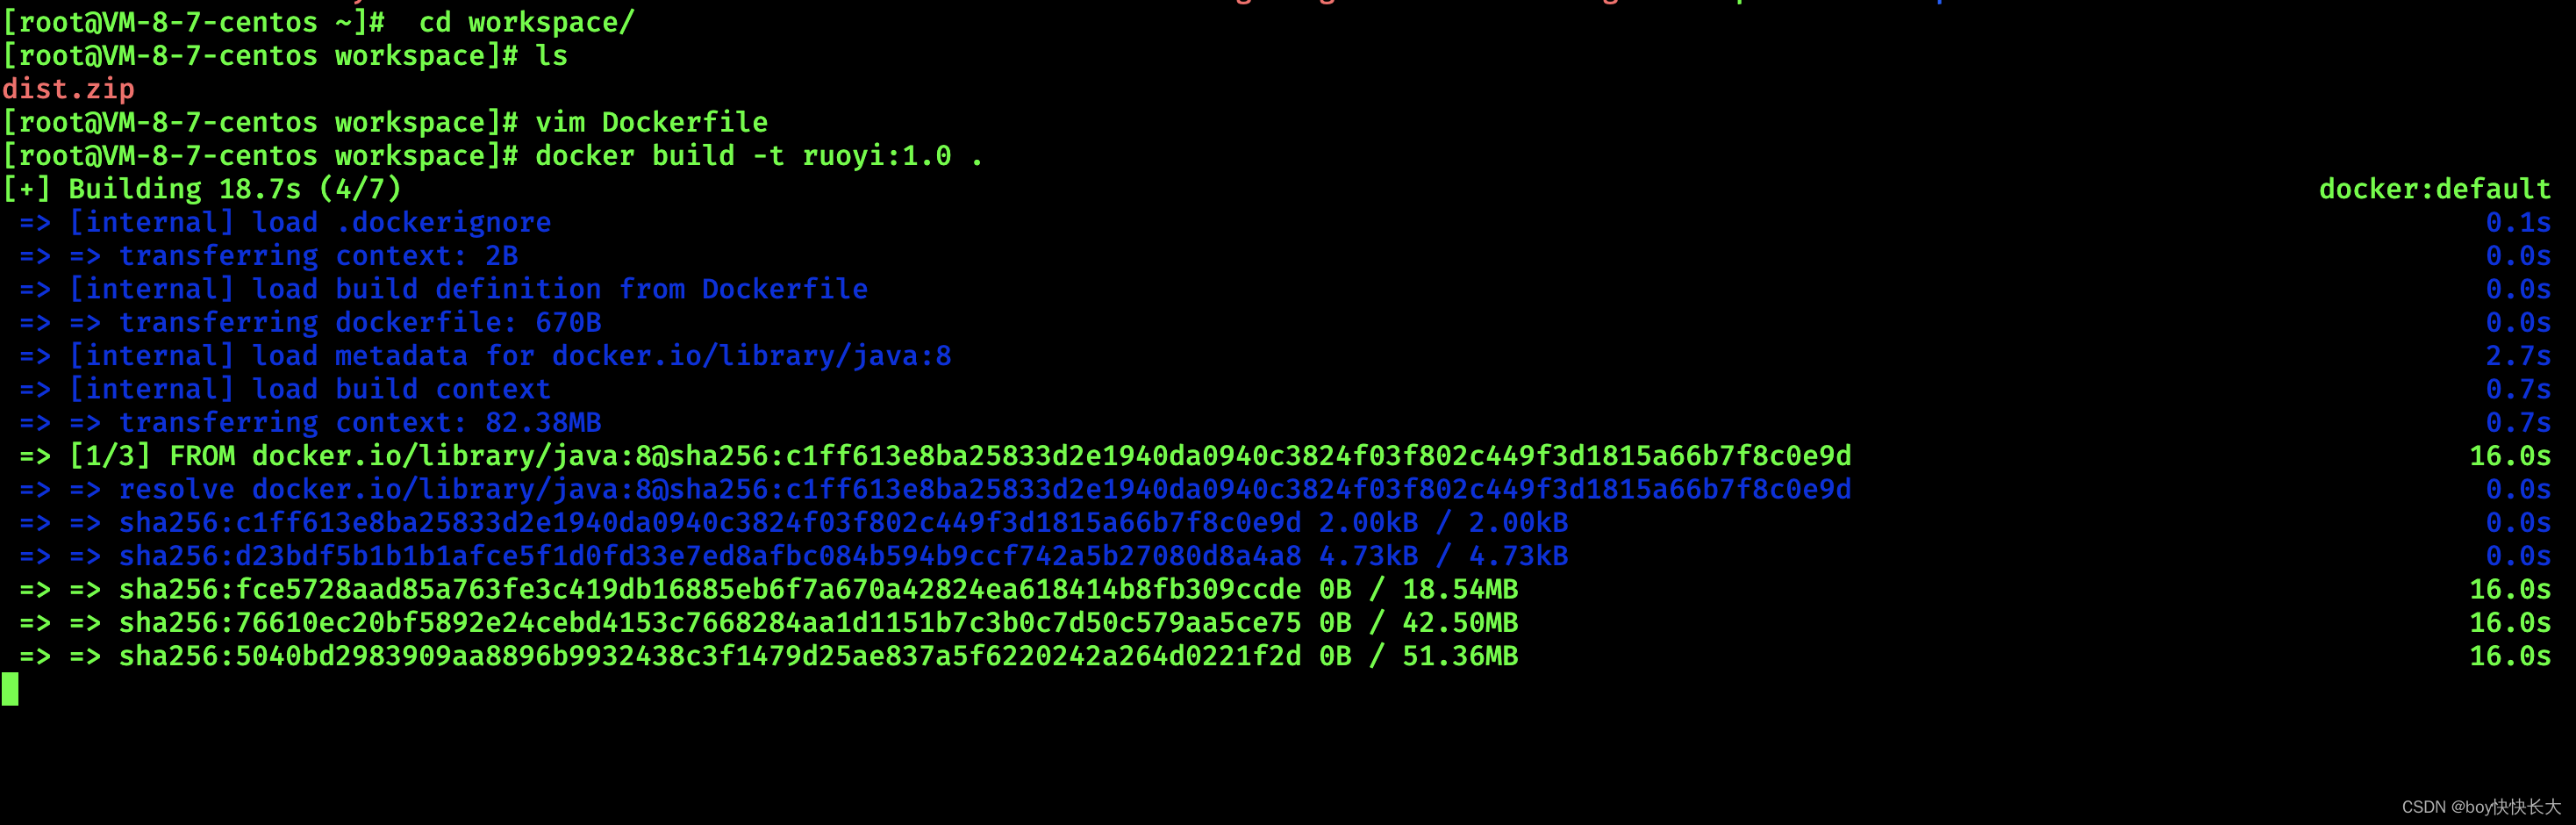
DockerFile
# 基础镜像
FROM  java:8
# author
MAINTAINER guanhcEXPOSE 8081# 挂载目录
VOLUME /root/workspace
# 创建目录
RUN mkdir -p /home/ruoyi
# 指定路径
WORKDIR /home/ruoyi
# 复制jar文件到路径
COPY ruoyi-admin.jar /home/ruoyi/ruoyi-admin.jar
# 启动认证服务
ENTRYPOINT ["java","-jar","ruoyi-admin.jar"]
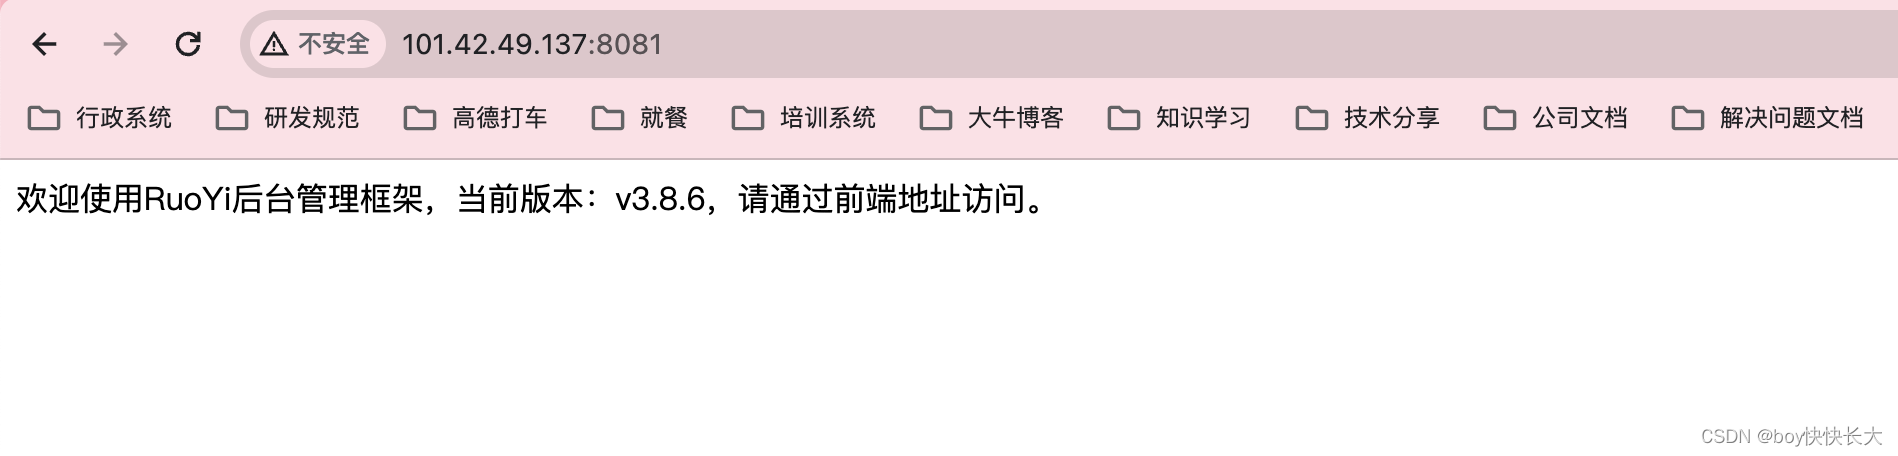
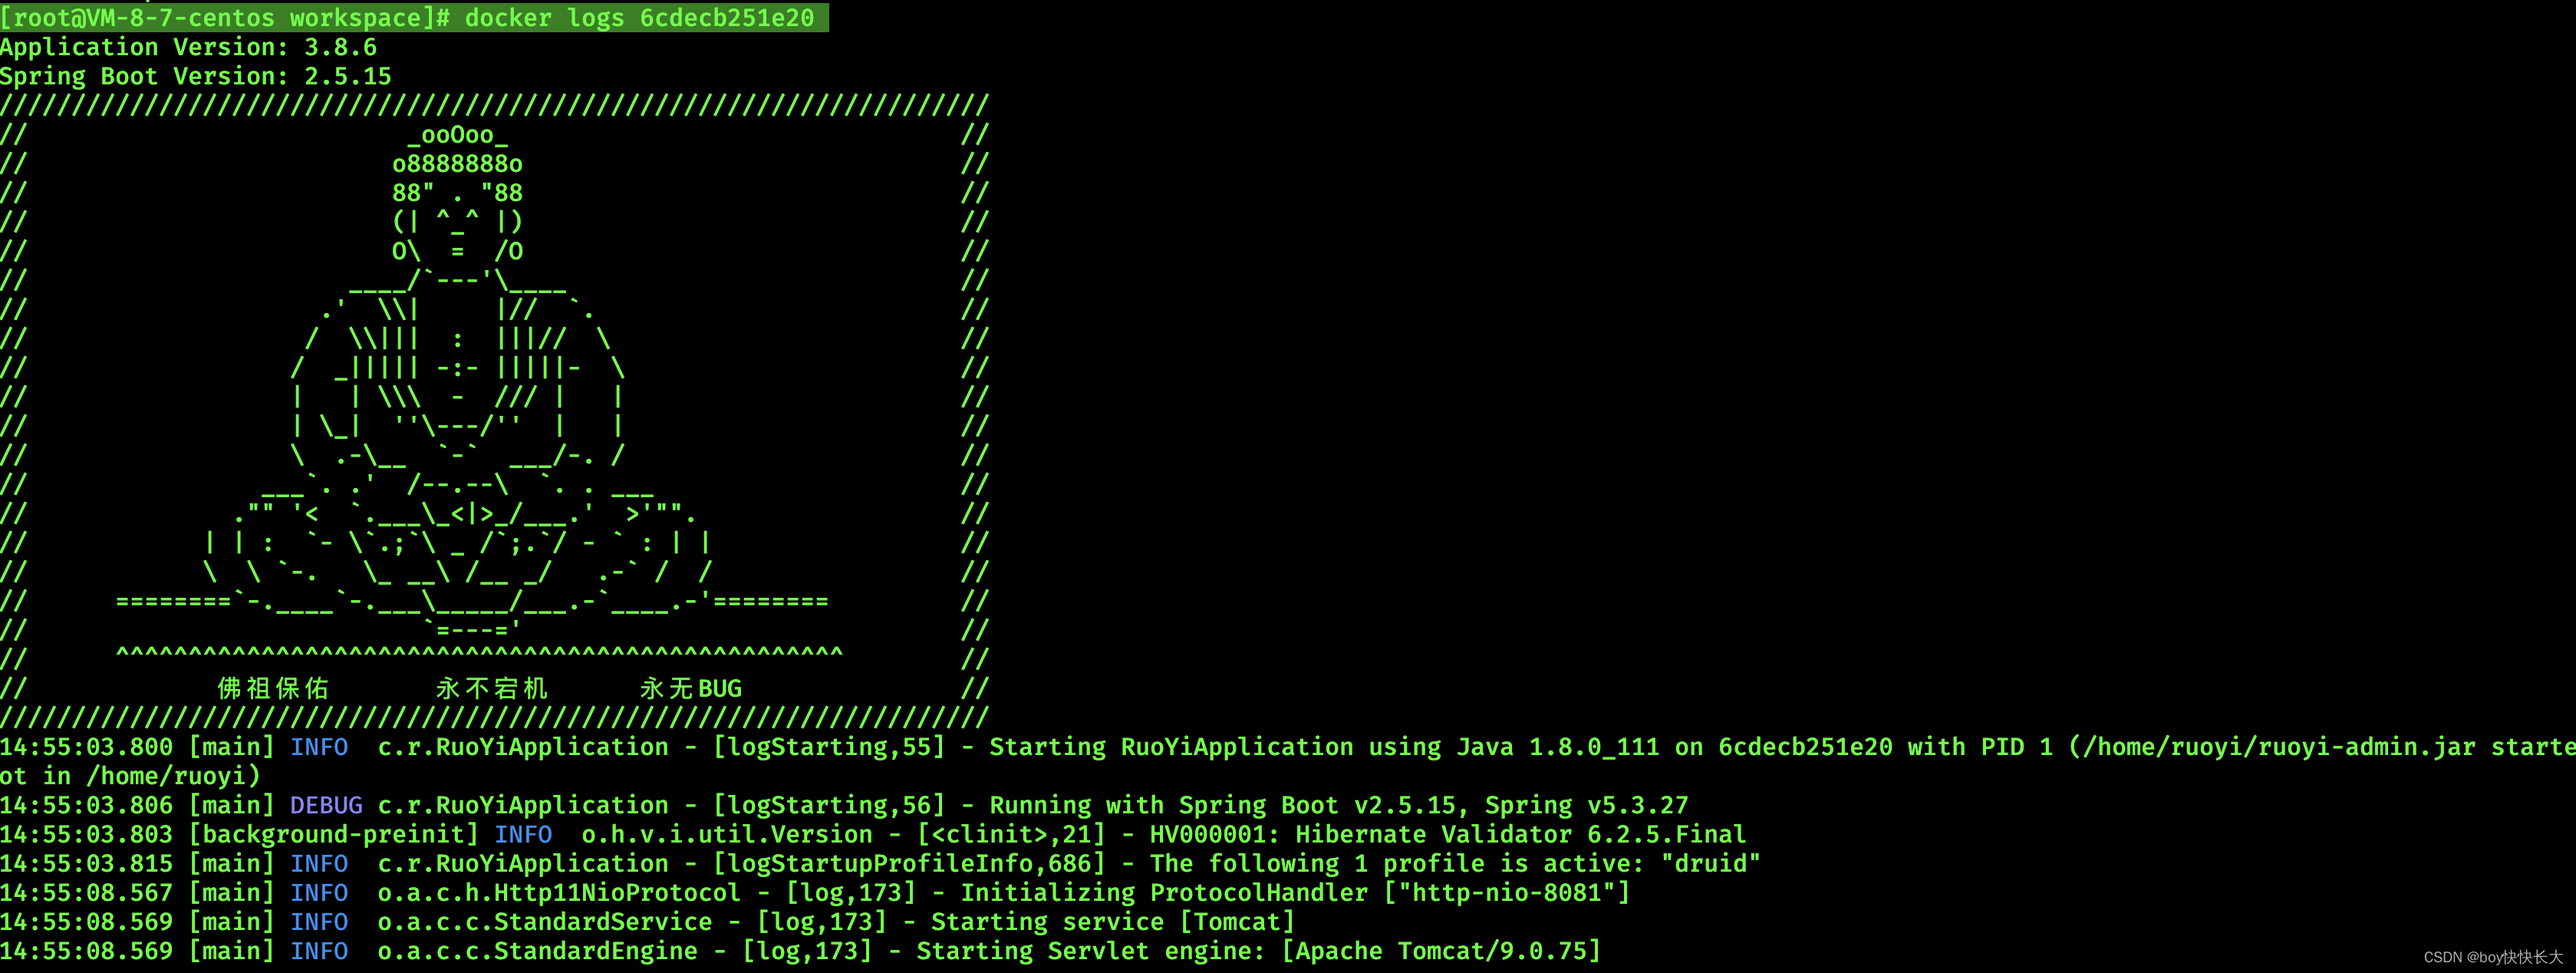
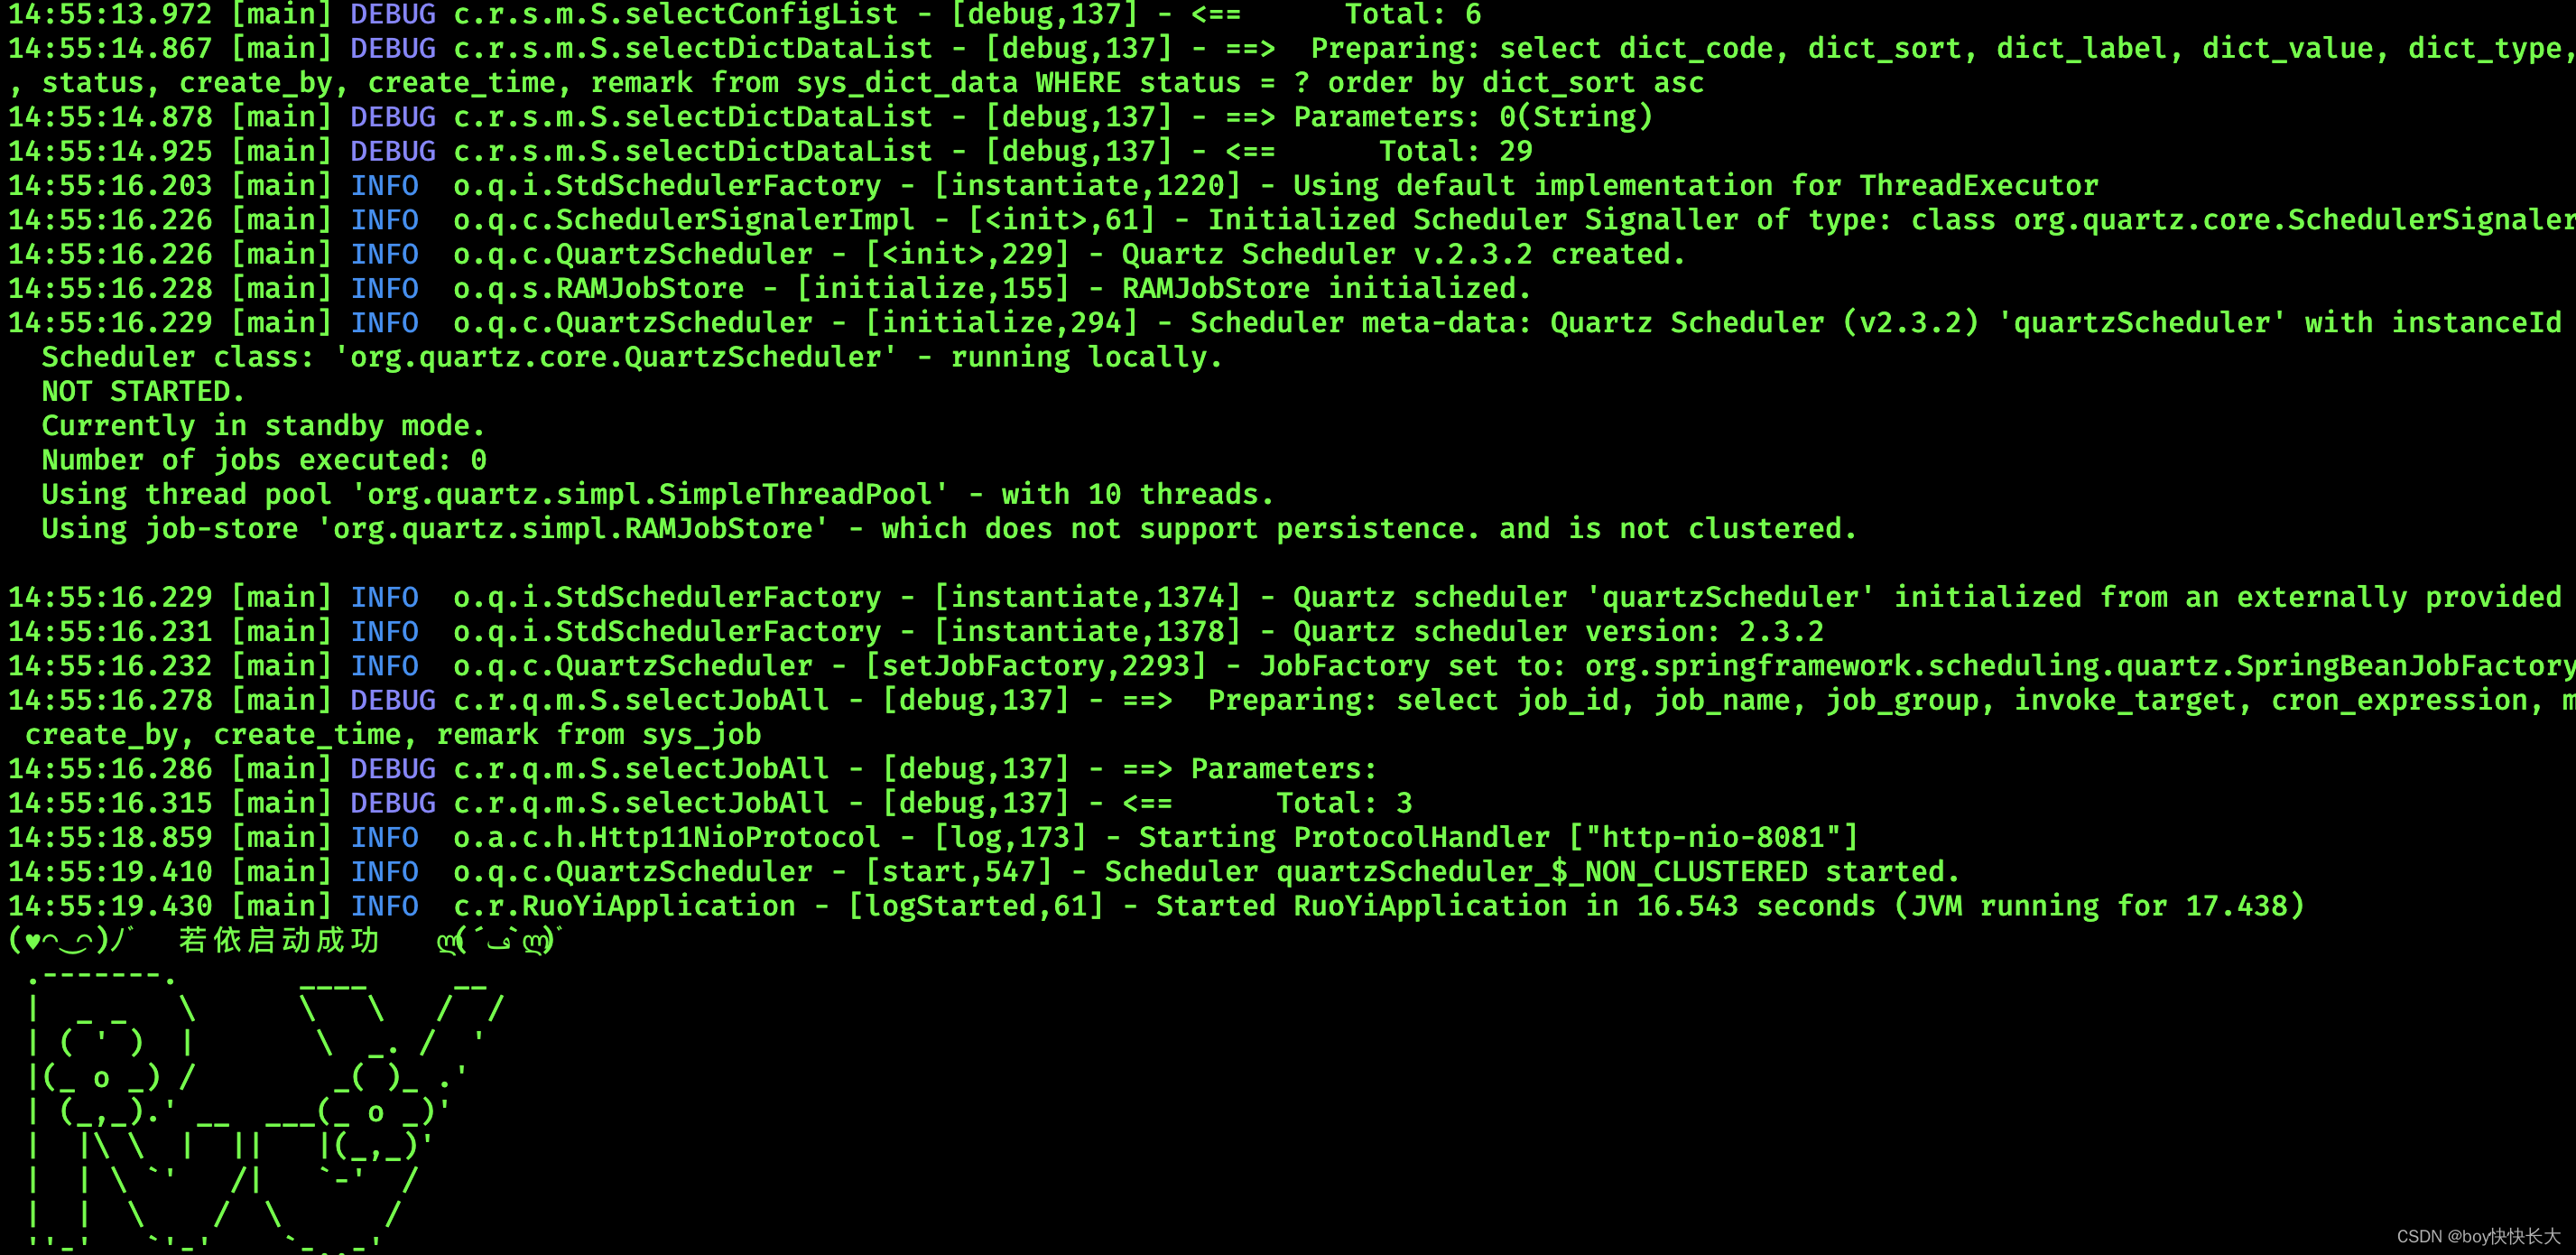
查看日志
[root@VM-8-7-centos workspace]# docker logs 6cdecb251e20
重启Nginx
nginx重新配置
upstream ruoyi{server 101.42.49.137:8081 weight=10;
}server {listen       80;server_name  localhost;#charset koi8-r;#access_log  /var/log/nginx/host.access.log  main;location / {root   /usr/share/nginx/html/dist/dist;index  index.html index.htm;}location /prod-api/{proxy_set_header Host $http_host;proxy_set_header X-Real-IP $remote_addr;proxy_set_header REMOTE-HOST $remote_addr;proxy_set_header X-Forwarded-For $proxy_add_x_forwarded_for;proxy_pass http://ruoyi/;}#error_page  404              /404.html;# redirect server error pages to the static page /50x.html#error_page   500 502 503 504  /50x.html;location = /50x.html {root   /usr/share/nginx/html;}# proxy the PHP scripts to Apache listening on 127.0.0.1:80##location ~ \.php$ {#    proxy_pass   http://127.0.0.1;#}# pass the PHP scripts to FastCGI server listening on 127.0.0.1:9000##location ~ \.php$ {#    root           html;#    fastcgi_pass   127.0.0.1:9000;#    fastcgi_index  index.php;#    fastcgi_param  SCRIPT_FILENAME  /scripts$fastcgi_script_name;#    include        fastcgi_params;#}# deny access to .htaccess files, if Apache's document root# concurs with nginx's one##location ~ /\.ht {#    deny  all;#}
}
别忘了 [root@VM-8-7-centos html]# docker exec -it aed99f4c5a55 nginx -s reload
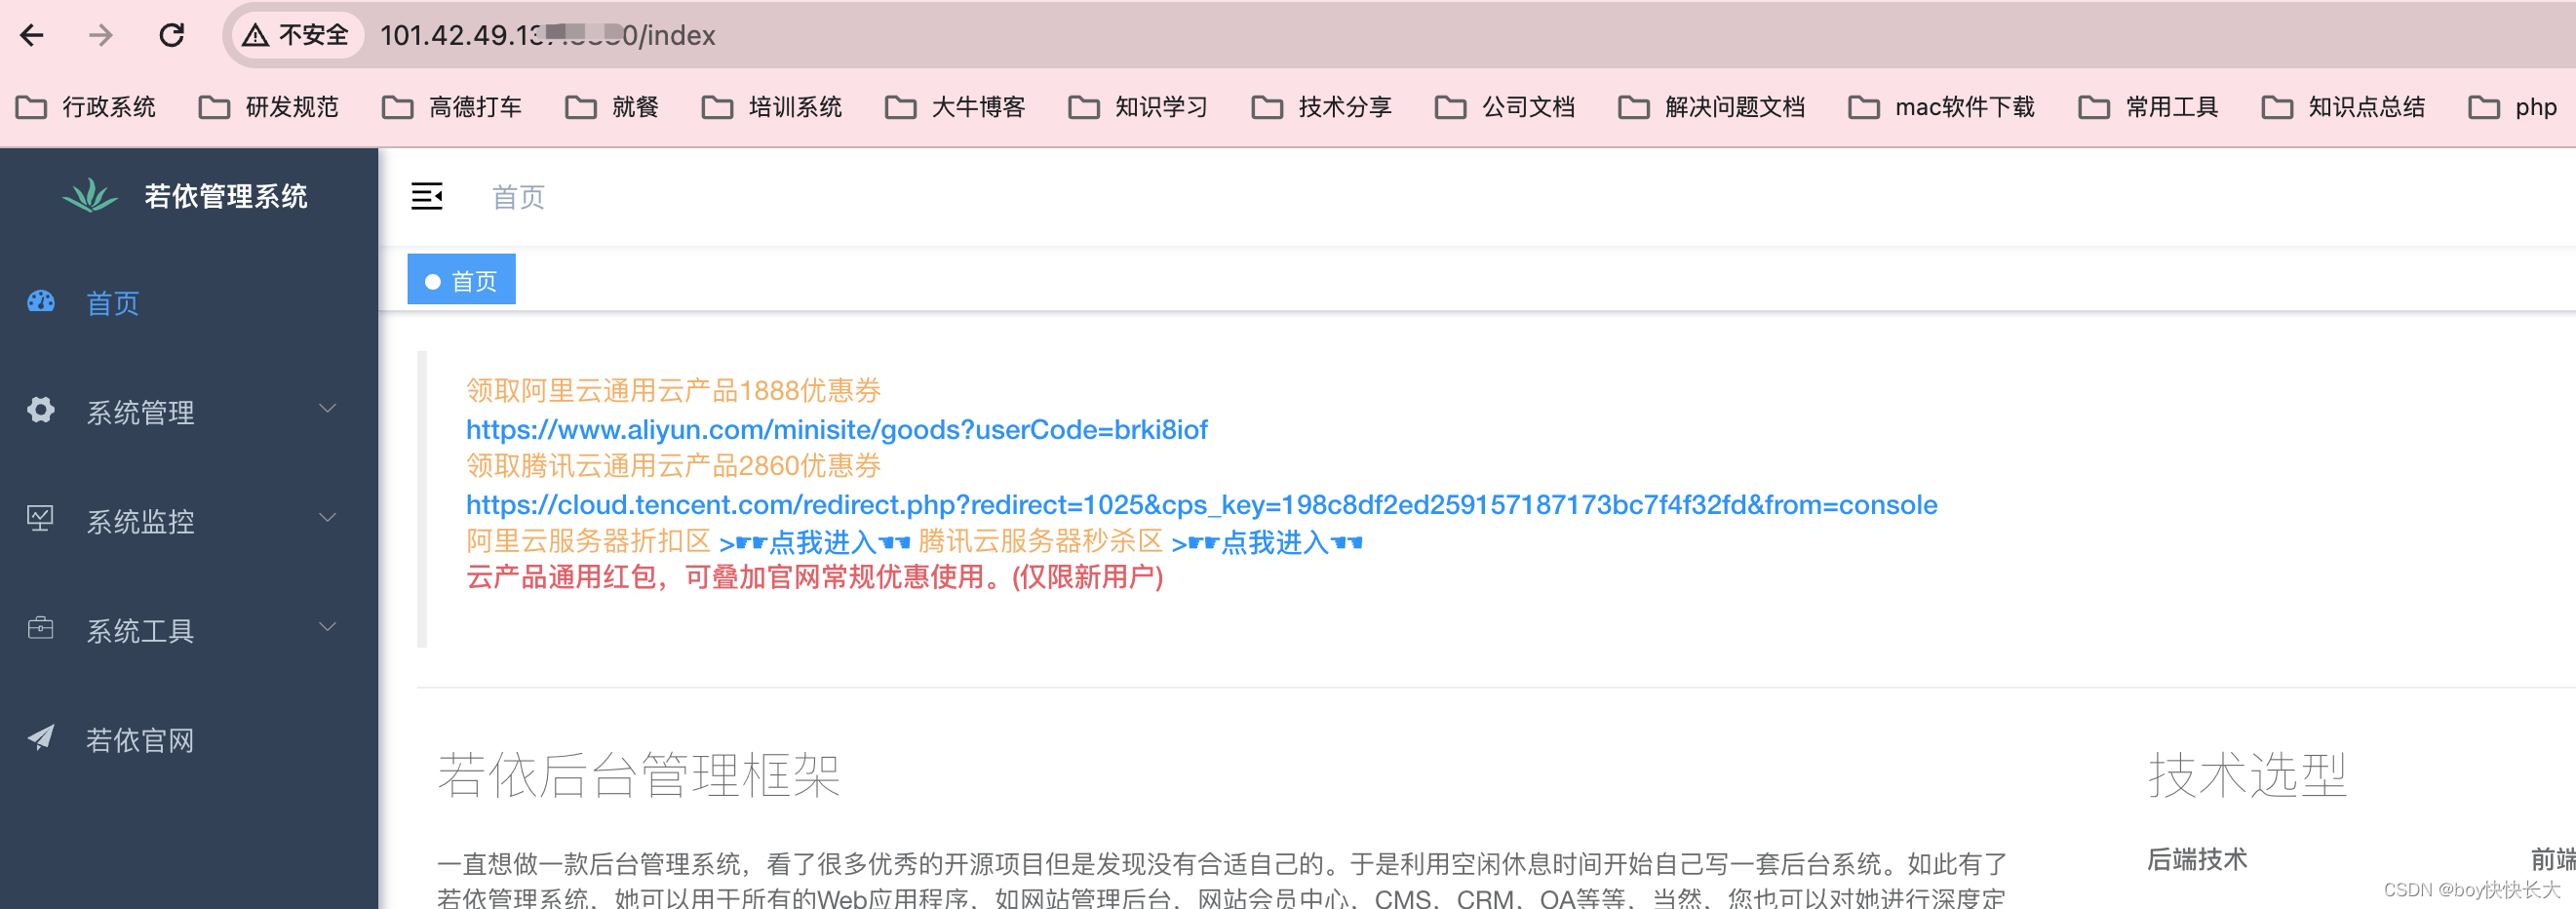
最后跑起来了,当然可以部署多台后端服务器。
注意
docker阿里镜像申请https://cr.console.aliyun.com/cn-hangzhou/instances/mirrors
参考
- https://blog.csdn.net/Pan_peter/article/details/128807946