flutter接入扫码枪的扫描结果,其实就是监听键盘输入,从测试到页面显示出来

检测设备是否正常
首先一定要测试一下你的硬件设备是否正常,虽然有的设备看着插入usb后指示灯什么都亮了,但是不一定就说明设备没问题,这就需要先验证一下,比如打开记事本或者doc文档,然后扫描一下条形码,看是否能正常录入进去:因为这类设备初始模式一般都是USB Keyboard模式,也就是模拟键盘快速输入,所以当扫描到一个条形码或者二维码后,就会模拟键盘快速输入条形码内容

如果扫码后能正常输入内容,则说明设备连接正常,然后再选择对接到flutter或者其他语言中。
如果不正常,要么是设备的接口没有插紧要么是设备坏了,将设备后面的接口拔掉再插进去或者换个接口试试说不定就好了,我就遇到了这个坑爹的问题。
我使用的这款设备是类似纽特捷Newtologic的扫码设备,他们的官网好像是:纽特捷光电科技有限公司
设备外形:

注意:后面有两个接口,我第一次就是因为接口不稳定,导致一直读不到结果,一度怀疑是电脑问题,后来切换了一个接口就好了
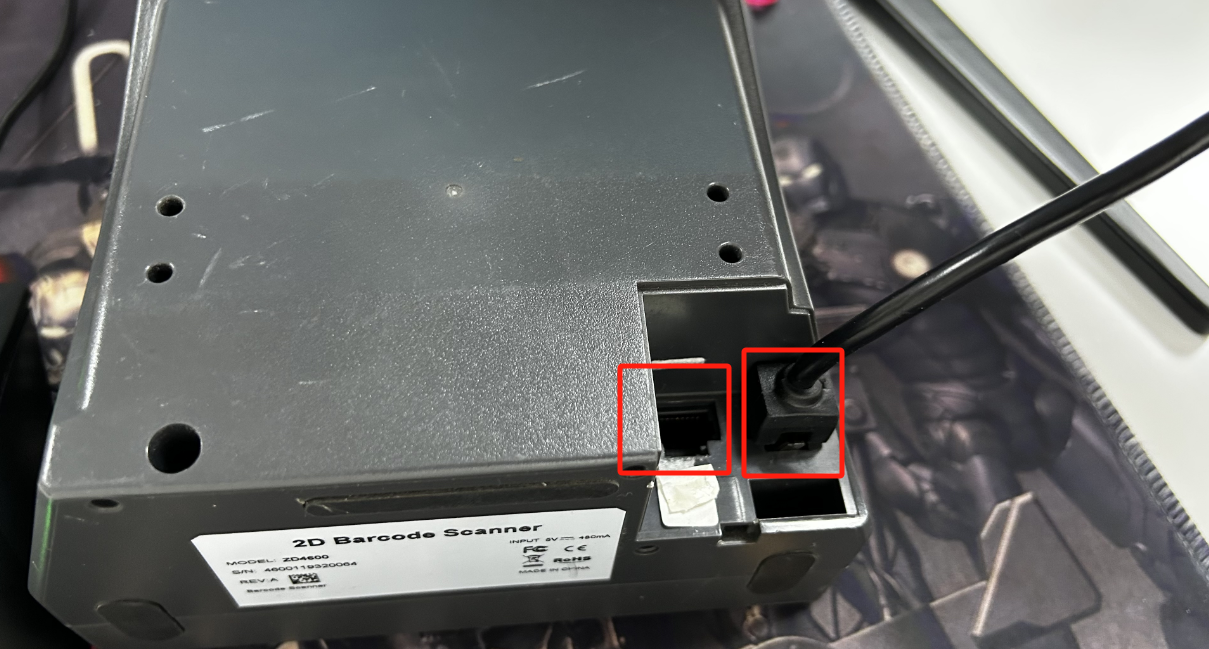
它的操作文档是:https://16984462.s21i.faiusr.com/61/ABUIABA9GAAgh7Xc3AUohtnFVg.pdf
这个设备默认有三种模式:扫描对应模式的条形码,就可以激活对应的模式
USB Keyboard、USB COM、USB HID
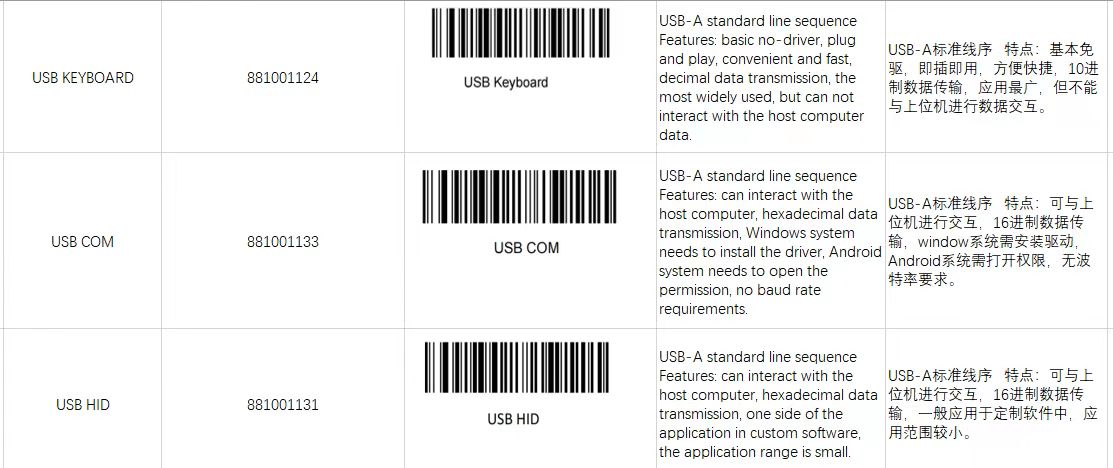
我这里就是用默认的 USB Keyboard模式。
使用flutter监听键盘输入
我这里使用网上的一个demo代码,也不用安装依赖,直接复制到flutter的main.dart文件中,就可以运行一下试试:
import 'package:flutter/material.dart';
import 'package:flutter/services.dart';void main() => runApp(const FocusNodeExampleApp());class FocusNodeExampleApp extends StatelessWidget {const FocusNodeExampleApp({super.key});@overrideWidget build(BuildContext context) {return MaterialApp(home: Scaffold(appBar: AppBar(title: const Text('FocusNode Sample')),body: const FocusNodeExample(),),);}
}class ColorfulButton extends StatefulWidget {const ColorfulButton({super.key});@overrideState<ColorfulButton> createState() => _ColorfulButtonState();
}class _ColorfulButtonState extends State<ColorfulButton> {late FocusNode _node;bool _focused = false;late FocusAttachment _nodeAttachment;Color _color = Colors.white;@overridevoid initState() {super.initState();_node = FocusNode(debugLabel: 'Button');_node.addListener(_handleFocusChange);_nodeAttachment = _node.attach(context, onKey: _handleKeyPress);}void _handleFocusChange() {if (_node.hasFocus != _focused) {setState(() {_focused = _node.hasFocus;});}}KeyEventResult _handleKeyPress(FocusNode node, RawKeyEvent event) {if (event is RawKeyDownEvent) {debugPrint('Focus node ${node.debugLabel} got key event: ${event.logicalKey}');if (event.logicalKey == LogicalKeyboardKey.keyR) {debugPrint('Changing color to red.');setState(() {_color = Colors.red;});return KeyEventResult.handled;} else if (event.logicalKey == LogicalKeyboardKey.keyG) {debugPrint('Changing color to green.');setState(() {_color = Colors.green;});return KeyEventResult.handled;} else if (event.logicalKey == LogicalKeyboardKey.keyB) {debugPrint('Changing color to blue.');setState(() {_color = Colors.blue;});return KeyEventResult.handled;}}return KeyEventResult.ignored;}@overridevoid dispose() {_node.removeListener(_handleFocusChange);// The attachment will automatically be detached in dispose()._node.dispose();super.dispose();}void callKeyboard() {SystemChannels.textInput.invokeMethod<void>('TextInput.show');}@overrideWidget build(BuildContext context) {_nodeAttachment.reparent();return GestureDetector(onTap: () {if (_focused) {_node.unfocus();} else {_node.requestFocus();}},child: Column(children: [Container(width: 400,color: _focused ? _color : Colors.white,alignment: Alignment.center,child: Text(_focused ? "I'm in color! Press R,G,B!" : 'Press to focus'),),Container(width: 160,color: Colors.orange,child: OutlinedButton(child: Text("Call Keyboard"),onPressed: callKeyboard,)),],),);}
}class FocusNodeExample extends StatelessWidget {const FocusNodeExample({super.key});@overrideWidget build(BuildContext context) {final TextTheme textTheme = Theme.of(context).textTheme;return DefaultTextStyle(style: textTheme.headlineMedium!,child: const ColorfulButton(),);}
}
然后运行后的结果是:然后点击一下 Press to focus就开始监听了

点击一下之后,开始监听:
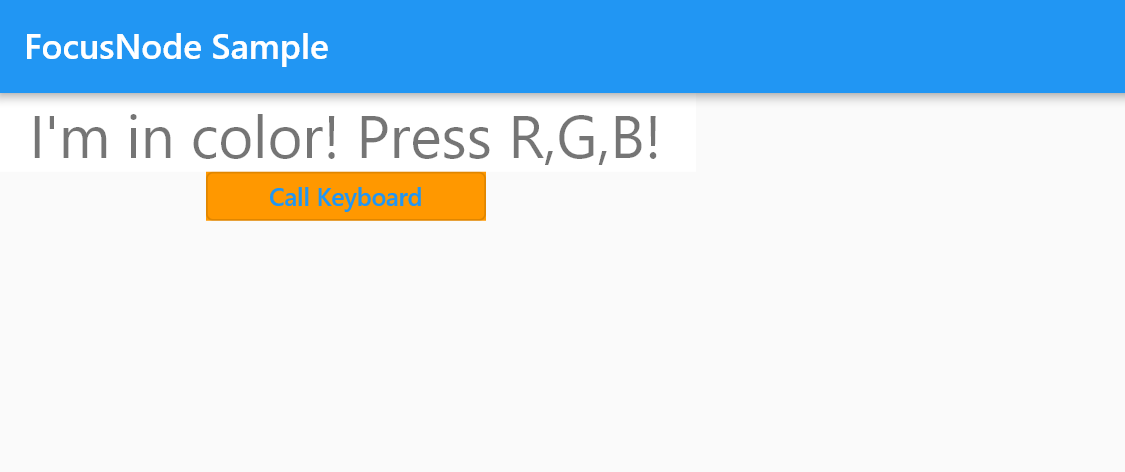
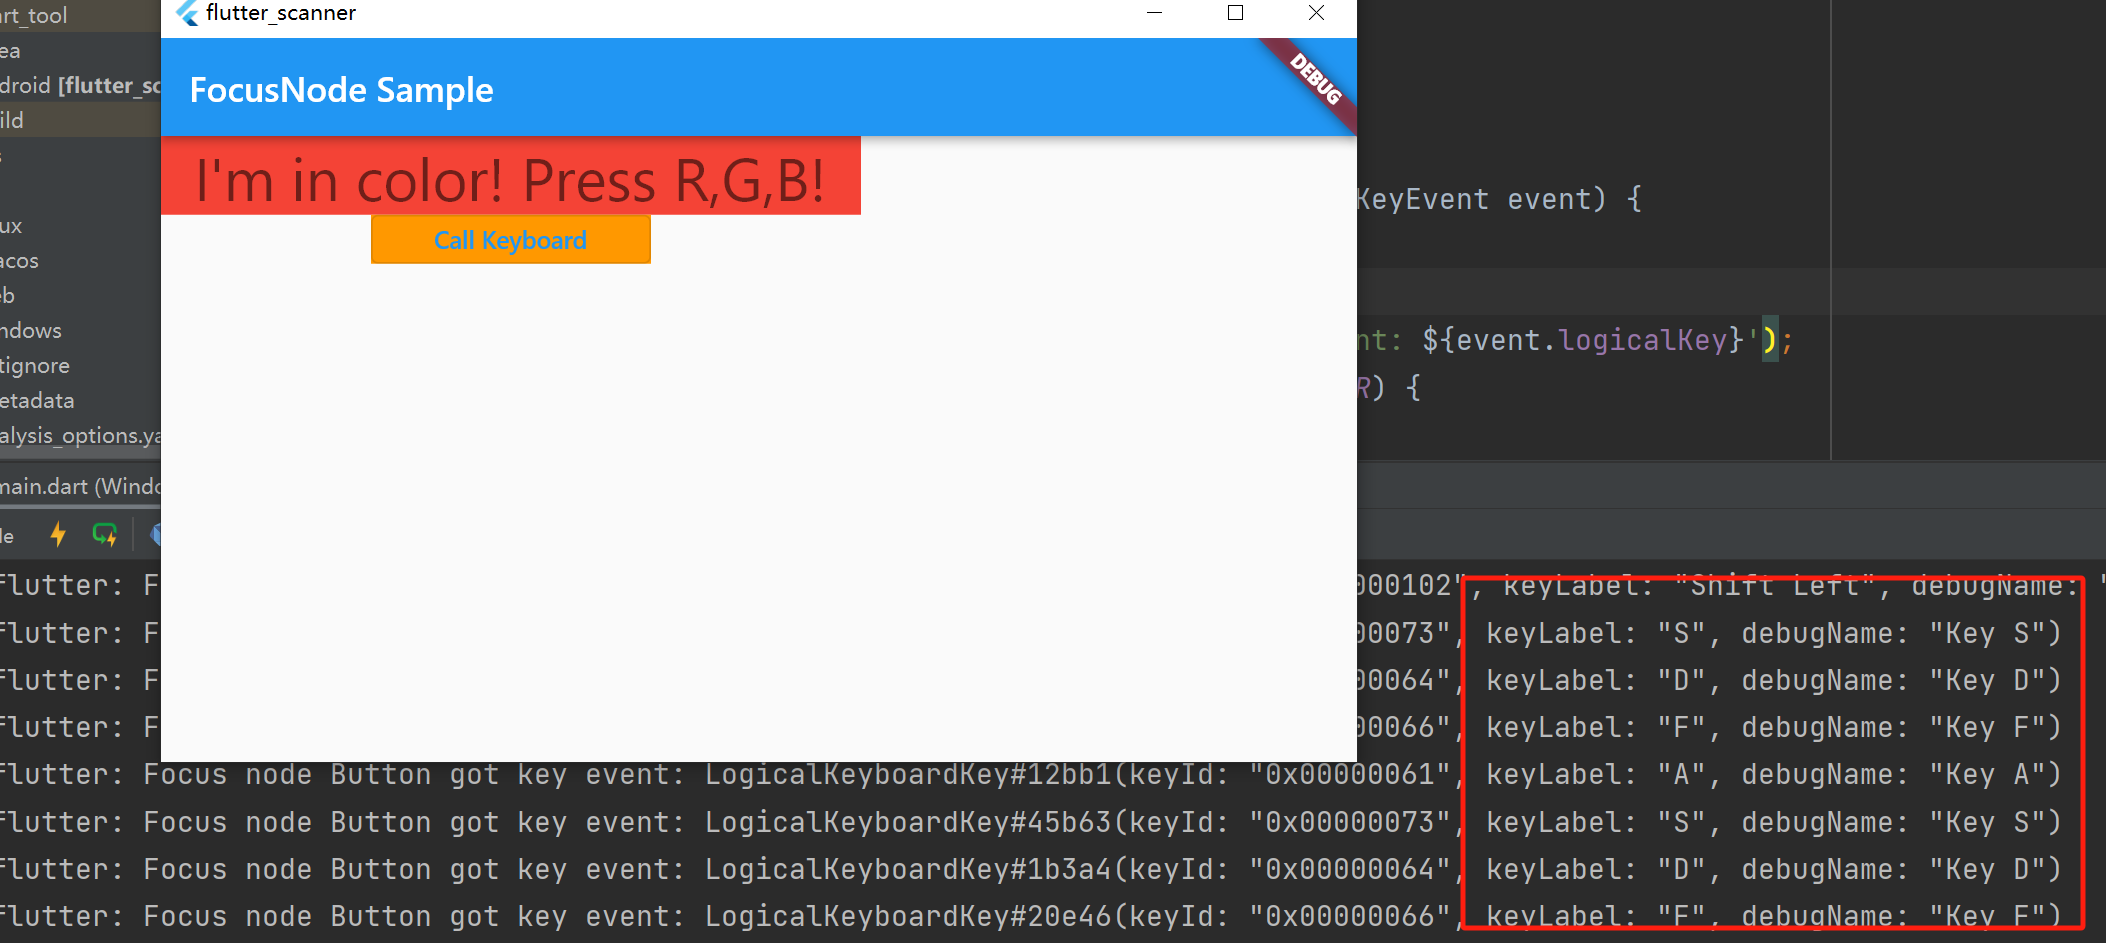
这时候随便按键盘上的按键,就会在flutter控制台输出监听内容:按下r、g、b后,窗口中的背景色也会随着改变:
支持scan_gun这个库
scan_gun这个库是封装好的一个库,依赖库地址:scan_gun | Flutter Package
github仓库地址:GitHub - liyufengrex/flutter_scan_gun: flutter:usb 即插款扫码枪通用方案。(不会触发键盘唤起,不会触发中文乱码)
实现扫码枪获取数据源,禁止系统键盘弹窗。依赖 EditableText 原理,实现 flutter 端扫码能力支持。 (不会触发键盘唤起,不会触发中文乱码)
安装操作说明,在pubspec.yaml文件中进行引用:
dependencies:scan_gun: ^2.0.0然后仿照官方demo在lib目录下创建两个文件:
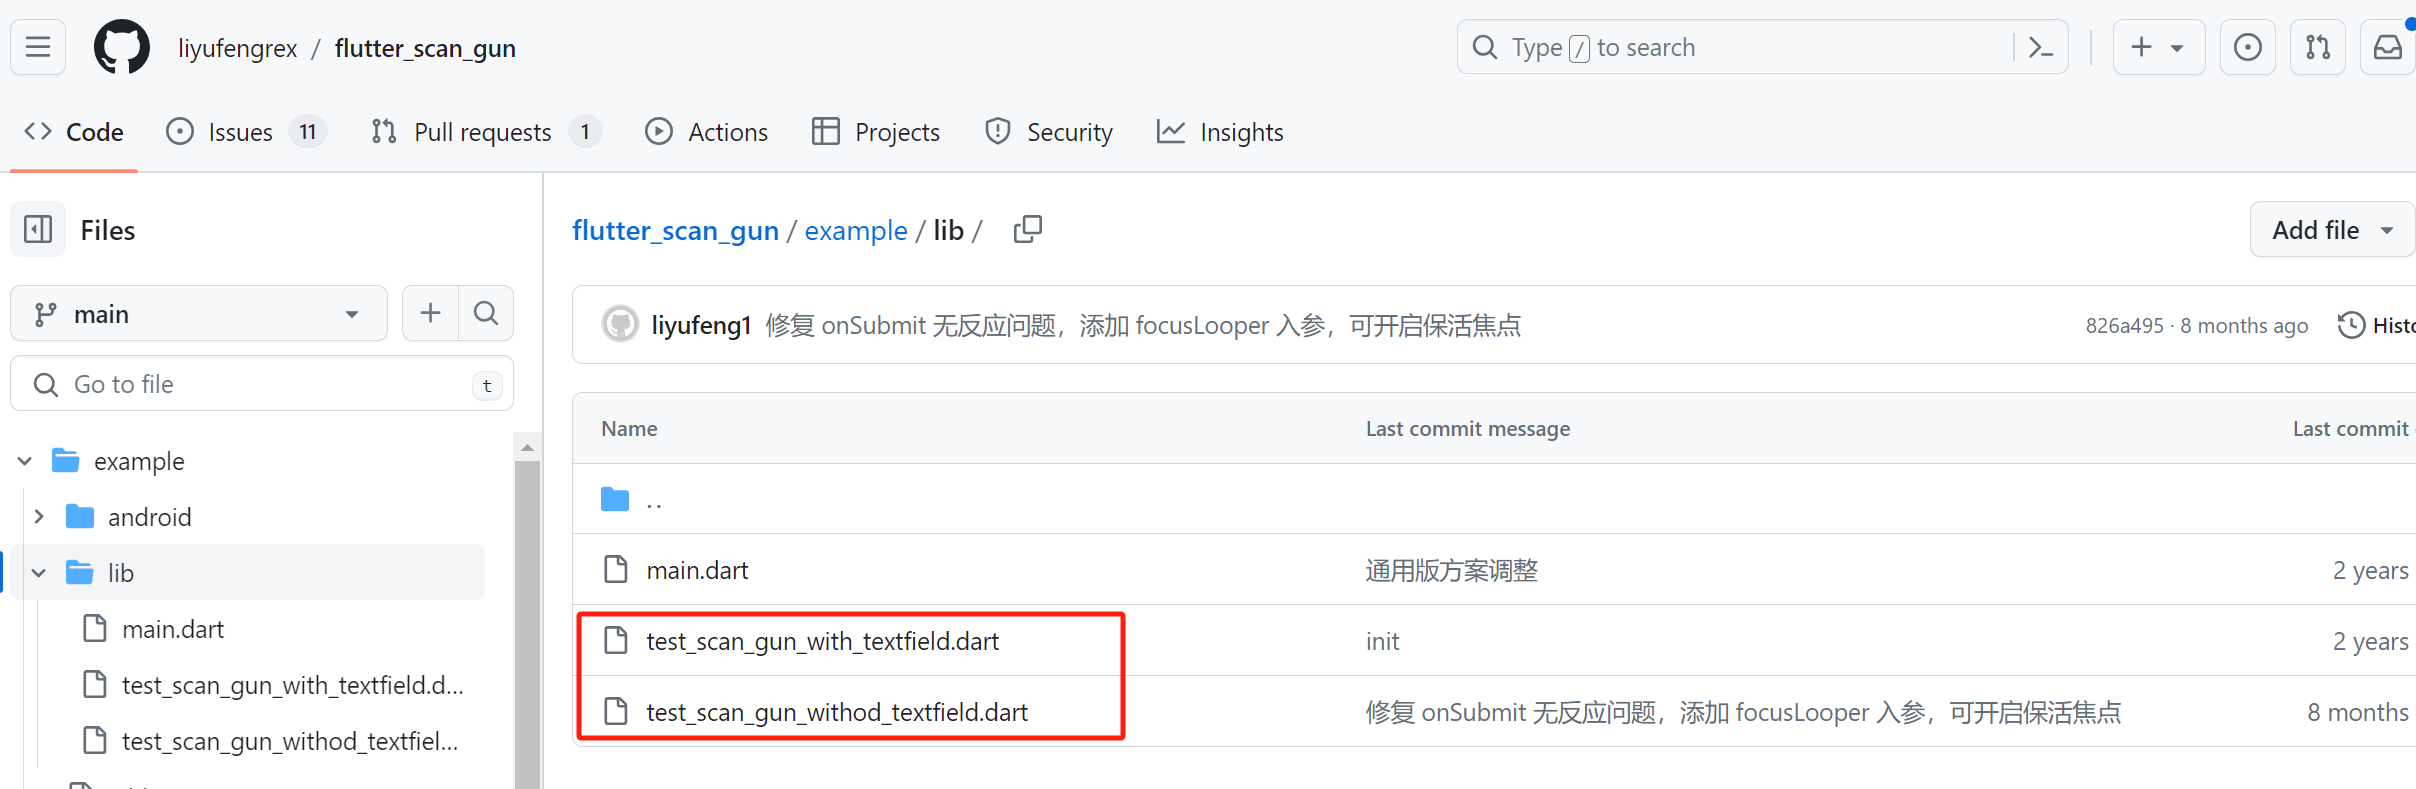
文件内容直接拷贝官方demo里面的:
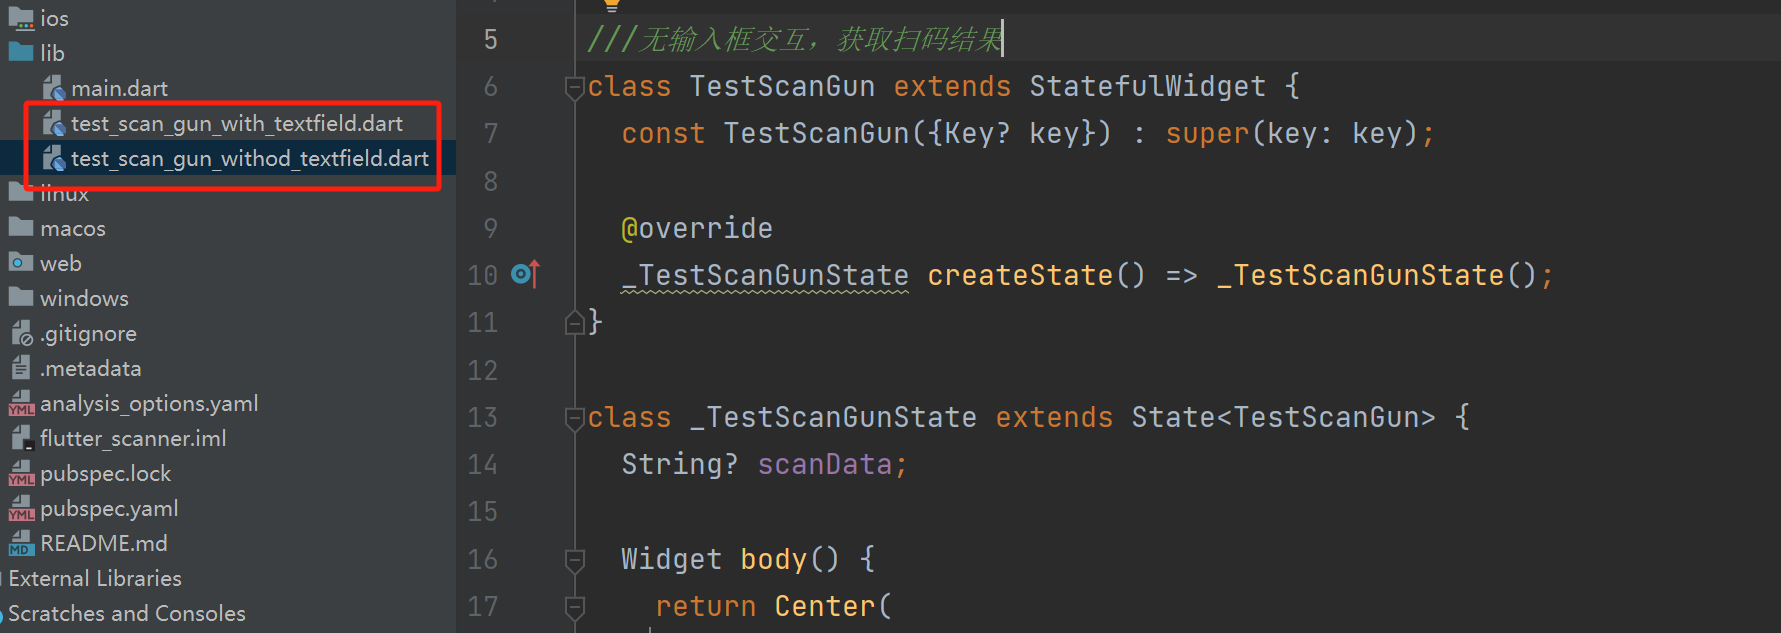
然后在互相引入的时候,记得修改引入路径,要用你项目本地的路径,不然会报错,找不到对应的类组件。
最后在main.dart中使用:
import 'package:flutter/material.dart';
import 'package:flutter_scanner/test_scan_gun_withod_textfield.dart';
import 'package:scan_gun/scan_gun.dart';void main() {TextInputBinding();runApp(const MyApp());
}class MyApp extends StatelessWidget {const MyApp({Key? key}) : super(key: key);// This widget is the root of your application.@overrideWidget build(BuildContext context) {return MaterialApp(title: 'scan_gun_demo',theme: ThemeData(primarySwatch: Colors.blue,),home: Scaffold(appBar: AppBar(title: const Text('扫码枪测试'),),body: const TestScanGun(),),);}
}
然后运行:不弹窗直接扫描结果显示

弹窗扫码结果:
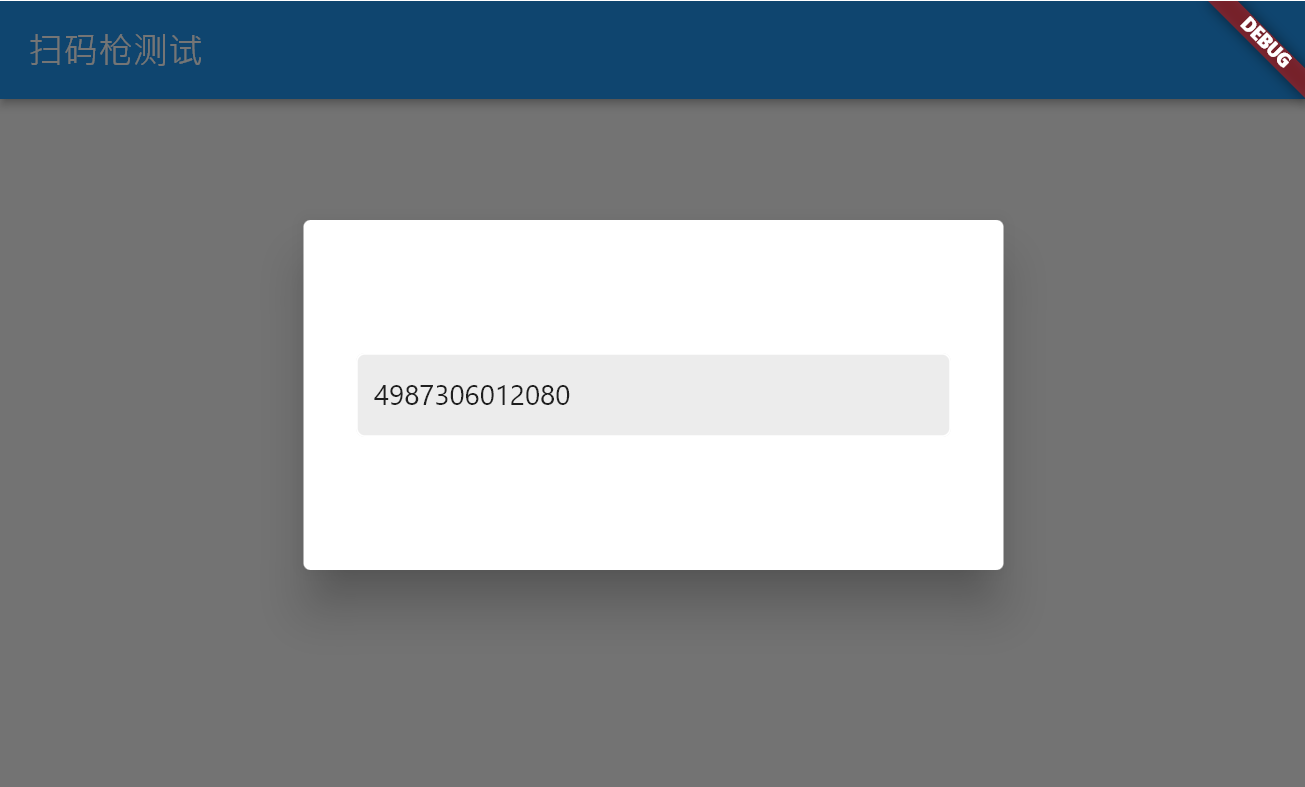
至此,整个过程就结束了,这也是花费了一天时间研究的结果啊