[Angular] 笔记 25:指令
![[Angular] 笔记 25:指令](http://pic.xiahunao.cn/yaotu/[Angular] 笔记 25:指令)
组件指令 (chatgpt 回答)
在 Angular 中,组件本身可以被视为指令,这种指令被称为组件指令。组件是 Angular 应用的构建块之一,它封装了一段具有特定功能和特性的用户界面,并且可以在应用中重复使用。
组件指令具有以下特征:
-
封装性:组件指令封装了一段具有特定功能的用户界面,并且可以通过标签形式在其他组件模板中被重复使用。
-
模板:每个组件都有一个关联的模板,用于定义组件的视图结构和布局。
-
逻辑:组件指令也包含了与视图相关的业务逻辑,包括数据处理、事件处理等。
-
可复用性:组件可以被多次实例化,并且可以在应用中的不同位置重复使用。
-
生命周期钩子:组件指令可以利用 Angular 的生命周期钩子来执行特定的操作,比如在组件初始化、销毁、数据变化等时刻执行特定的逻辑。
-
元数据:每个组件都有与之相关联的元数据,包括选择器、模板、样式、输入和输出属性等。
请比较 Angular 中的三种指令: 组件指令,结构型指令和属性型指令
当谈论 Angular 中的指令时,有三种主要类型:组件指令、结构型指令和属性型指令。它们在功能和使用方式上有所不同:
组件指令(Component Directives):
功能: 组件指令是 Angular 中的组件,它们有自己的模板、样式和逻辑,并被用来构建用户界面的独立部分。
使用: 使用 @Component 装饰器来定义组件,并且通过类和模板组合在一起。组件可以通过选择器被引用并在应用中使用。
示例:@Component({ ... }) class MyComponent { ... }
结构型指令(Structural Directives):
功能: 结构型指令用于改变 DOM 结构,根据条件添加、删除或替换 DOM 元素。它们不会创建新组件,而是操作现有的 DOM 元素。
使用: 结构型指令通过 * 前缀标识,常见的有 *ngIf、*ngFor 和 *ngSwitch 等。它们基于条件来操作 DOM 元素的显示和隐藏,循环生成元素或根据条件选择要渲染的元素。
示例:<div *ngIf="condition">...</div>
属性型指令(Attribute Directives):
功能: 属性型指令用于改变现有 DOM 元素的外观或行为,而不会改变 DOM 结构。
使用: 属性型指令以 [directiveName] 的形式应用于 HTML 元素,常见的有 ngClass、ngStyle 和 ngModel 等。它们通过操作元素的属性或添加特定的行为来改变元素的外观或行为。
这三种指令在 Angular 应用中发挥着不同的作用:组件指令用于创建可复用的组件,结构型指令用于改变 DOM 结构,属性型指令用于操作元素的外观和行为。
Angular For Beginners - 30. Directives
Angular 常见面试问题:组件和指令之间的区别是什么?
组件拥有视图,即 View,或者说 HTML 元素。
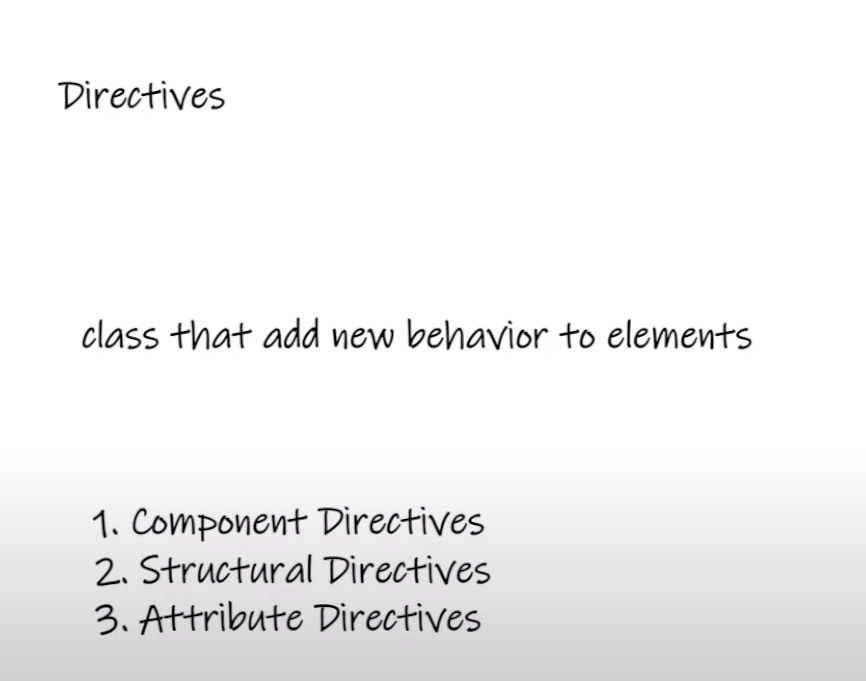
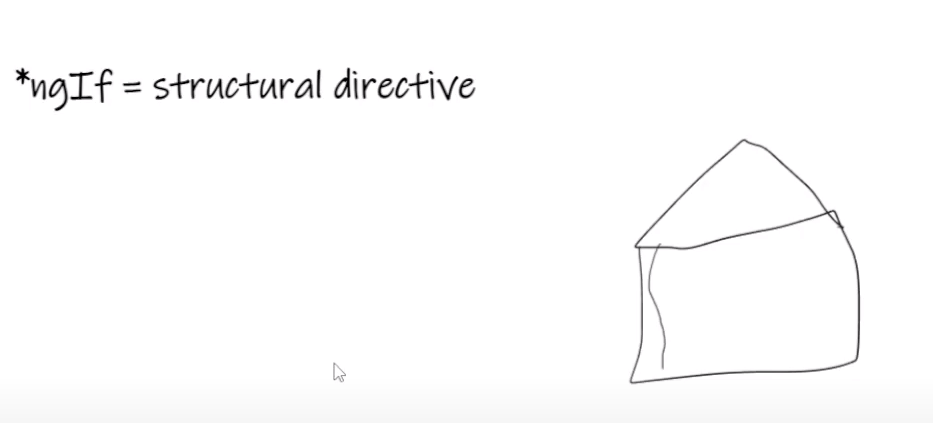
如果有一所房屋的话,结构型指令会修改房屋的实际结构,它会给房屋搭框架,会给房屋盖屋顶。
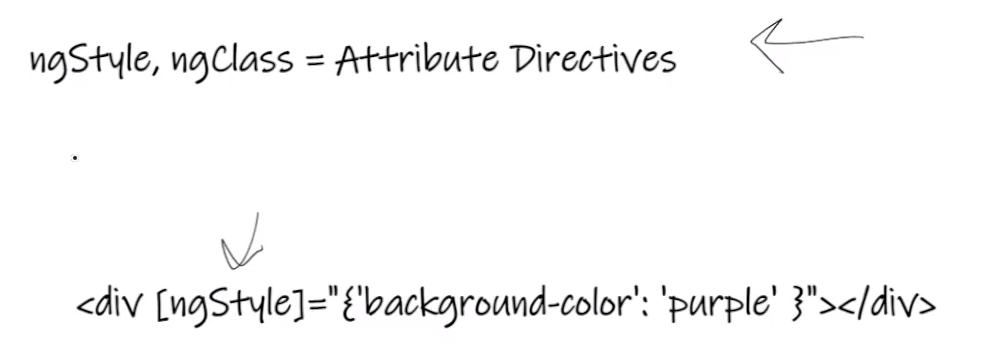
而属性型指令会粉刷房子。
自定义指令 ( custom directive)
自定义指令分两种:自定义结构性指令和自定义属性型指令。
1. 新建两条指令
-
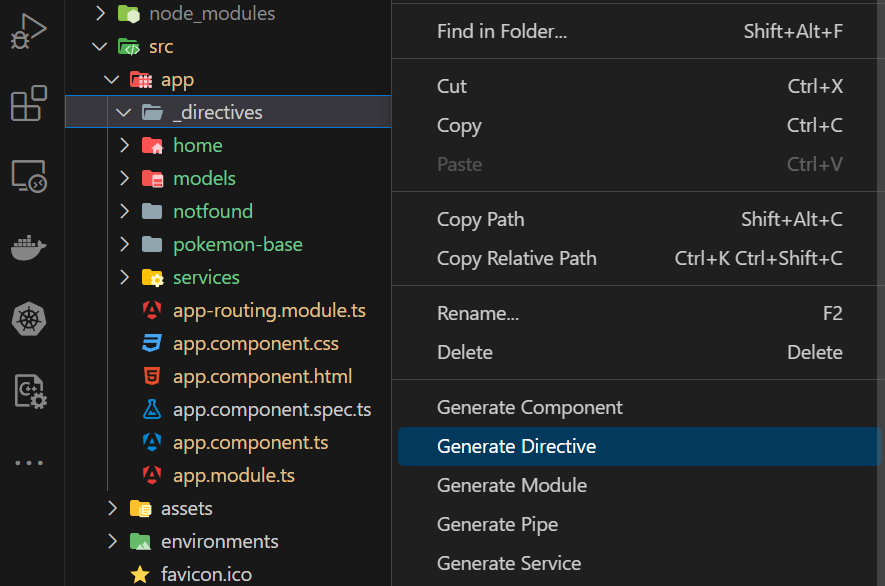
在 app 里新建文件夹
_directives, -
然后右键 -> Generate Directive, 指令名称设为
customif,_directives文件夹下将会生成两个文件,customif将是一个结构型指令。 -
再次右键 -> Generate Directive, 指令名称设为
highlighttext,_directives文件夹下总共会有4个文件,highlighttext将是一个属性型指令。
2. 设置指令 highlighttext
highlighttext.directive.ts:
import { Directive, ElementRef, HostListener } from '@angular/core';@Directive({// selector: '[appHighlighttext]',selector: '[highlighttext]',
})
export class HighlighttextDirective {// 使用 ElementRefconstructor(private el: ElementRef) {// better -> use Renderer2, which will be the safer version}// new code@HostListener('mouseenter') onMouseEnter() {this.el.nativeElement.style.backgroundColor = 'blue';}// new code@HostListener('mouseleave') onMouseLeave() {this.el.nativeElement.style.backgroundColor = 'purple';}
}
pokemon-base.module.ts:
@NgModule({declarations: [PokemonListComponent,PokemonDetailComponent,PokemonTemplateFormComponent, HighlighttextDirective, // 新增代码],imports: [CommonModule,HttpClientModule,FormsModule, RouterModule.forChild(routes), ],exports: [PokemonListComponent, PokemonDetailComponent],providers: [PokemonService],bootstrap: [HighlighttextDirective] // 新增代码
})
export class PokemonBaseModule {}
pokemon-list.component.html:
<table><thead><th #pokemonTh>Name</th><th>Index</th></thead><tbody><app-pokemon-detail#pokemonRef*ngFor="let pokemon of pokemons"[detail]="pokemon"(remove)="handleRemove($event)"></app-pokemon-detail></tbody><!-- 测试 highlighttext 指令 --><div highlighttext>This is highlighttext</div>
</table>
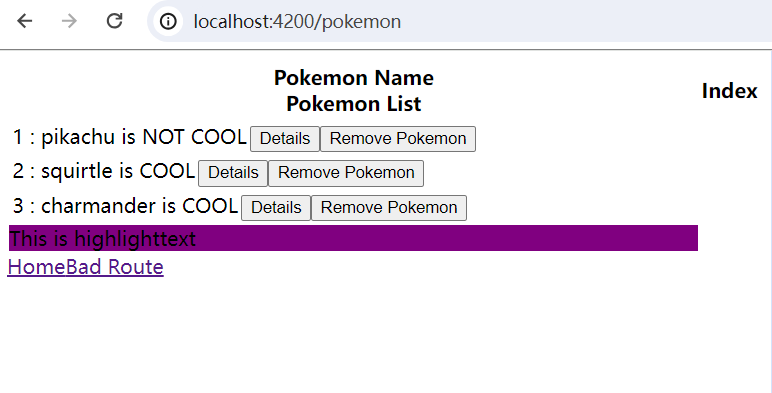
3. 测试 highlighttext 指令
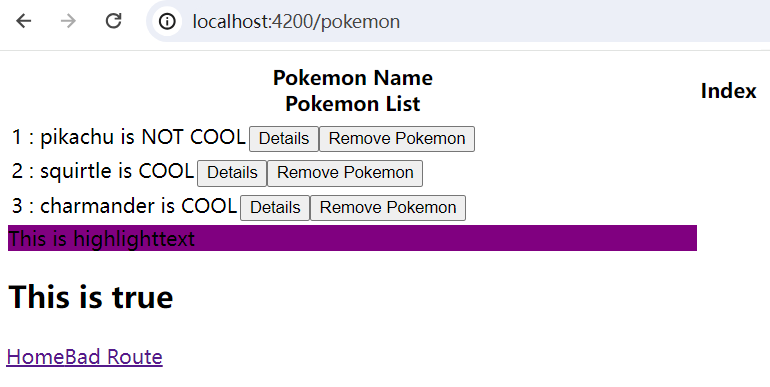
鼠标移到新增 <div> 上面,紫色会变成蓝色,highlighttext 指令正常工作:
4. 设置指令 customif
pokemon-list.component.html:
<table><thead><th #pokemonTh>Name</th><th>Index</th></thead><tbody><app-pokemon-detail#pokemonRef*ngFor="let pokemon of pokemons"[detail]="pokemon"(remove)="handleRemove($event)"></app-pokemon-detail></tbody><div highlighttext>This is highlighttext</div><!-- 测试 customif 指令 --><h2 *customif="true">This is true</h2><h2 *customif="false">This is false</h2>
</table>
<h2> 在底层其实是一个 <ng-template>,所以<h2> 在这里相当于是一个 <ng-template>。
customif.directive.ts:
import { Directive, Input, TemplateRef, ViewContainerRef } from '@angular/core';@Directive({// selector: '[appCustomif]'selector: '[customif]',
})
export class CustomifDirective {@Input() customif: boolean = false;constructor(private templateRef: TemplateRef<any>,private vcr: ViewContainerRef) {}ngOnInit(): void {if (this.customif) {this.vcr.createEmbeddedView(this.templateRef);} else {this.vcr.clear();}}
}
pokemon-base.module.ts:
@NgModule({declarations: [PokemonListComponent,PokemonDetailComponent,PokemonTemplateFormComponent,HighlighttextDirective,CustomifDirective, // 新增 CustomifDirective],imports: [CommonModule,HttpClientModule,FormsModule,RouterModule.forChild(routes),],exports: [PokemonListComponent, PokemonDetailComponent],providers: [PokemonService],bootstrap: [HighlighttextDirective, CustomifDirective], // 新增 CustomifDirective
})
export class PokemonBaseModule {}
5. 测试指令 customif