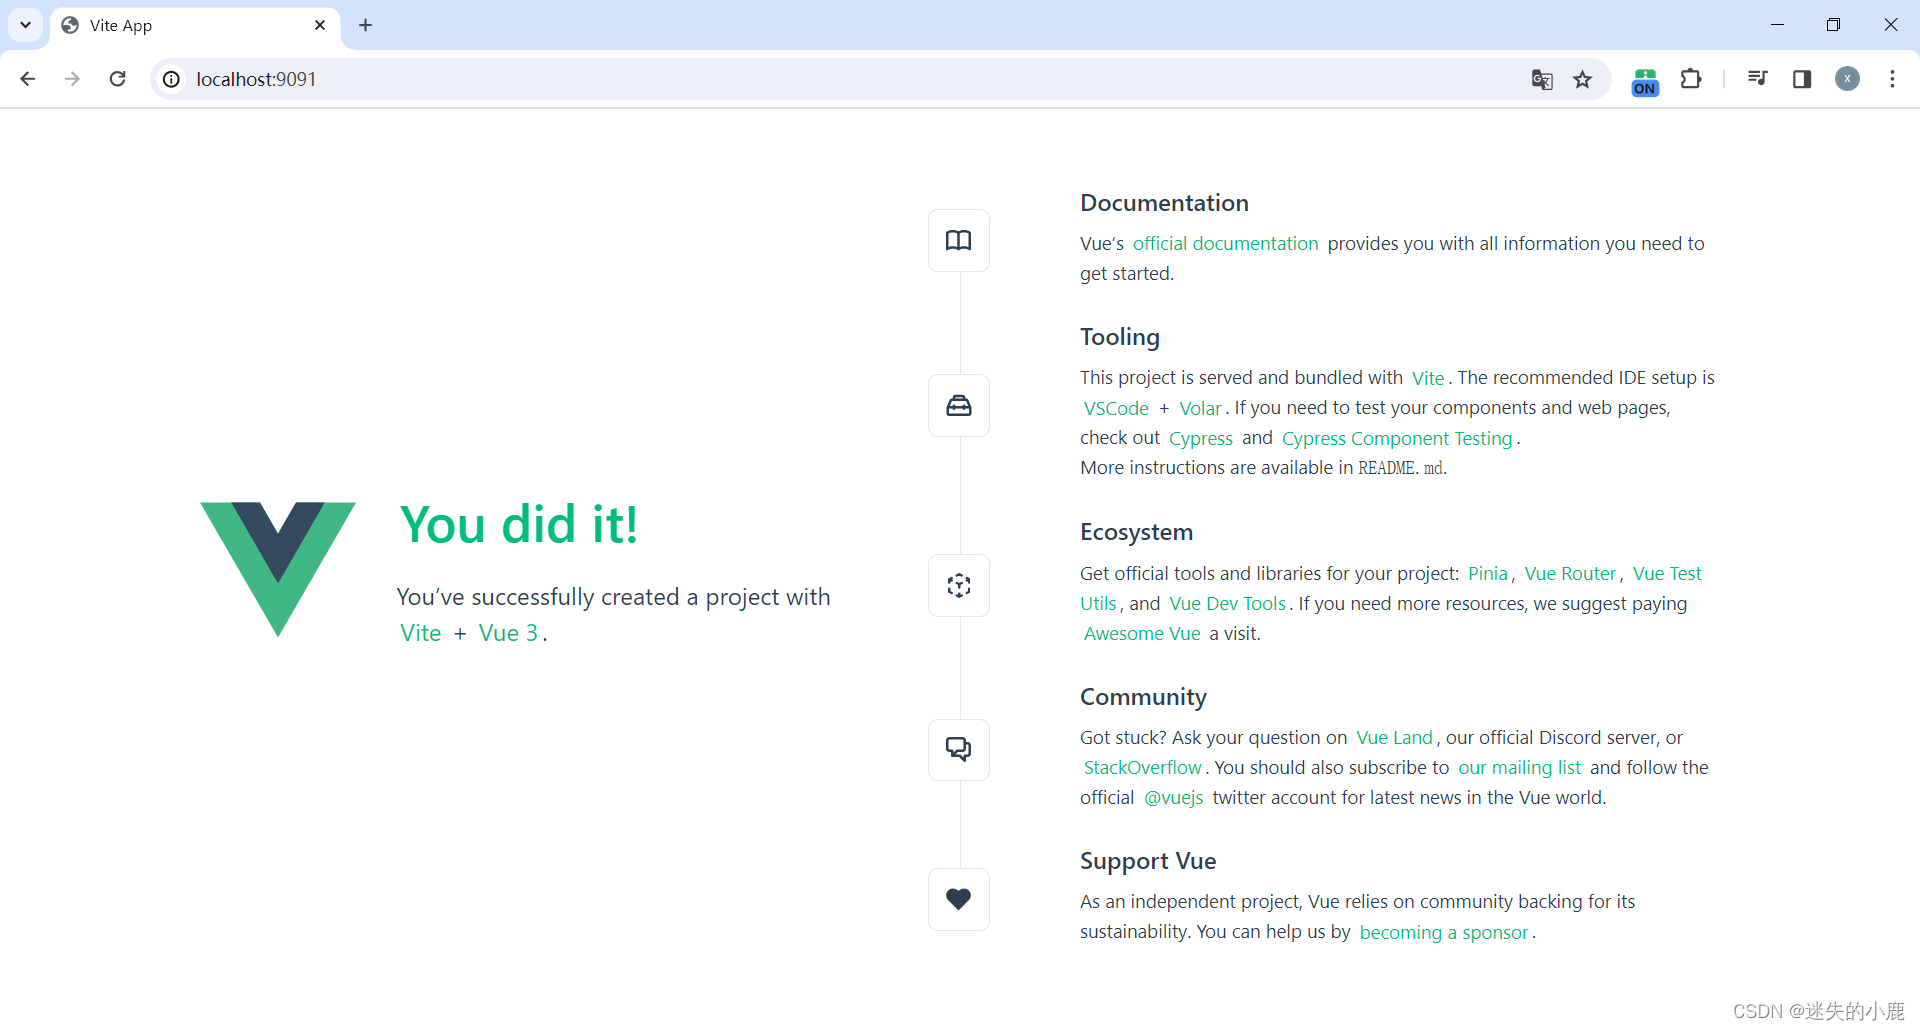
vue3使用create-vue创建项目

vue3使用create-vue创建项目
- 开发工具
- 认识create-vue
- 使用create-vue创建项目
- 前提条件
- 创建一个vue应用
- 安装依赖和启动项目
- 项目结构介绍
- vue3项目结构
- 修改项目的端口号
开发工具
VS Code可以从官网下载,地址是:https://code.visualstudio.com/Download。进入官网后,根据自己的操作系统进行选择,VS Code支持Windows、macOS和Linux系统。
认识create-vue
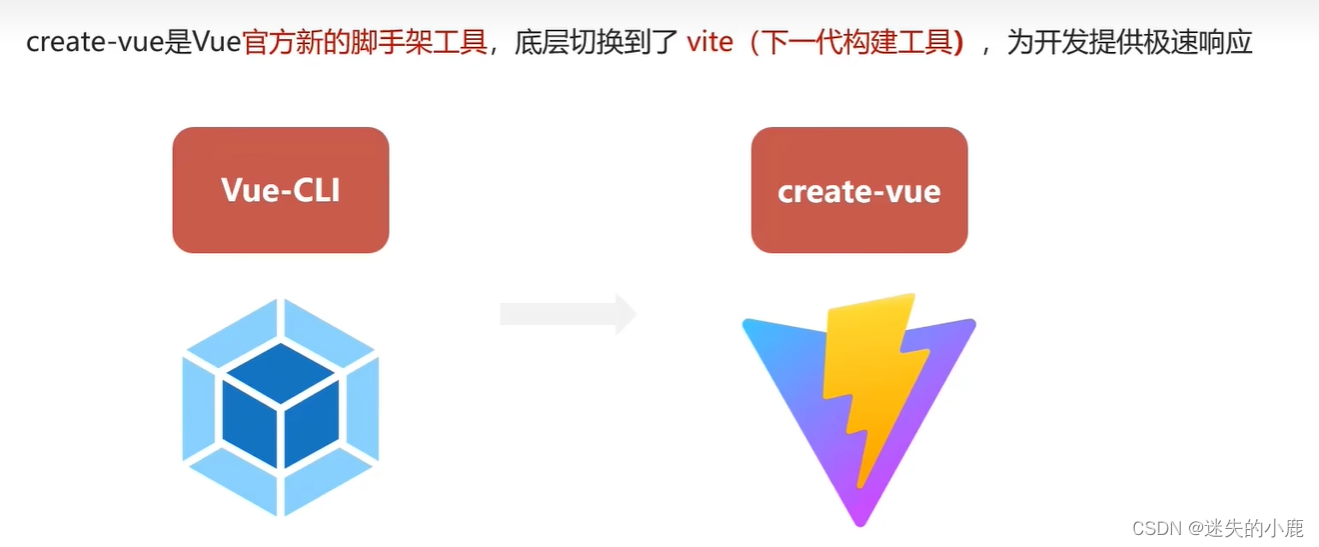
使用create-vue创建项目
前提条件
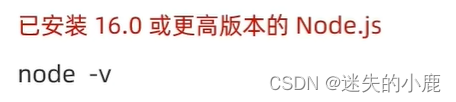
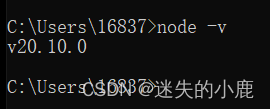
node -v
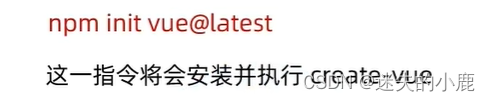
创建一个vue应用
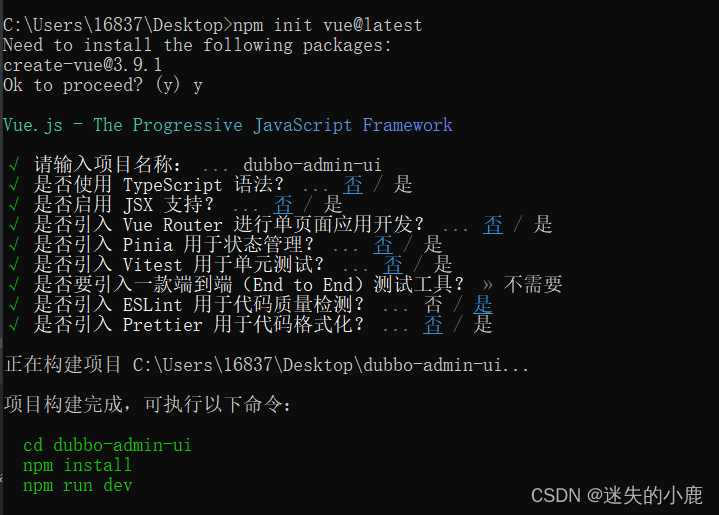
安装依赖和启动项目
# 安装依赖
npm install
# 启动项目
npm run dev
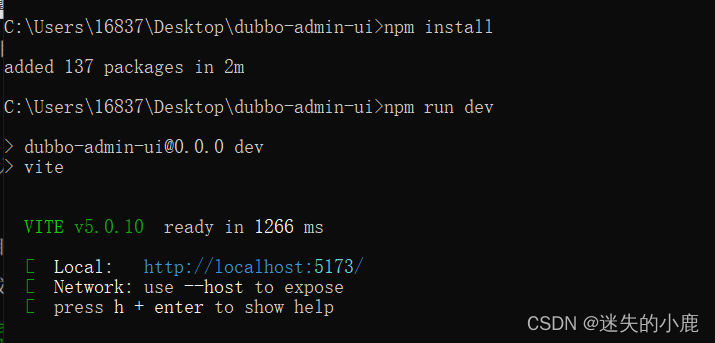
http://localhost:5173/

项目结构介绍

main.js
import './assets/main.css'// new Vue()创建一个应用实例 => createApp()
// createRouter() createStore()将创建实例进行了封装,保证每个实例的独立封闭性
import { createApp } from 'vue'
import App from './App.vue'// mount设置挂载点 #app(页面id为app的div(盒子)元素)
createApp(App).mount('#app')
App.vue
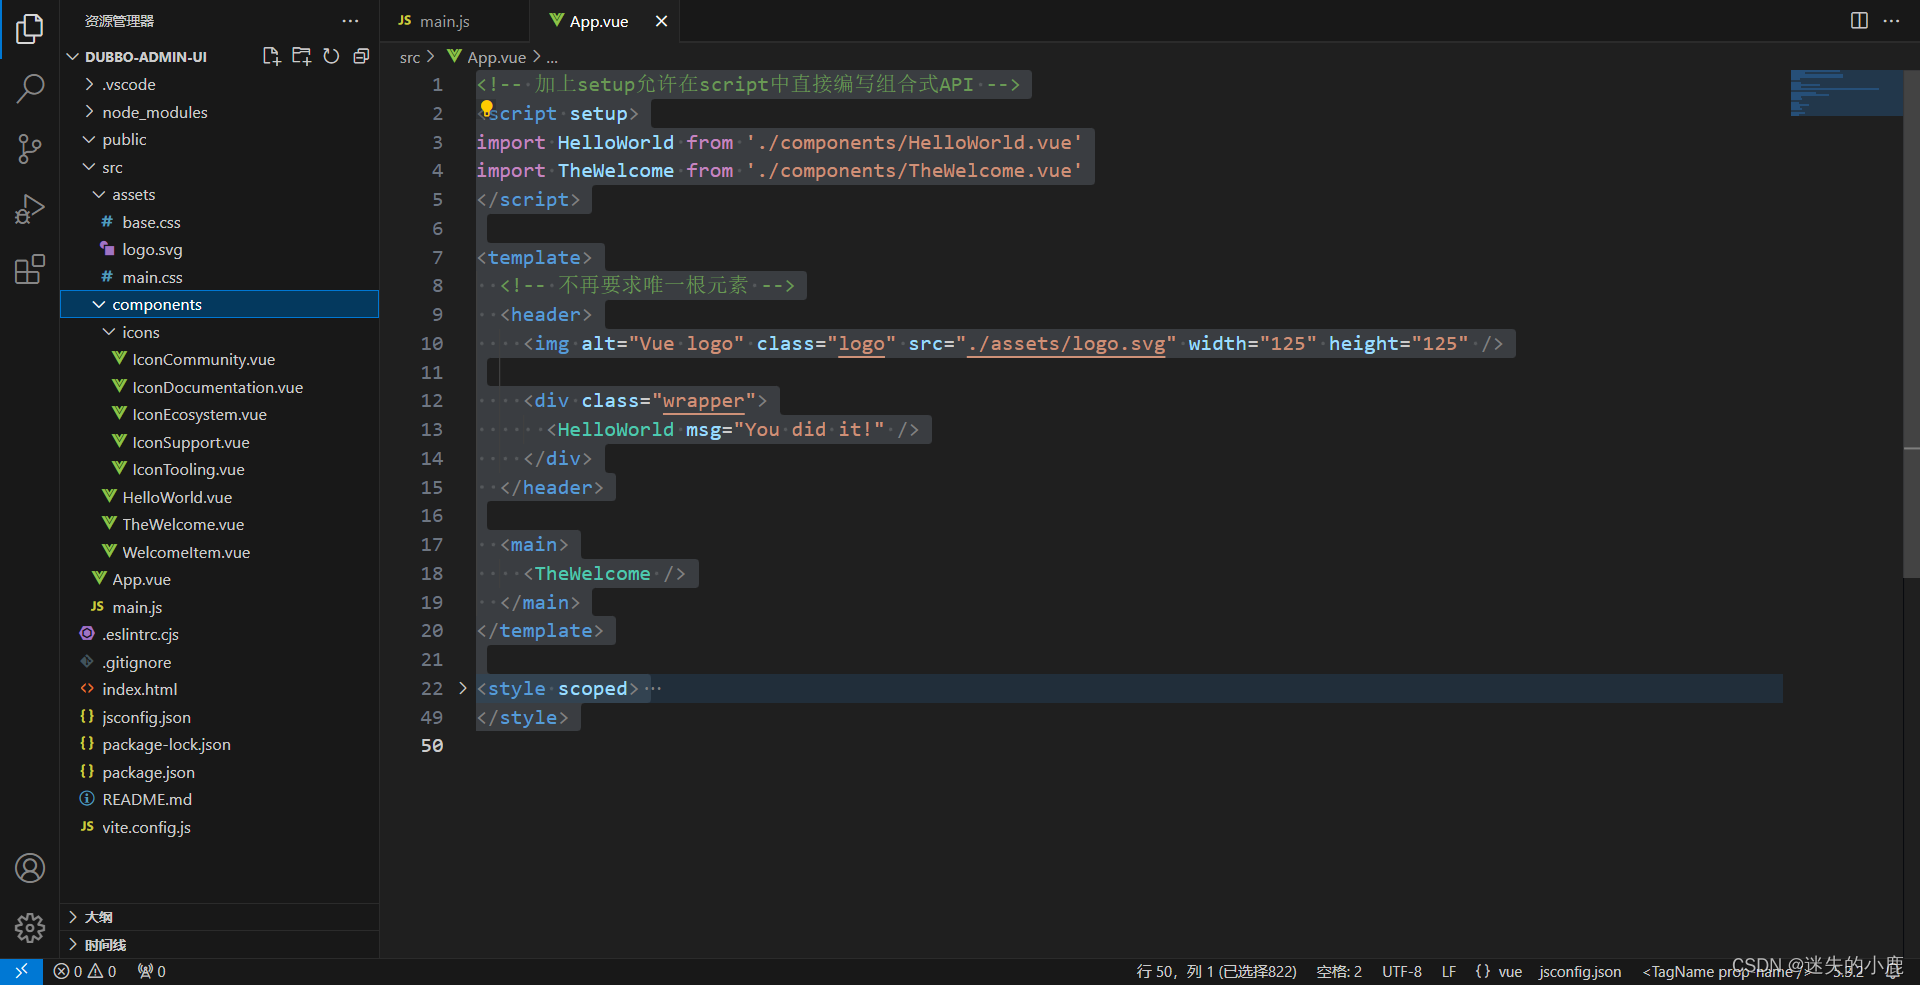
<!-- 加上setup允许在script中直接编写组合式API -->
<script setup>
import HelloWorld from './components/HelloWorld.vue'
import TheWelcome from './components/TheWelcome.vue'
</script><template><!-- 不再要求唯一根元素 --><header><img alt="Vue logo" class="logo" src="./assets/logo.svg" width="125" height="125" /><div class="wrapper"><HelloWorld msg="You did it!" /></div></header><main><TheWelcome /></main>
</template><style scoped>
header {line-height: 1.5;
}.logo {display: block;margin: 0 auto 2rem;
}@media (min-width: 1024px) {header {display: flex;place-items: center;padding-right: calc(var(--section-gap) / 2);}.logo {margin: 0 2rem 0 0;}header .wrapper {display: flex;place-items: flex-start;flex-wrap: wrap;}
}
</style>
vue3项目结构
修改项目的端口号
- 使用文本编辑器打开项目根目录下的 vite.config.js 文件。如果该文件不存在,你可以手动创建一
个。 - 在 vite.config.js 文件中,添加以下代码来配置开发服务器的端口号:
// vite.config.js
export default {  server: {  port: 8080 // 将端口号修改为你想要的端口  }
}
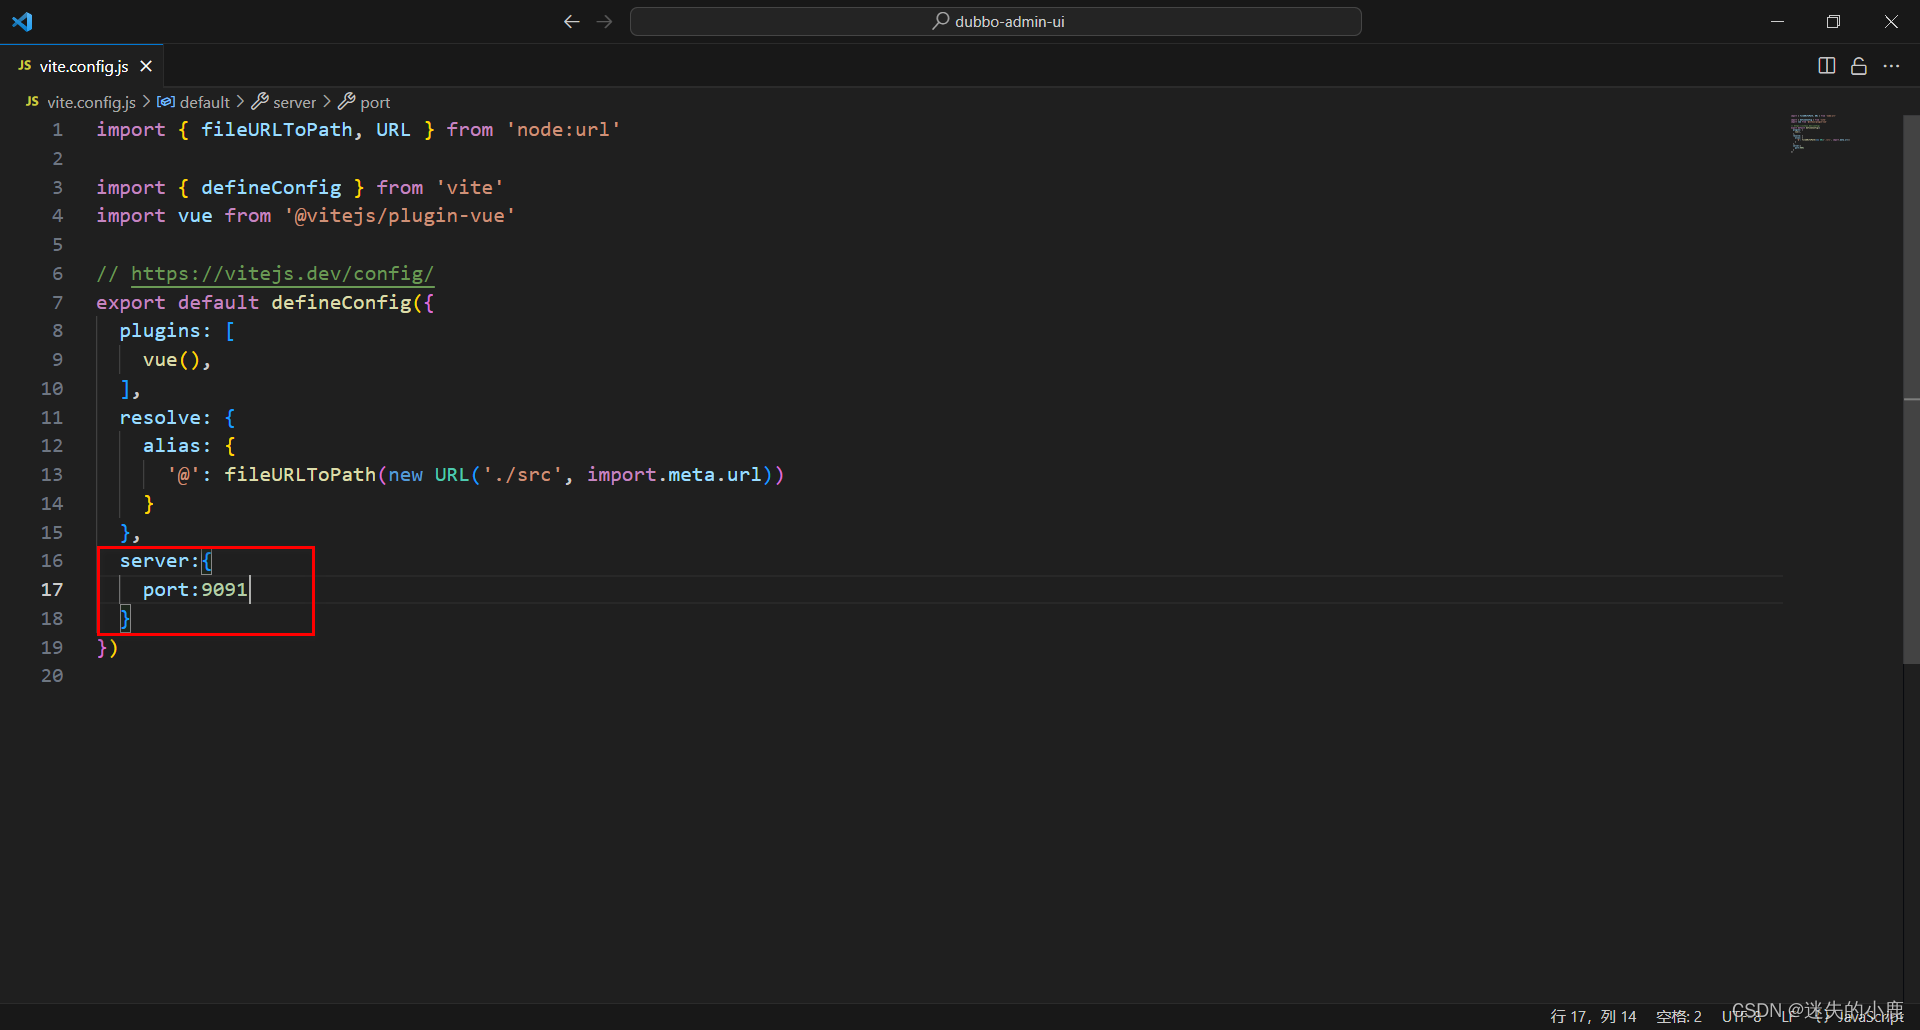
端口变为9091