elementUI中的 “this.$confirm“ 基本用法,“this.$confirm“ 调换 “确认“、“取消“ 按钮的位置

文章目录
- 前言
- 具体操作
- 总结
前言
elementUI中的 "this.$confirm" 基本用法,"this.$confirm" 调换 "确认"、"取消" 按钮的位置
具体操作
基本用法
<script>
this.$confirm('这是数据(res.data)', '提示', {confirmButtonText: '确定',cancelButtonText: '取消',cancelButtonClass: 'custom-cancel-button',//添加样式,将确认与取消按钮调换位置type: 'warning',//设置弹框类型showCancelButton: false,  //是否显示取消按钮showClose: false, //是否显示右上角的xcloseOnClickModal: true, //是否可以点击空白处关闭弹窗}).then(() => {// this.$message({//   type: 'success',//   message: '删除成功!'// });}).catch(() => {// this.$message({//   type: 'info',//   message: '已取消删除'// });});
</script><style>
.el-message-box__btns {display: flex;flex-direction: row-reverse;
}
.custom-cancel-button {margin-left: 10px;
}
</style>
将确认与取消进行交换位置,添加css样式
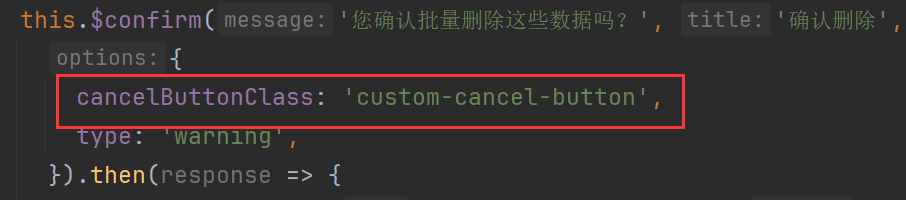
CSS代码:
.el-message-box__btns {display: flex;flex-direction: row-reverse;
}
.custom-cancel-button {margin-left: 10px;
}
总结
elementUI中的 "this.$confirm" 基本用法,"this.$confirm" 调换 "确认"、"取消" 按钮的位置,添加一个类和css代码